Toying around with photo filters
Like a lot of my posts, this kind of kept growing. Going over my photos I kept finding a bunch of favorites I wanted to share outside just using ones for effects, so now I’ve got a photos page if you want to check them out.
You might have played around with AI image generation, getting a little hit of dopamine whenever you get something that looks visually pleasing without actually putting in any effort. Using filters is kind of the same thing; you can get something that looks cool despite needing minimal effort and skill, but in this case, it’s really your art (assuming you’re using filters on your photos). It might be fun to toy around with, so I thought I would share some ways to do so.
GIMP
I’m assuming that if you’re reading my blog you’re probably aware of GIMP, but it’s an open source photo editor that can do most of the standard photo editing stuff. It might not be 100% capable of doing everything Photoshop can do, but for somebody like me, it’s more than capable of doing basic photo editing. It also, however, has some filters that you can apply to images without much of an effort.
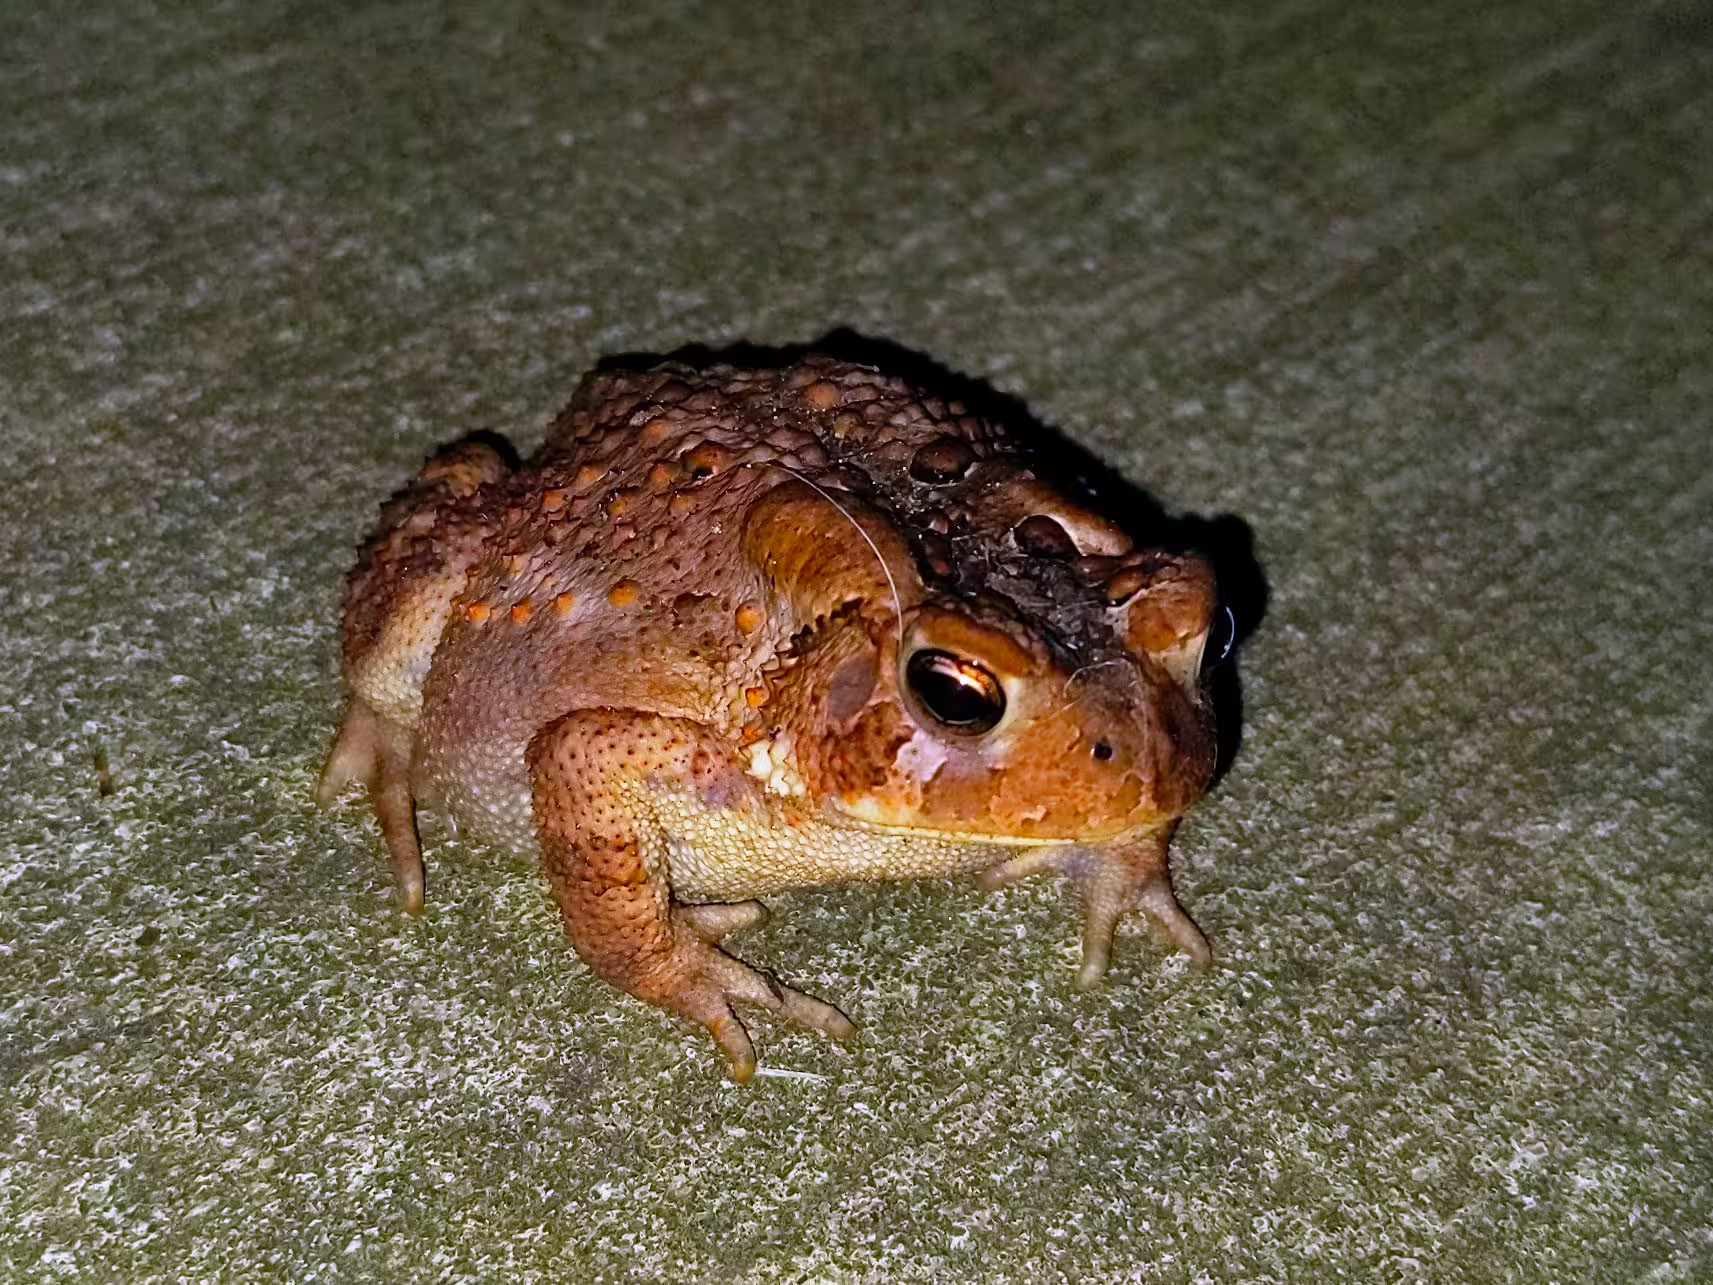
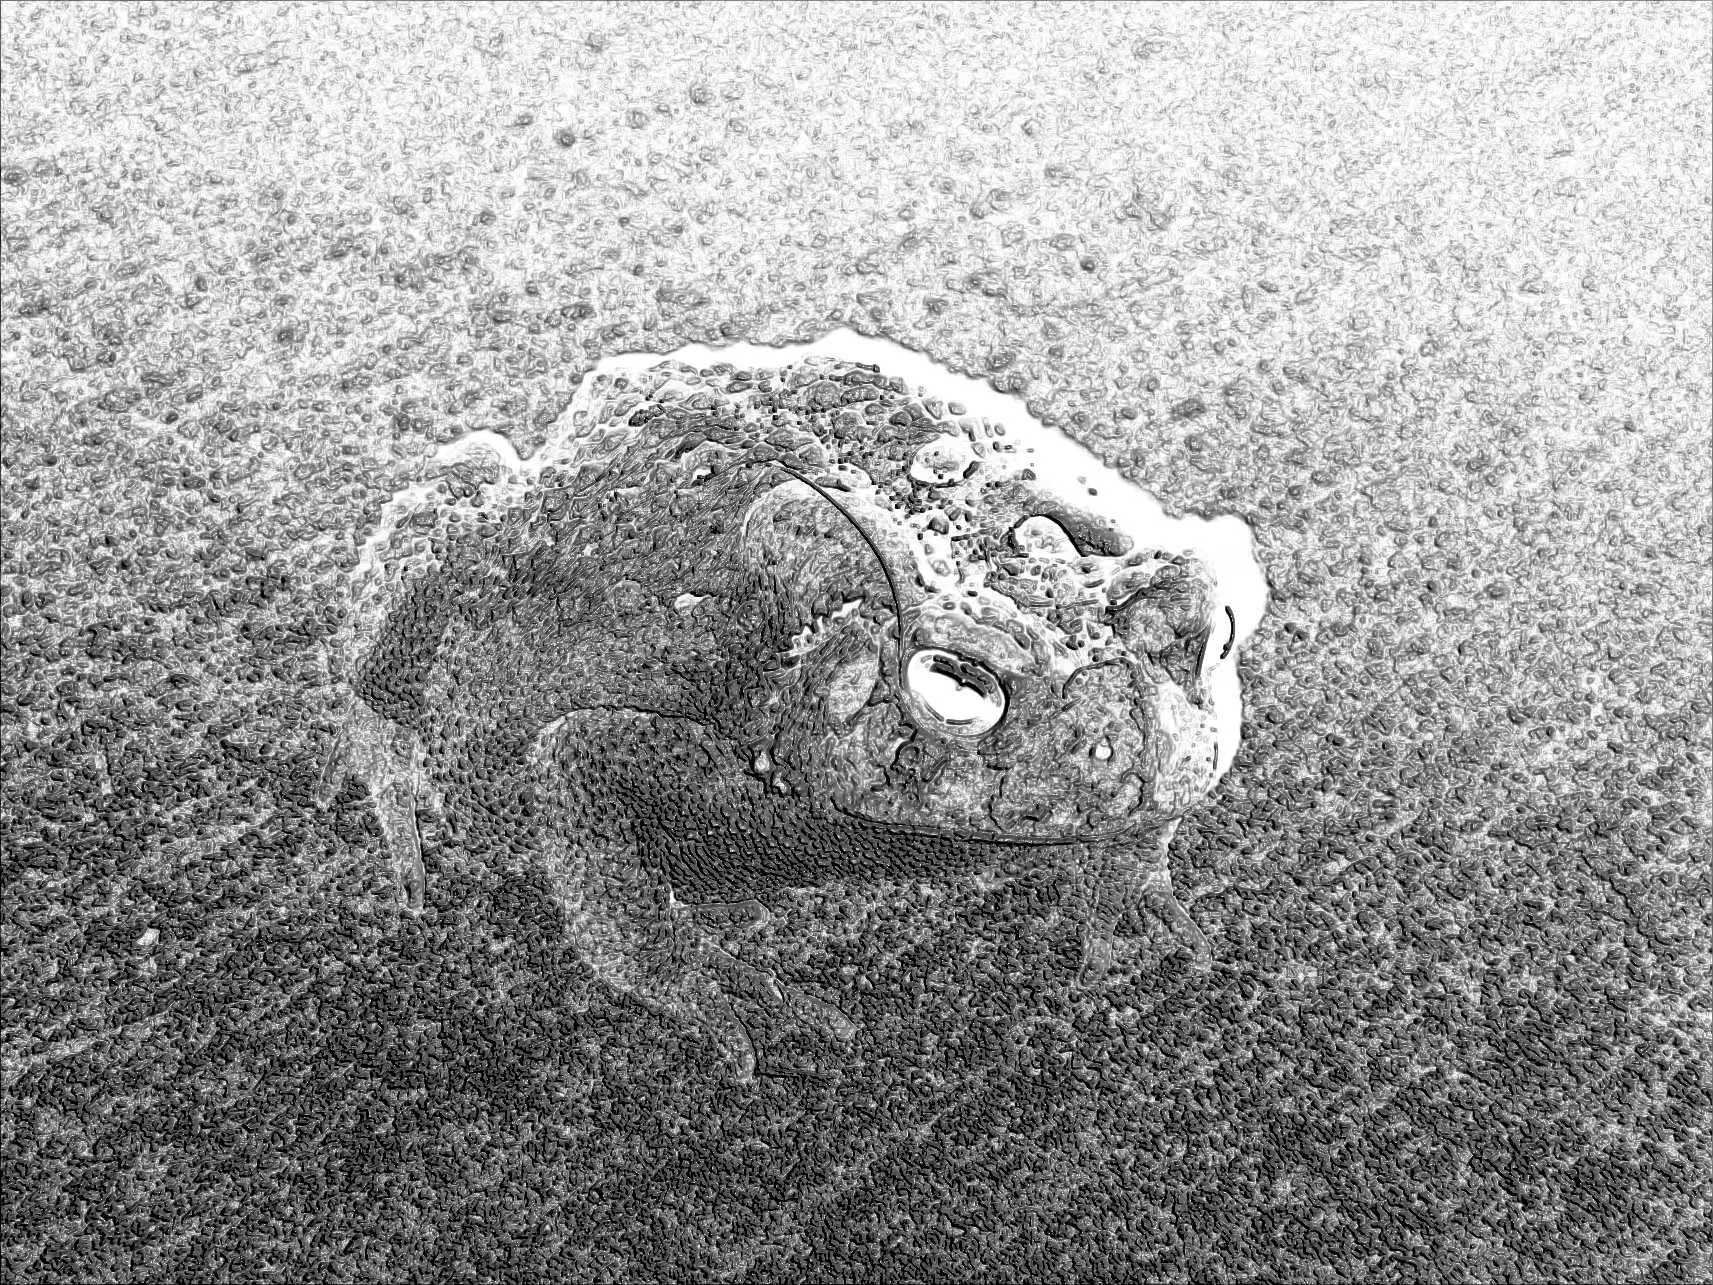
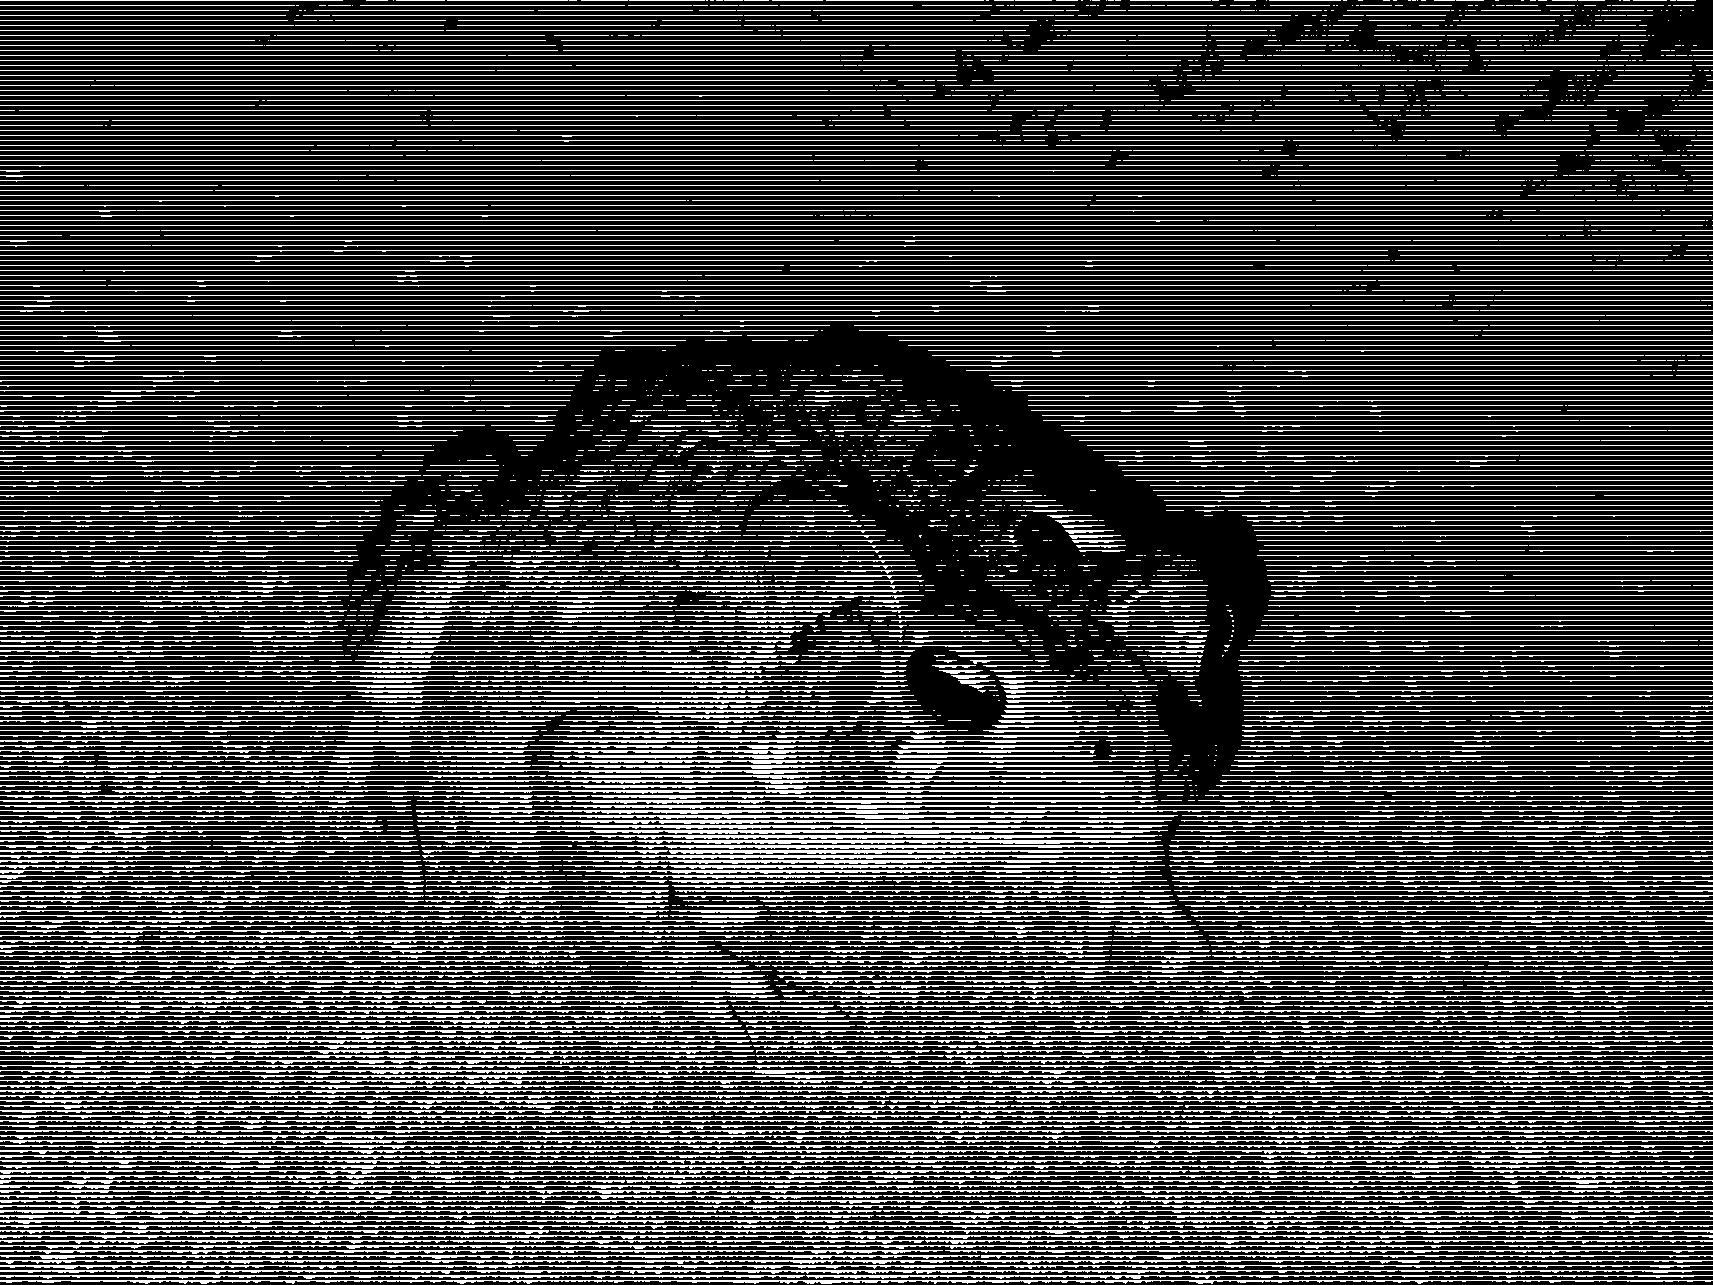
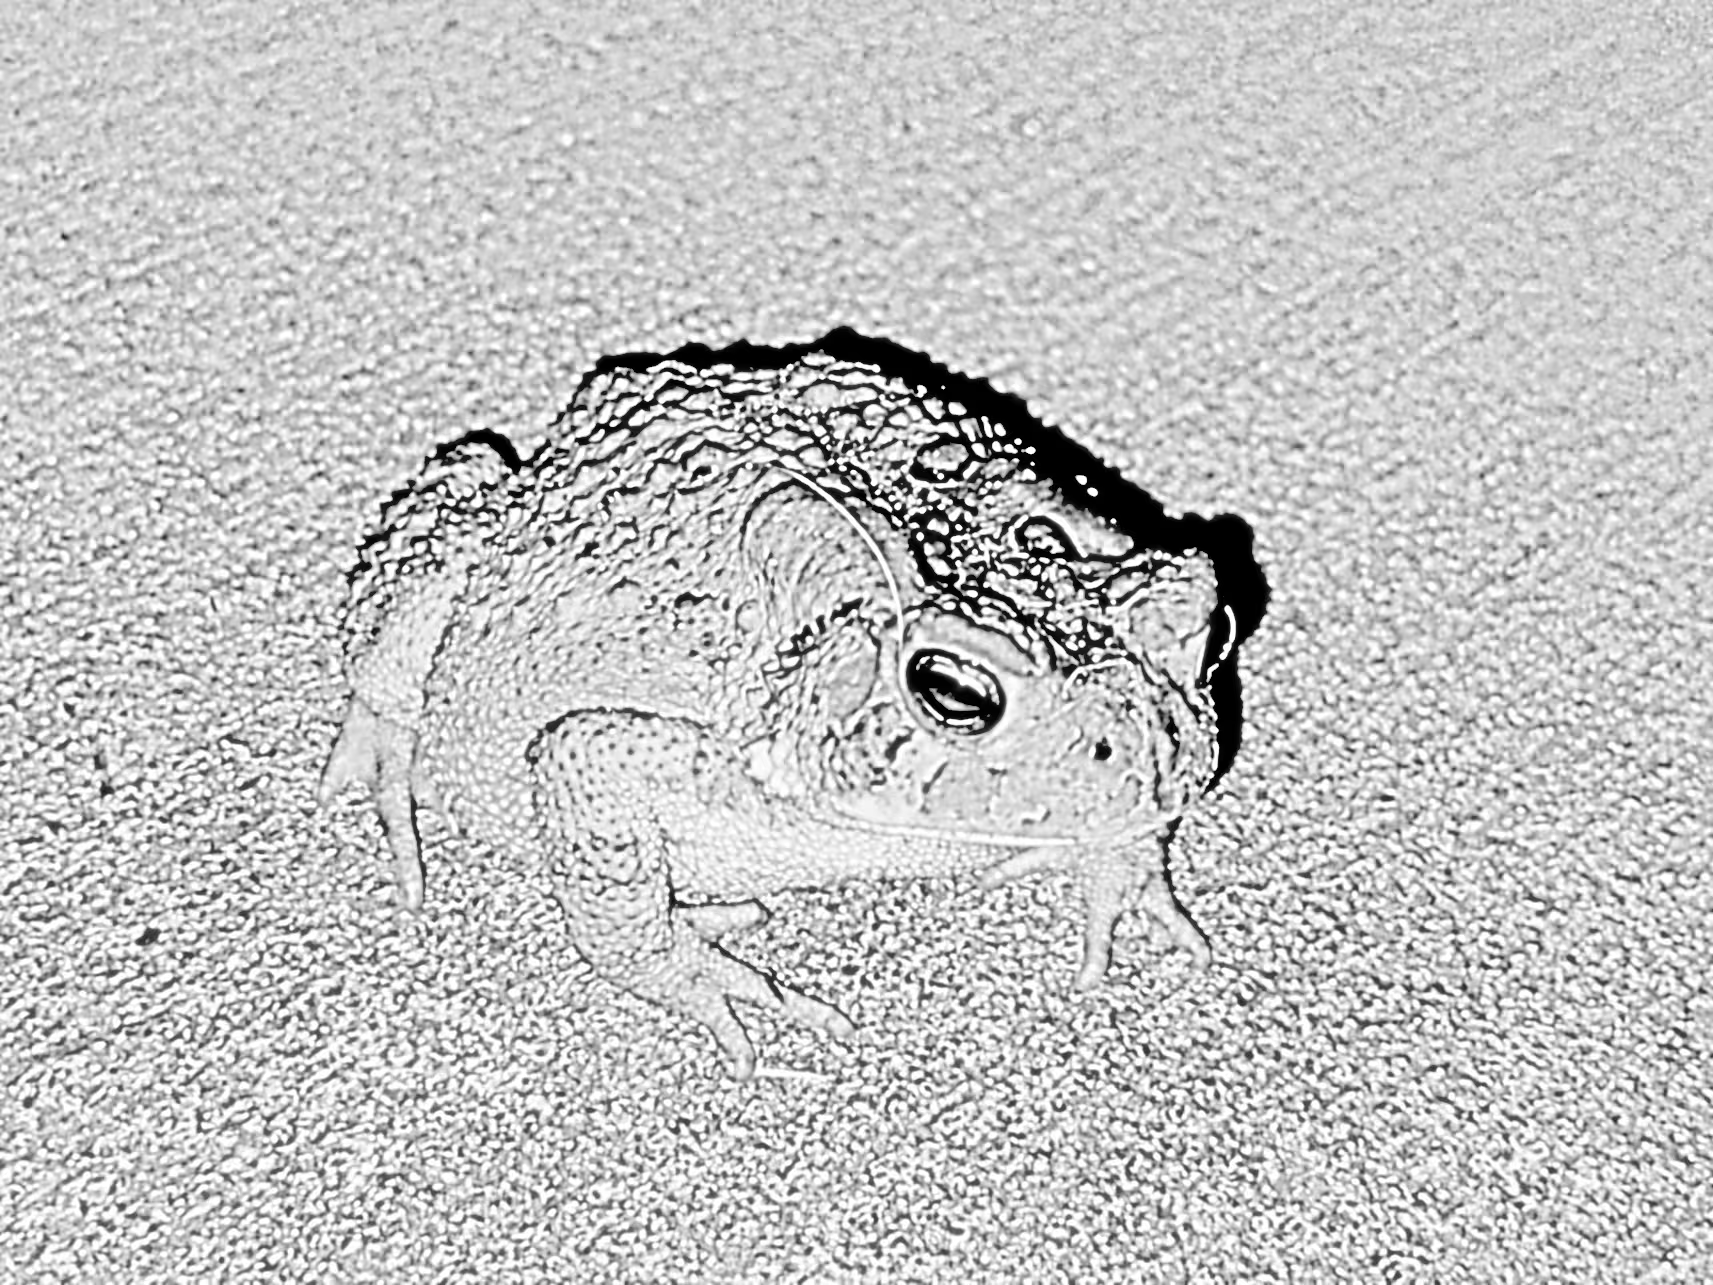
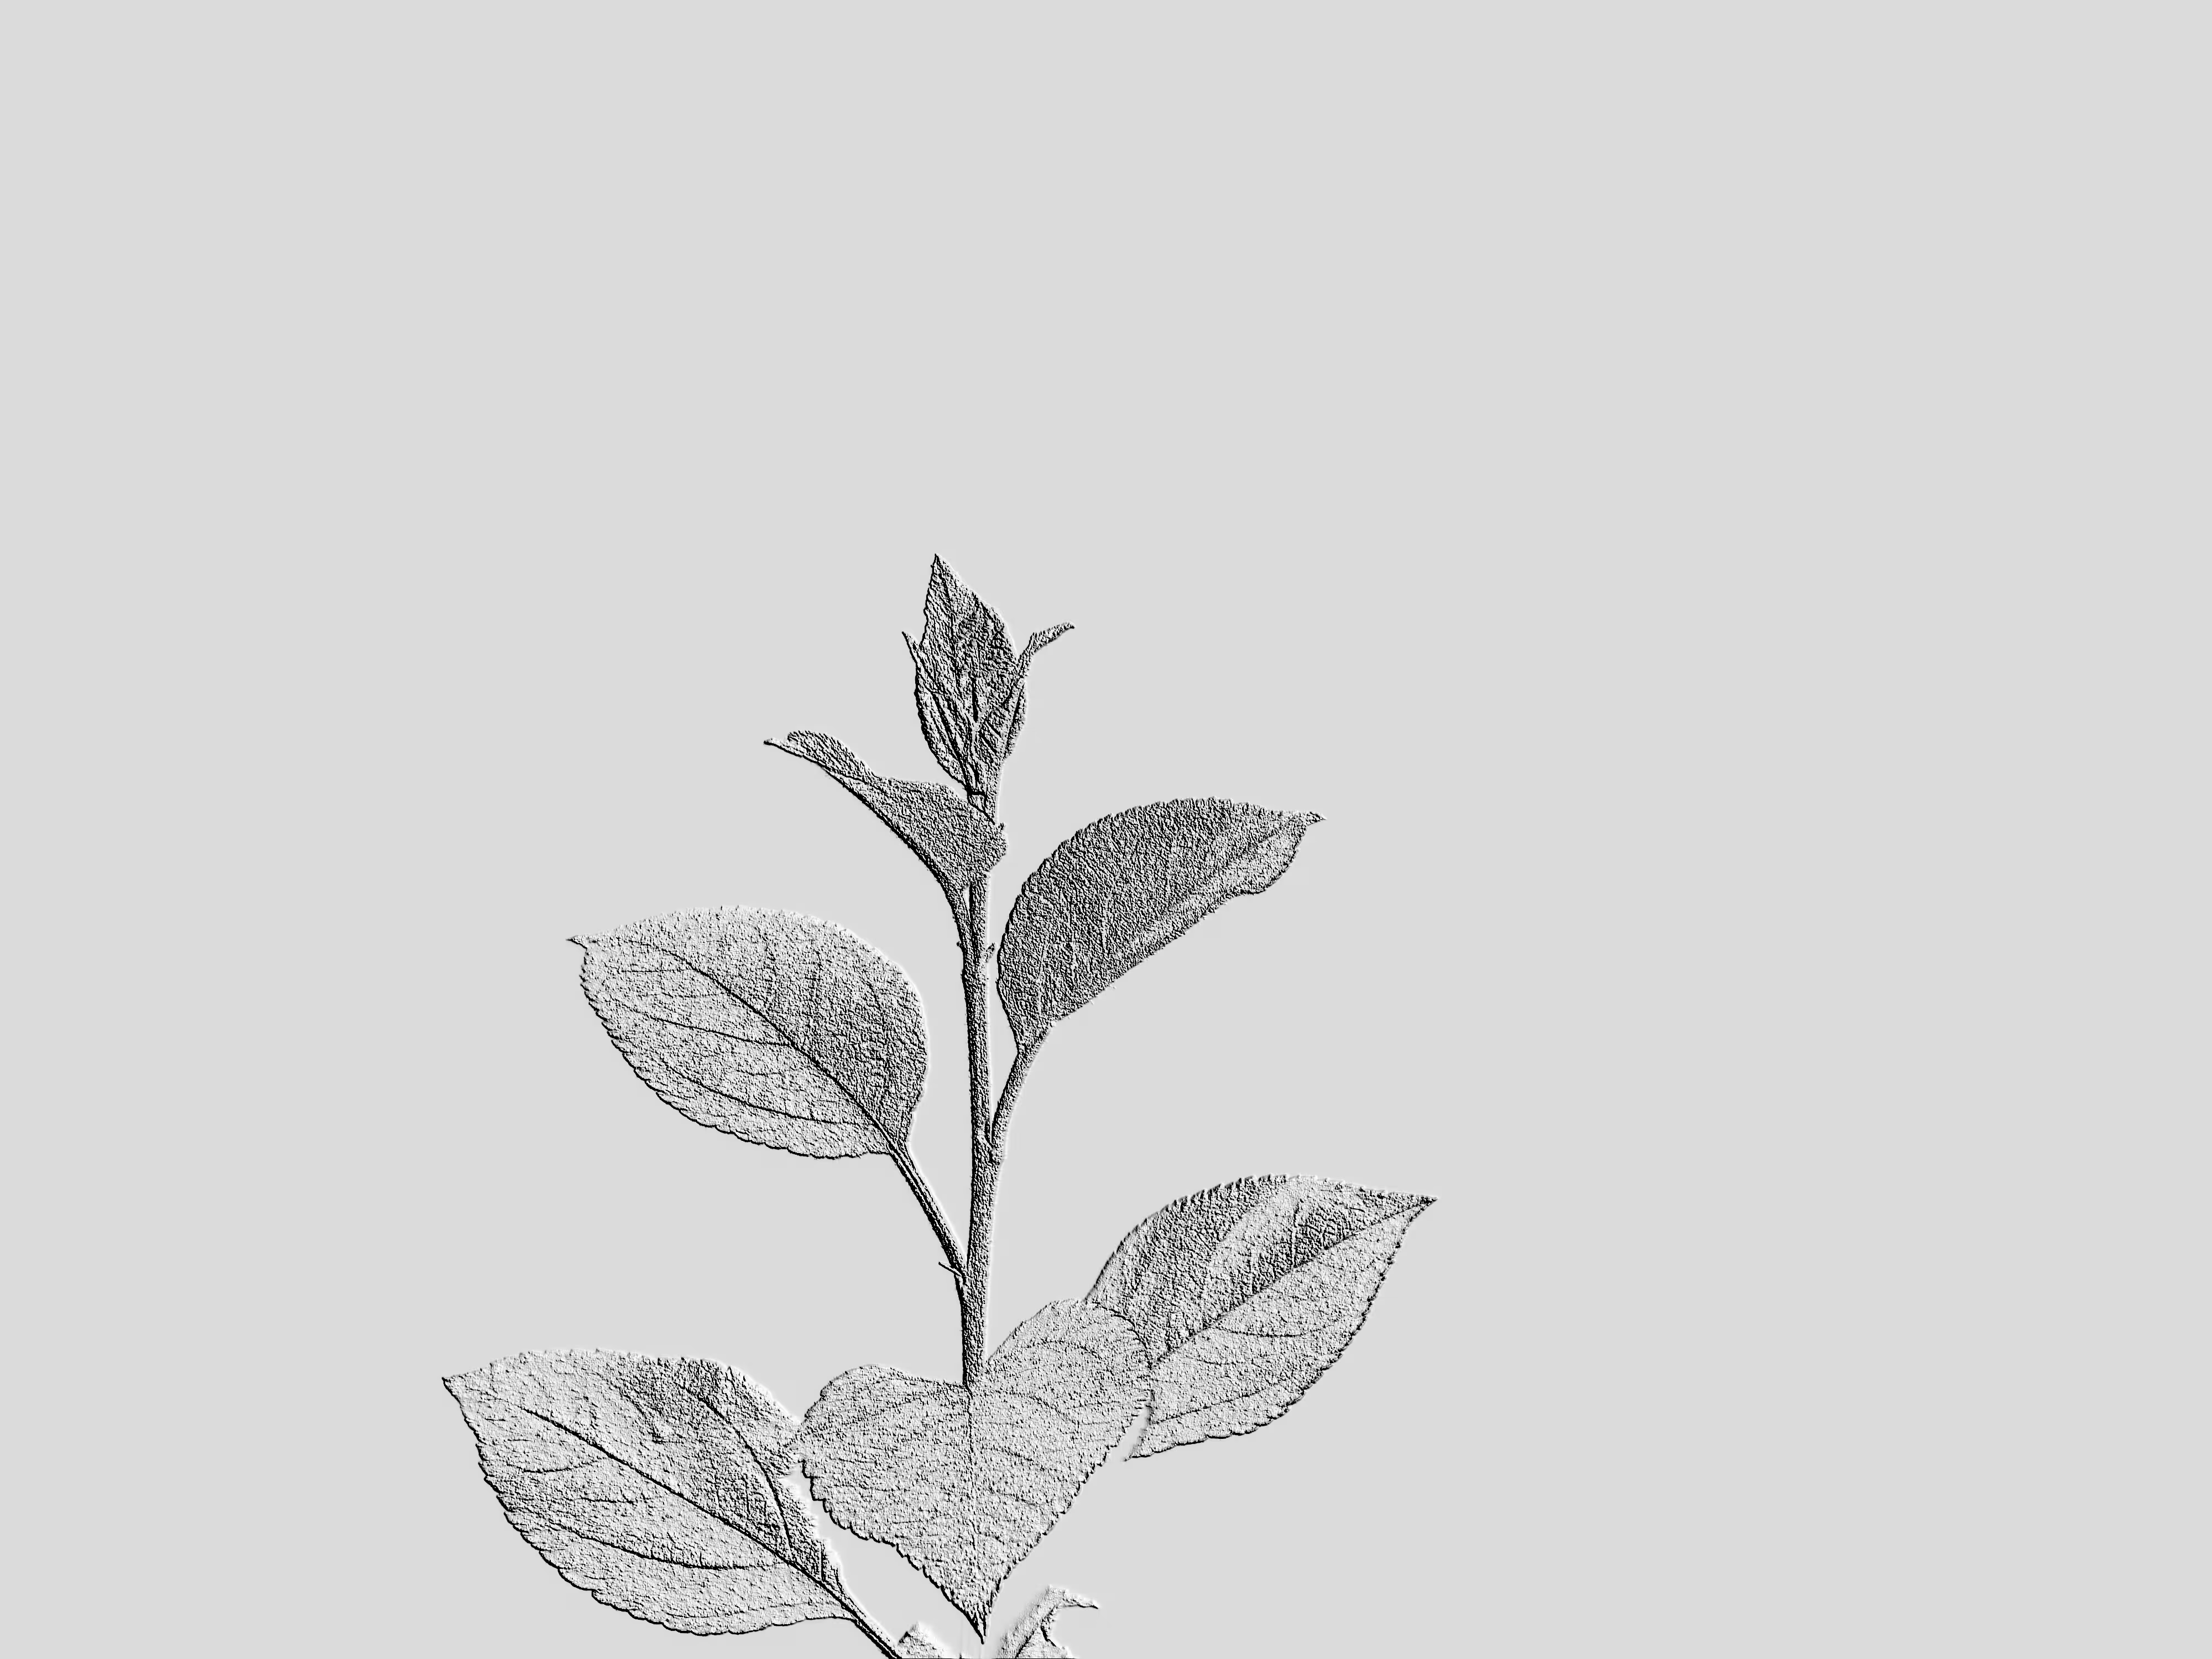
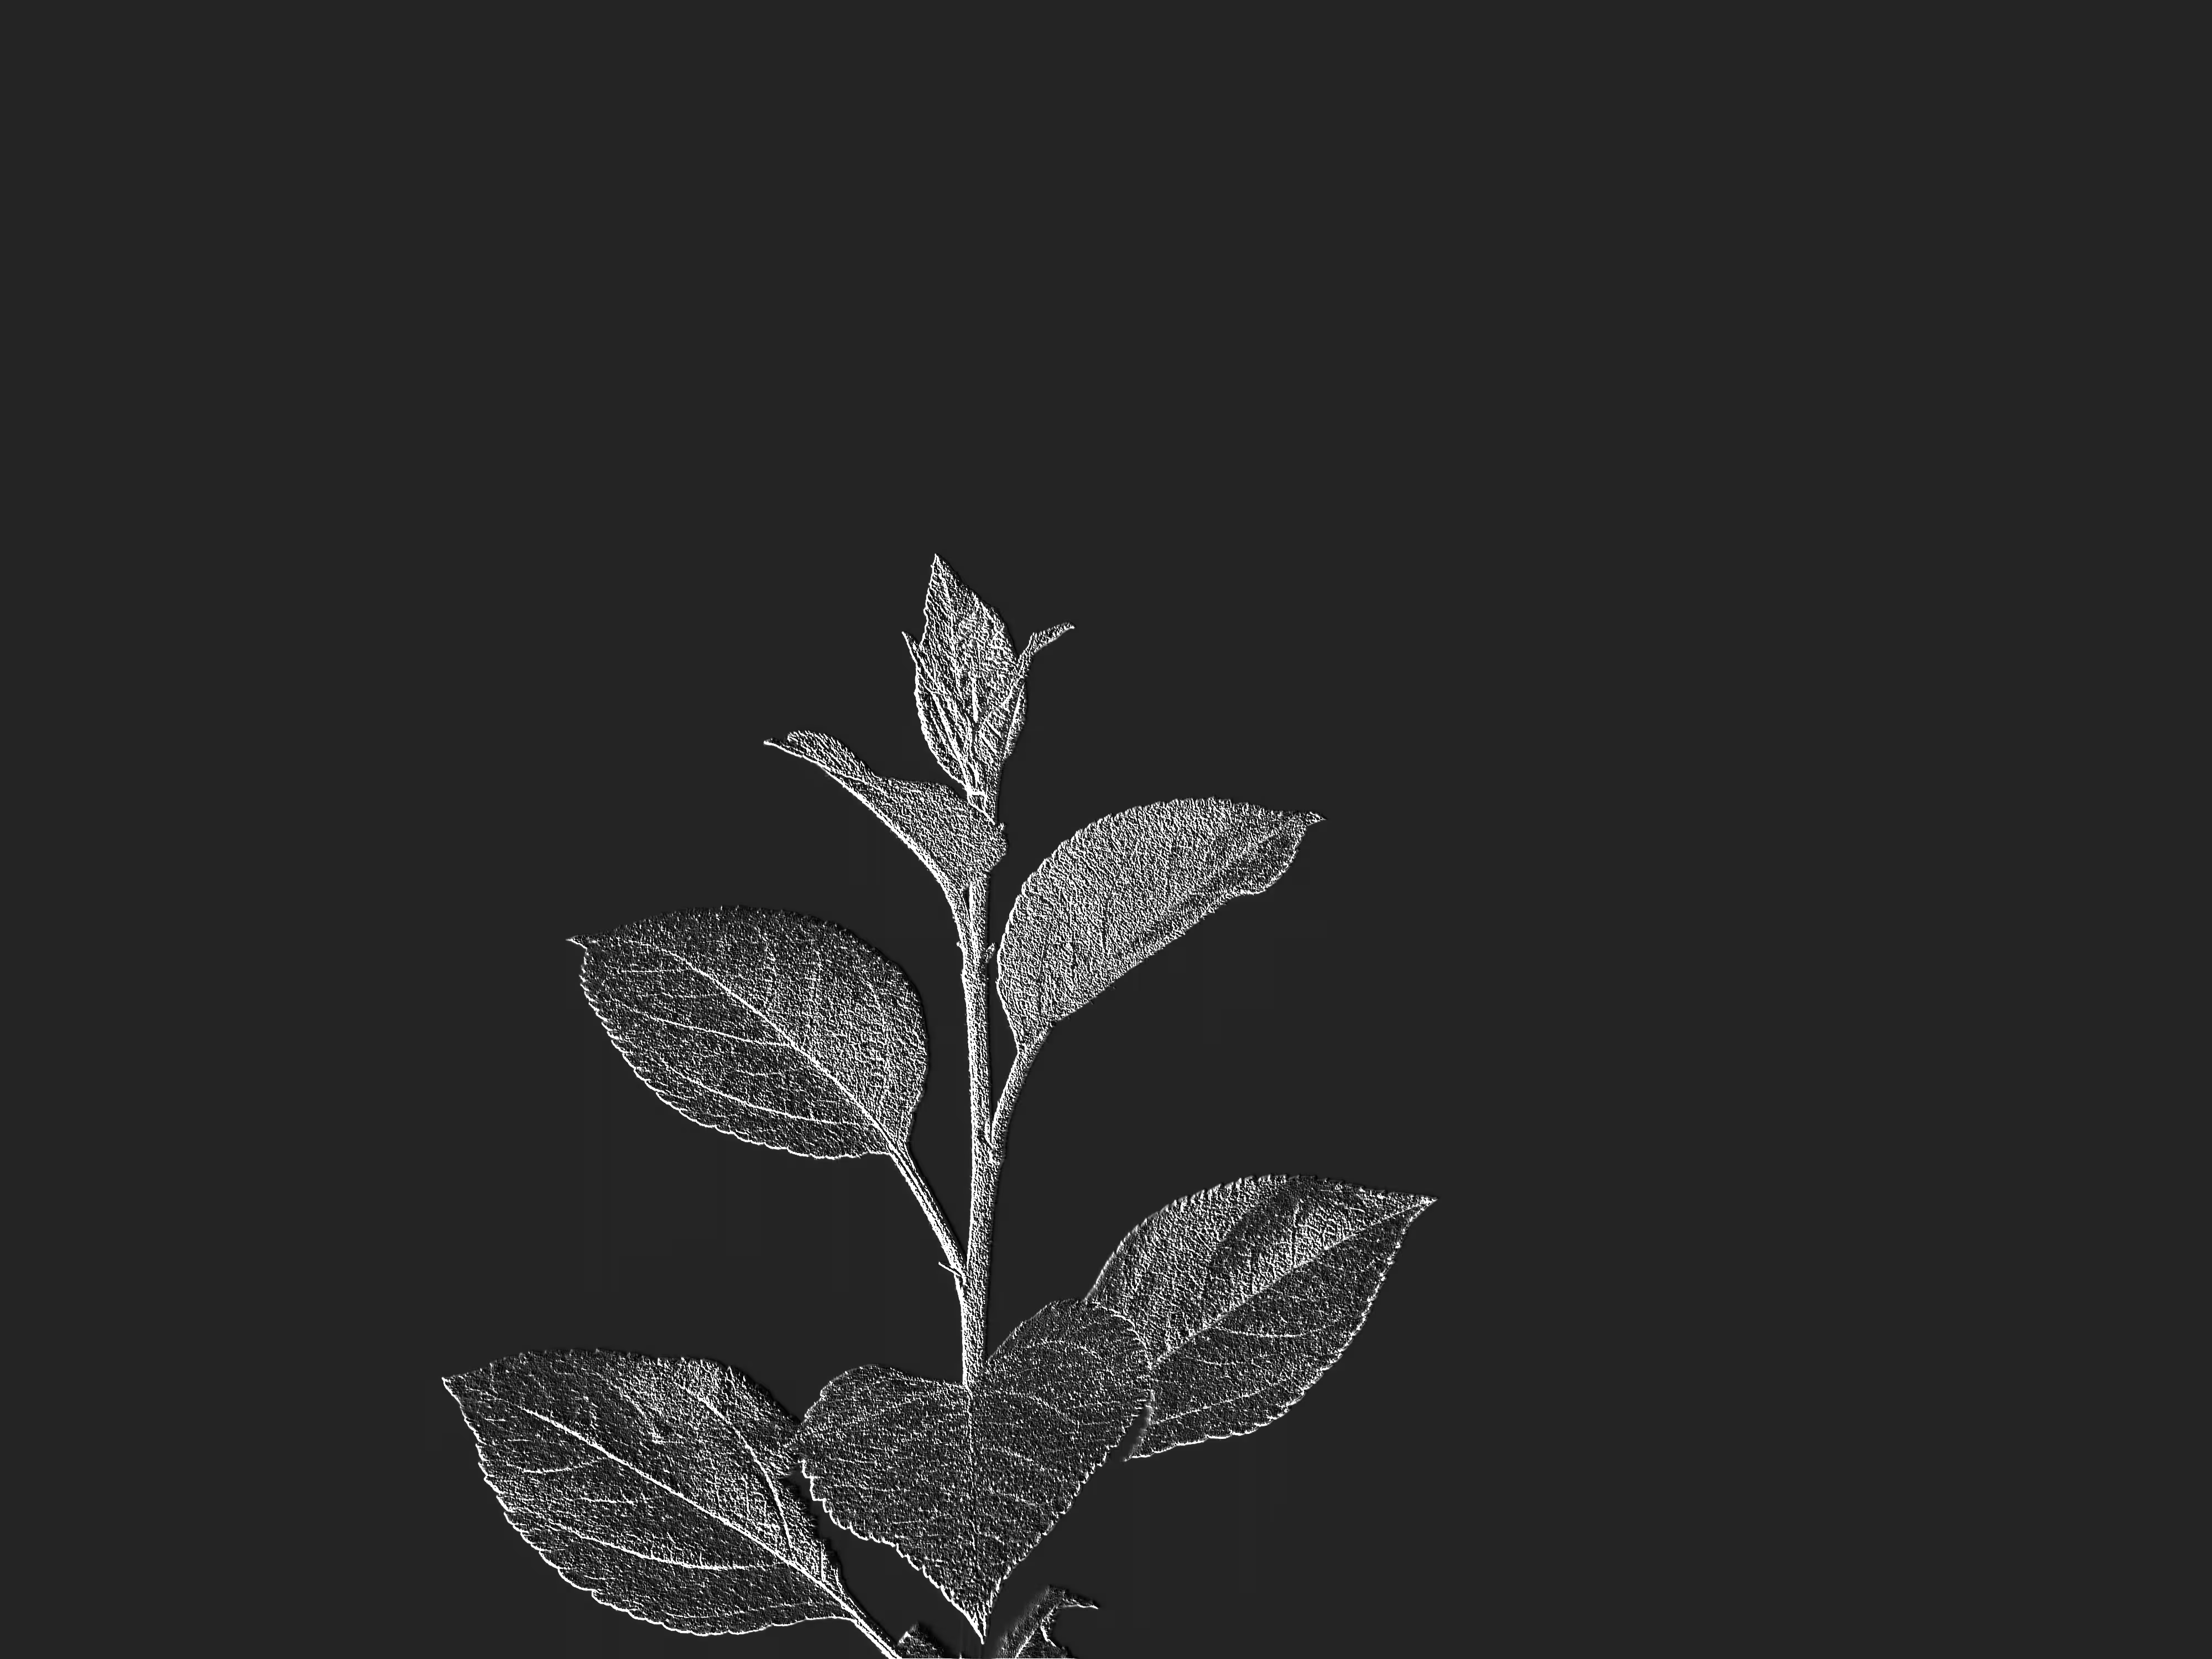
Emboss, Engrave, and Photocopy
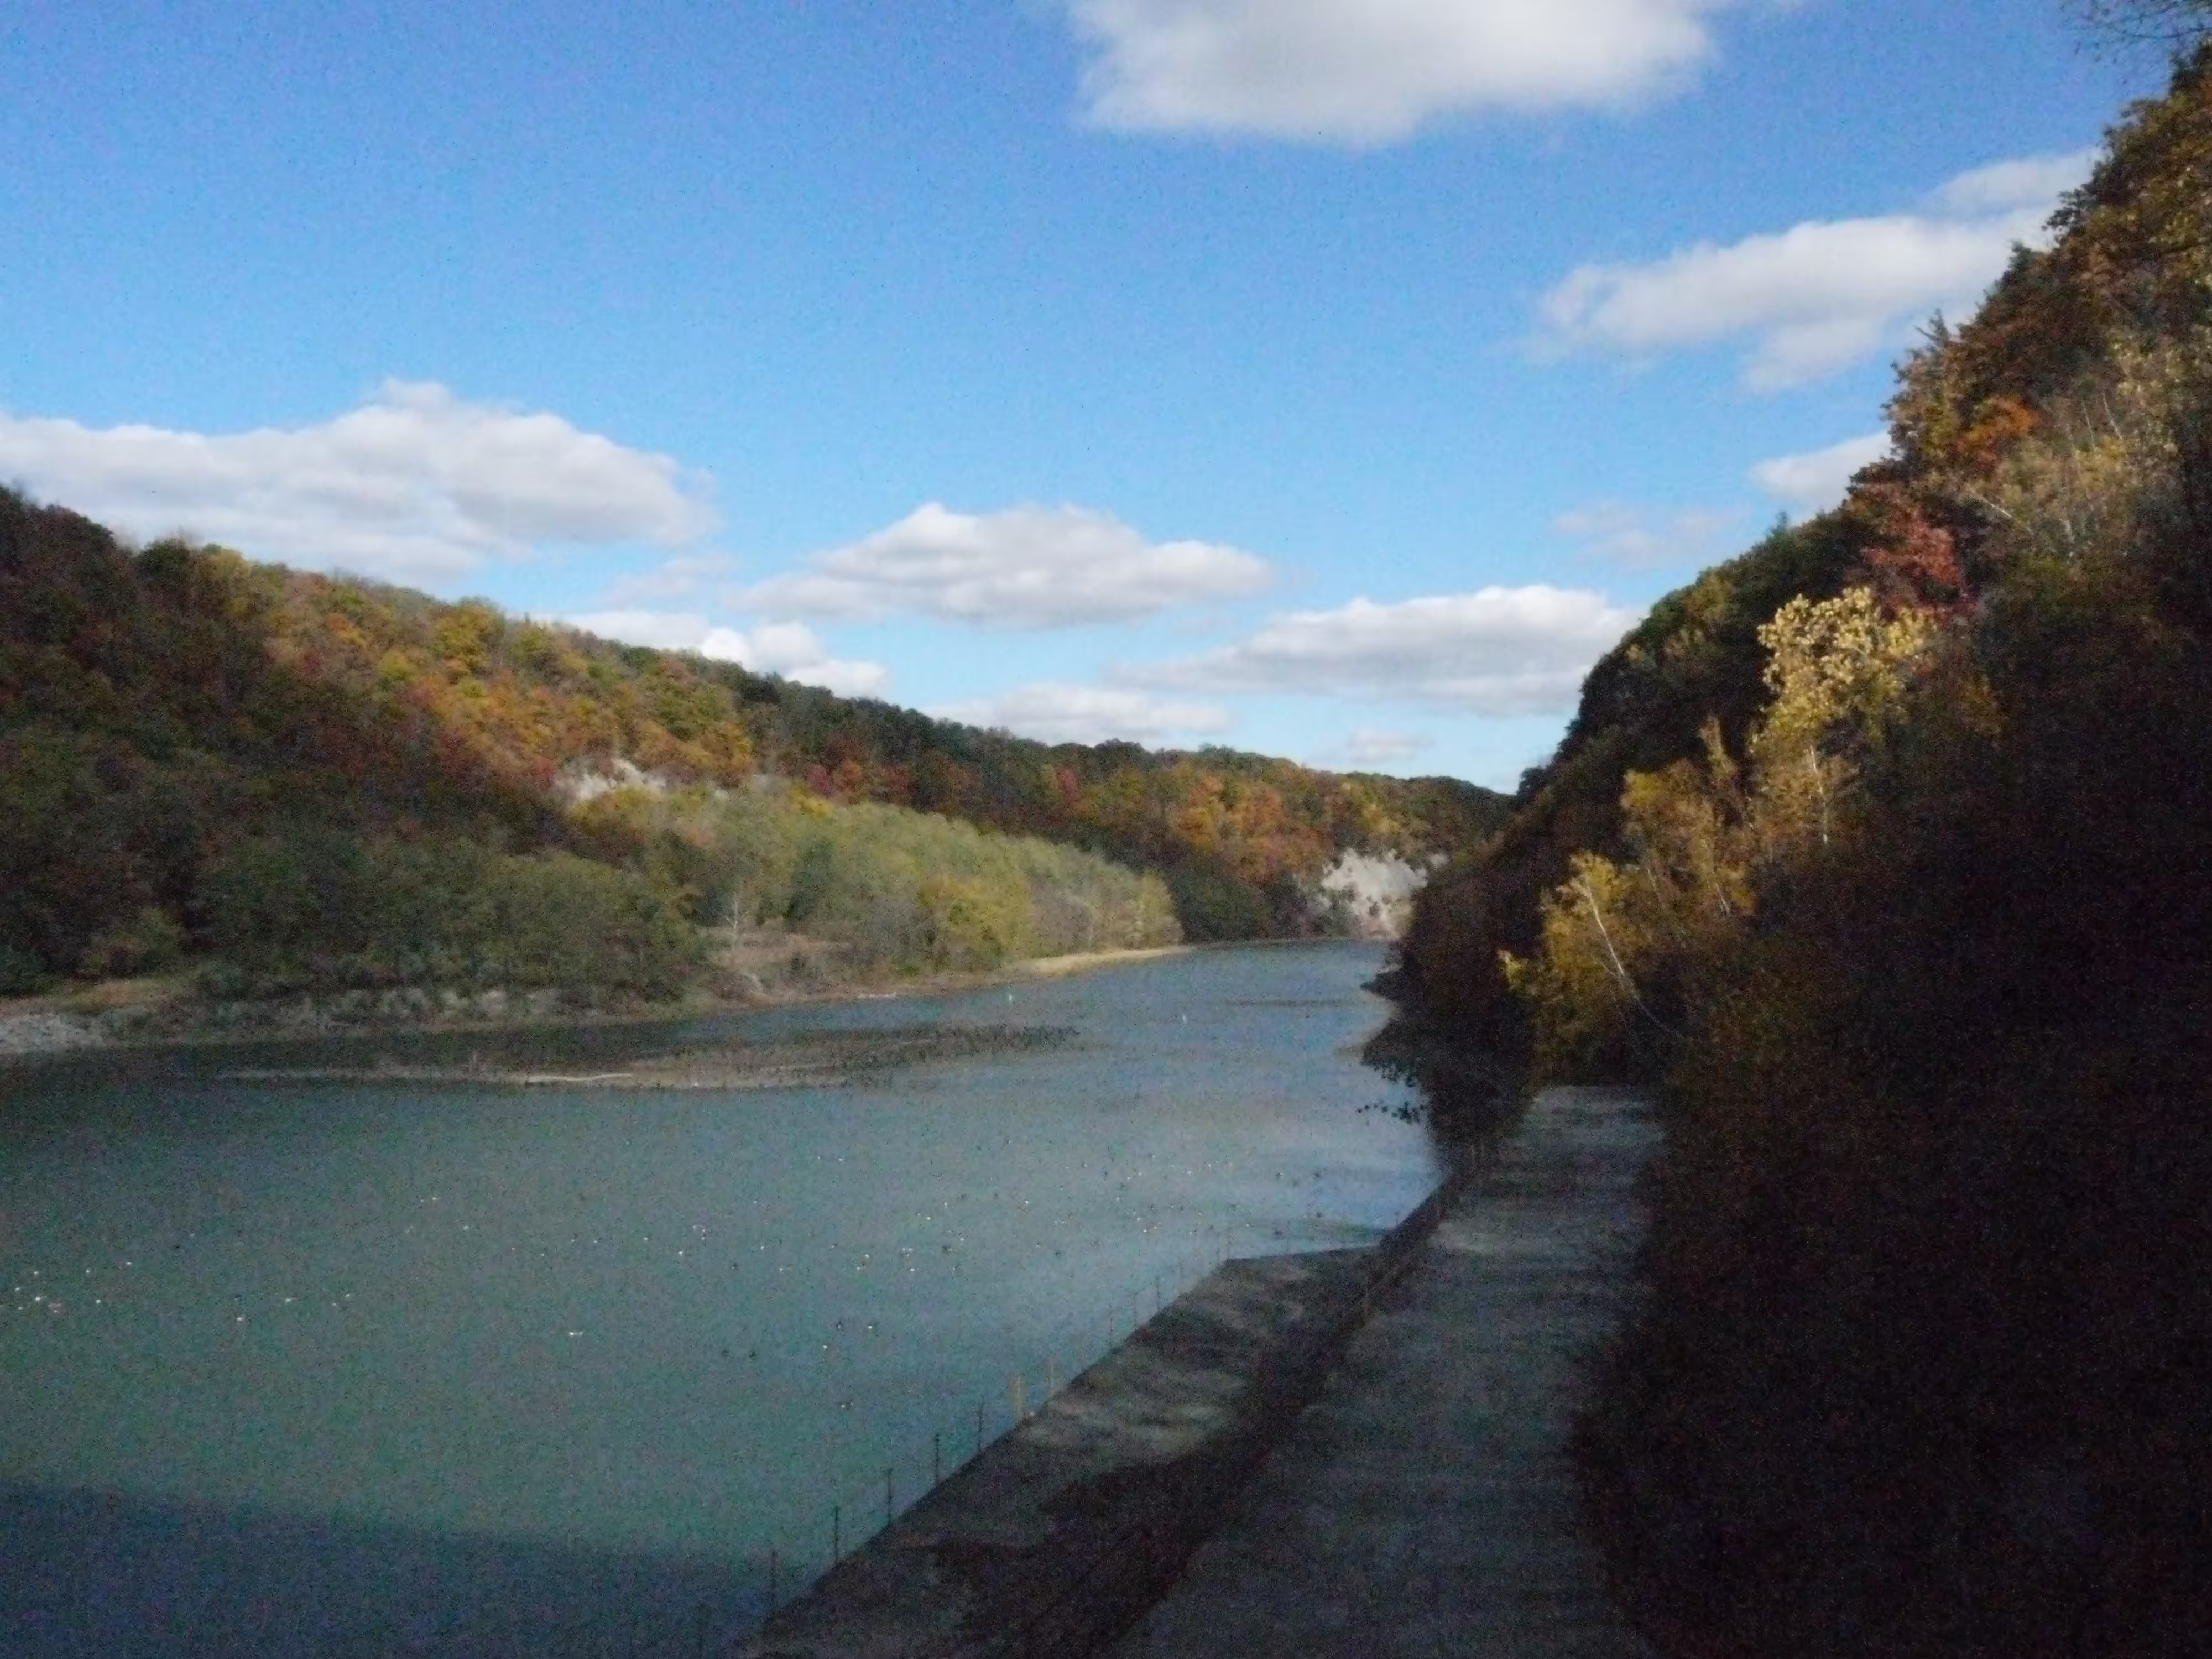
Images in order: Original, Emboss, Engrave, Photocopy, Original (leaf), Emboss (leaf), Emboss with inverted colors (leaf)
All three simplify images, and while I’m guessing it’d look pretty bad for anything that relies on detail, they seem to have a cool effect on simple subjects. I’m especially a fan of the emboss effect on the photo I used.
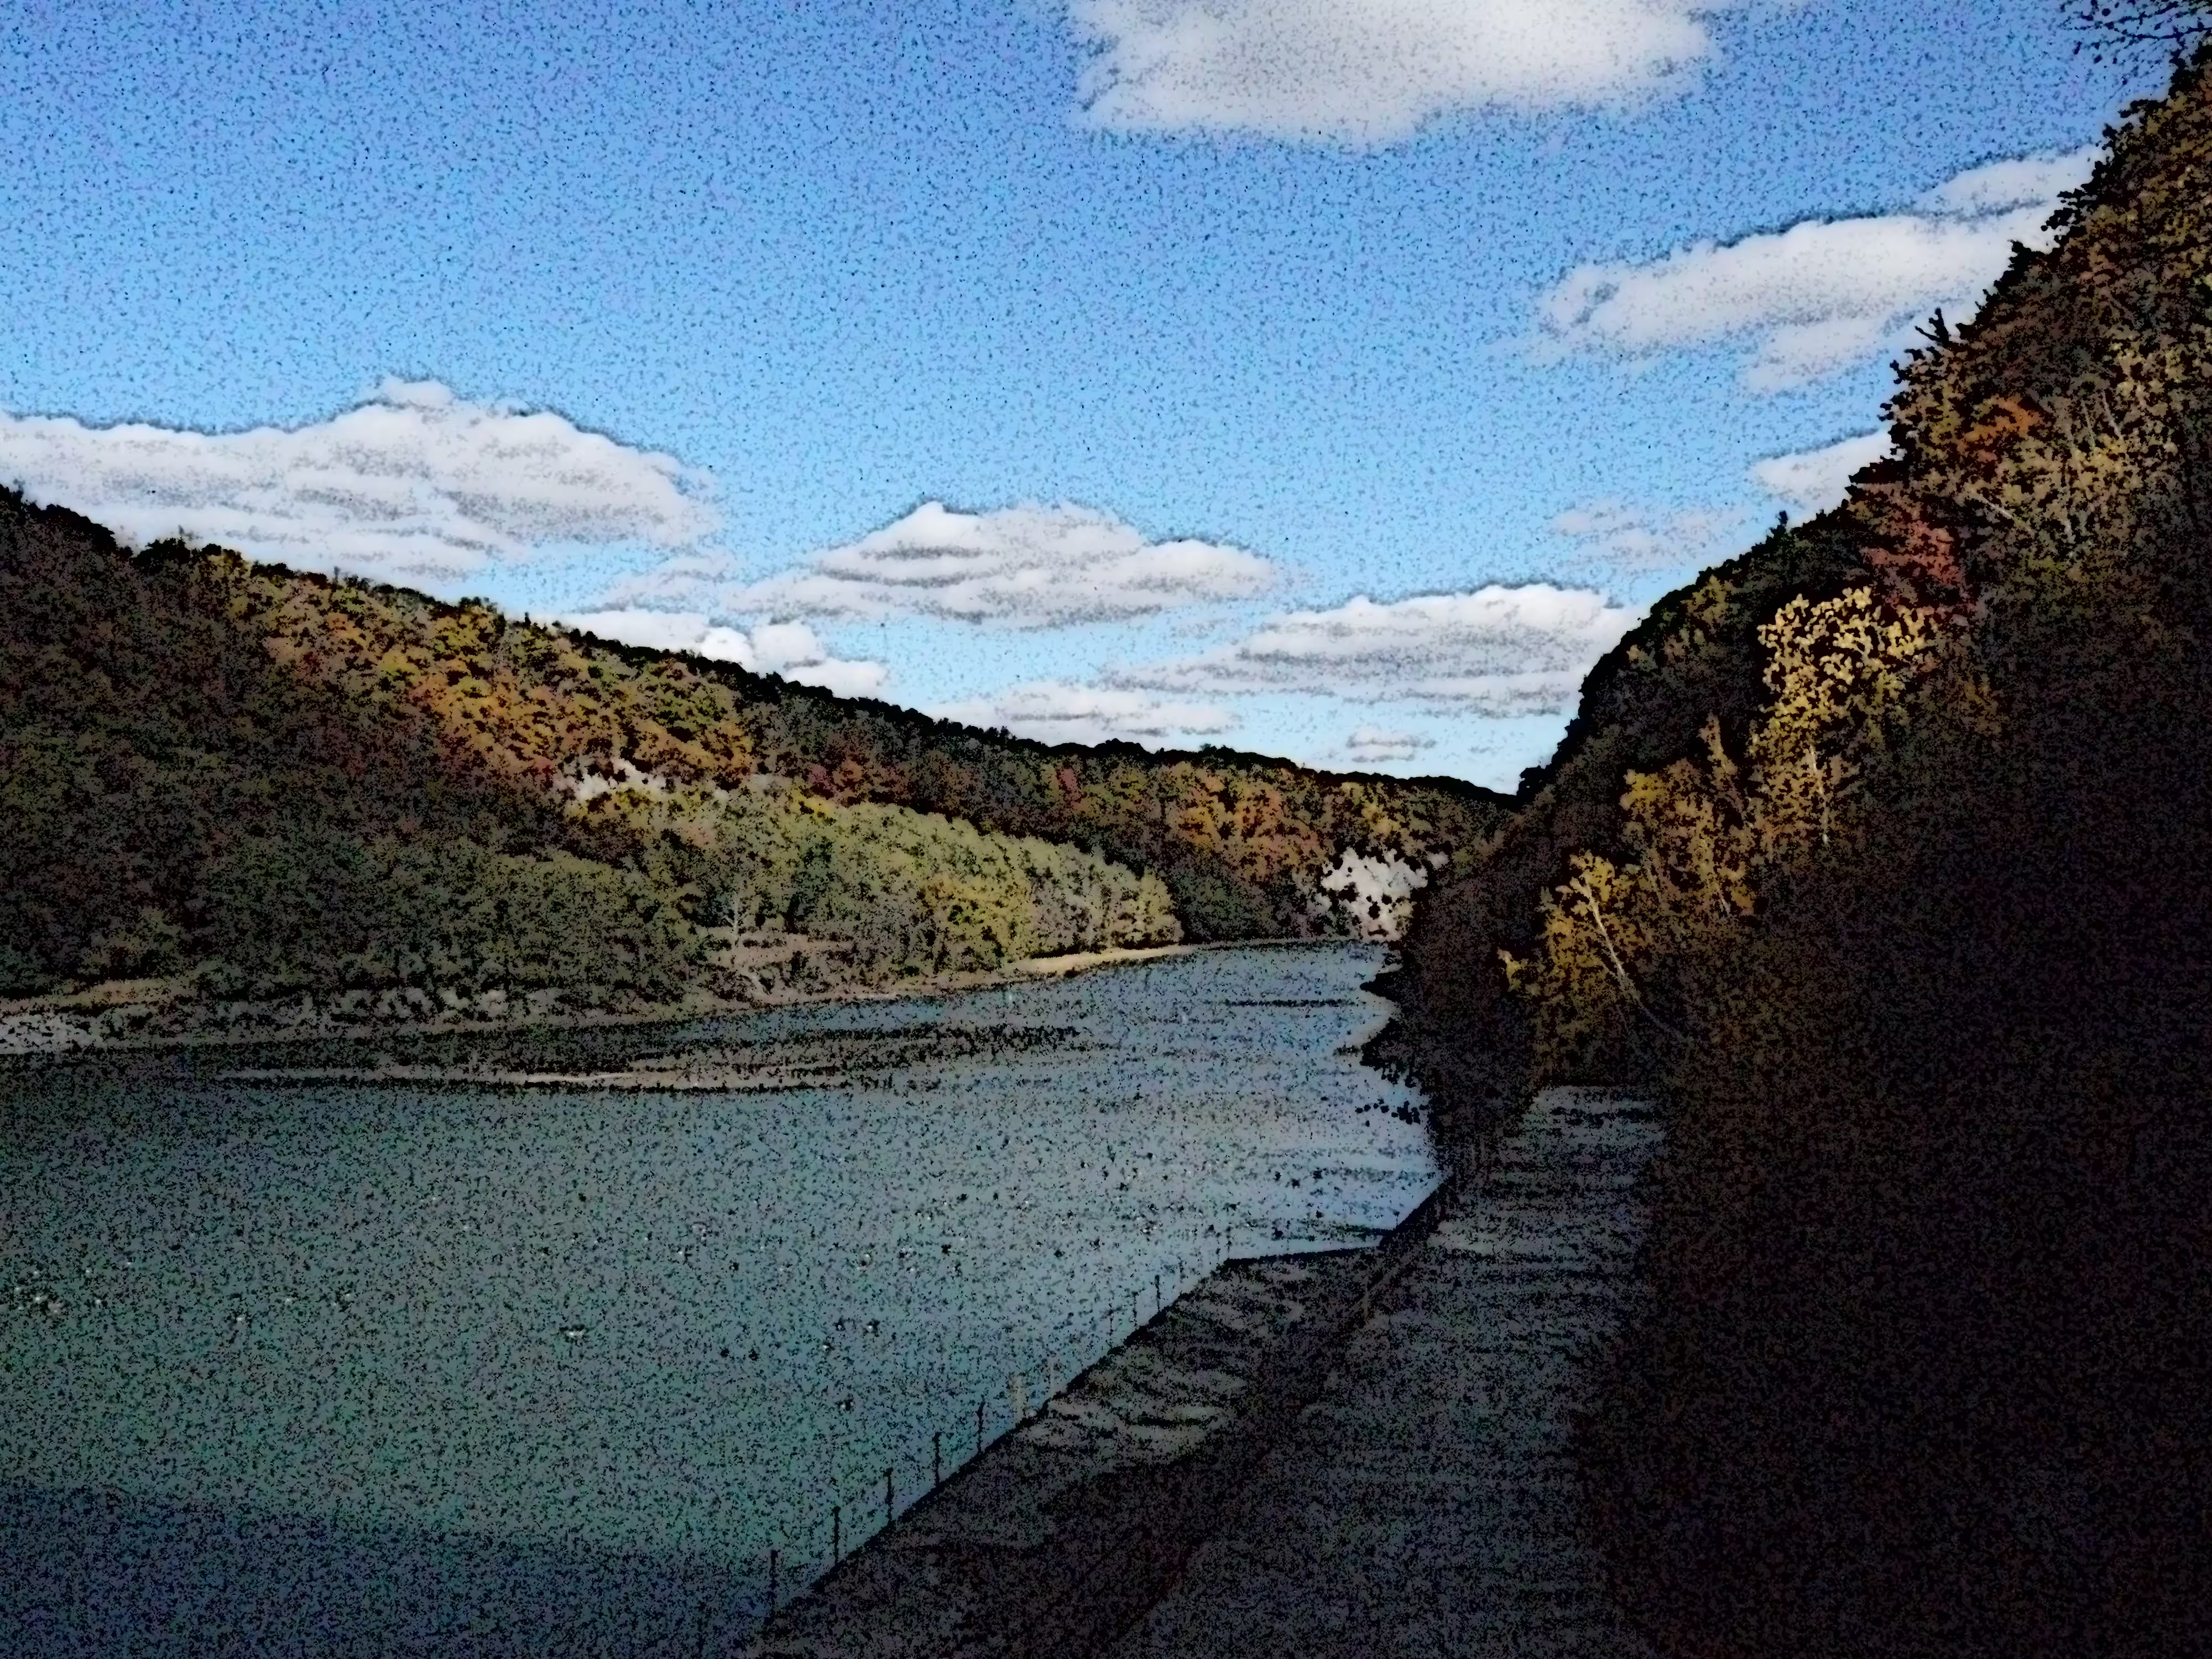
Cartoon
I don’t quite feel like it’s a cartoon style, almost feeling more like a detailed (noisy?) colored pencil drawing. If you set the style strength too low, it just looks like a noise filter, but if you crank it up a bit it has a distinct look. I feel like it works well on photos with several contrasting big blocks of color - such as the sky, trees, and river in the image I used.
Oilify and Waterpixels
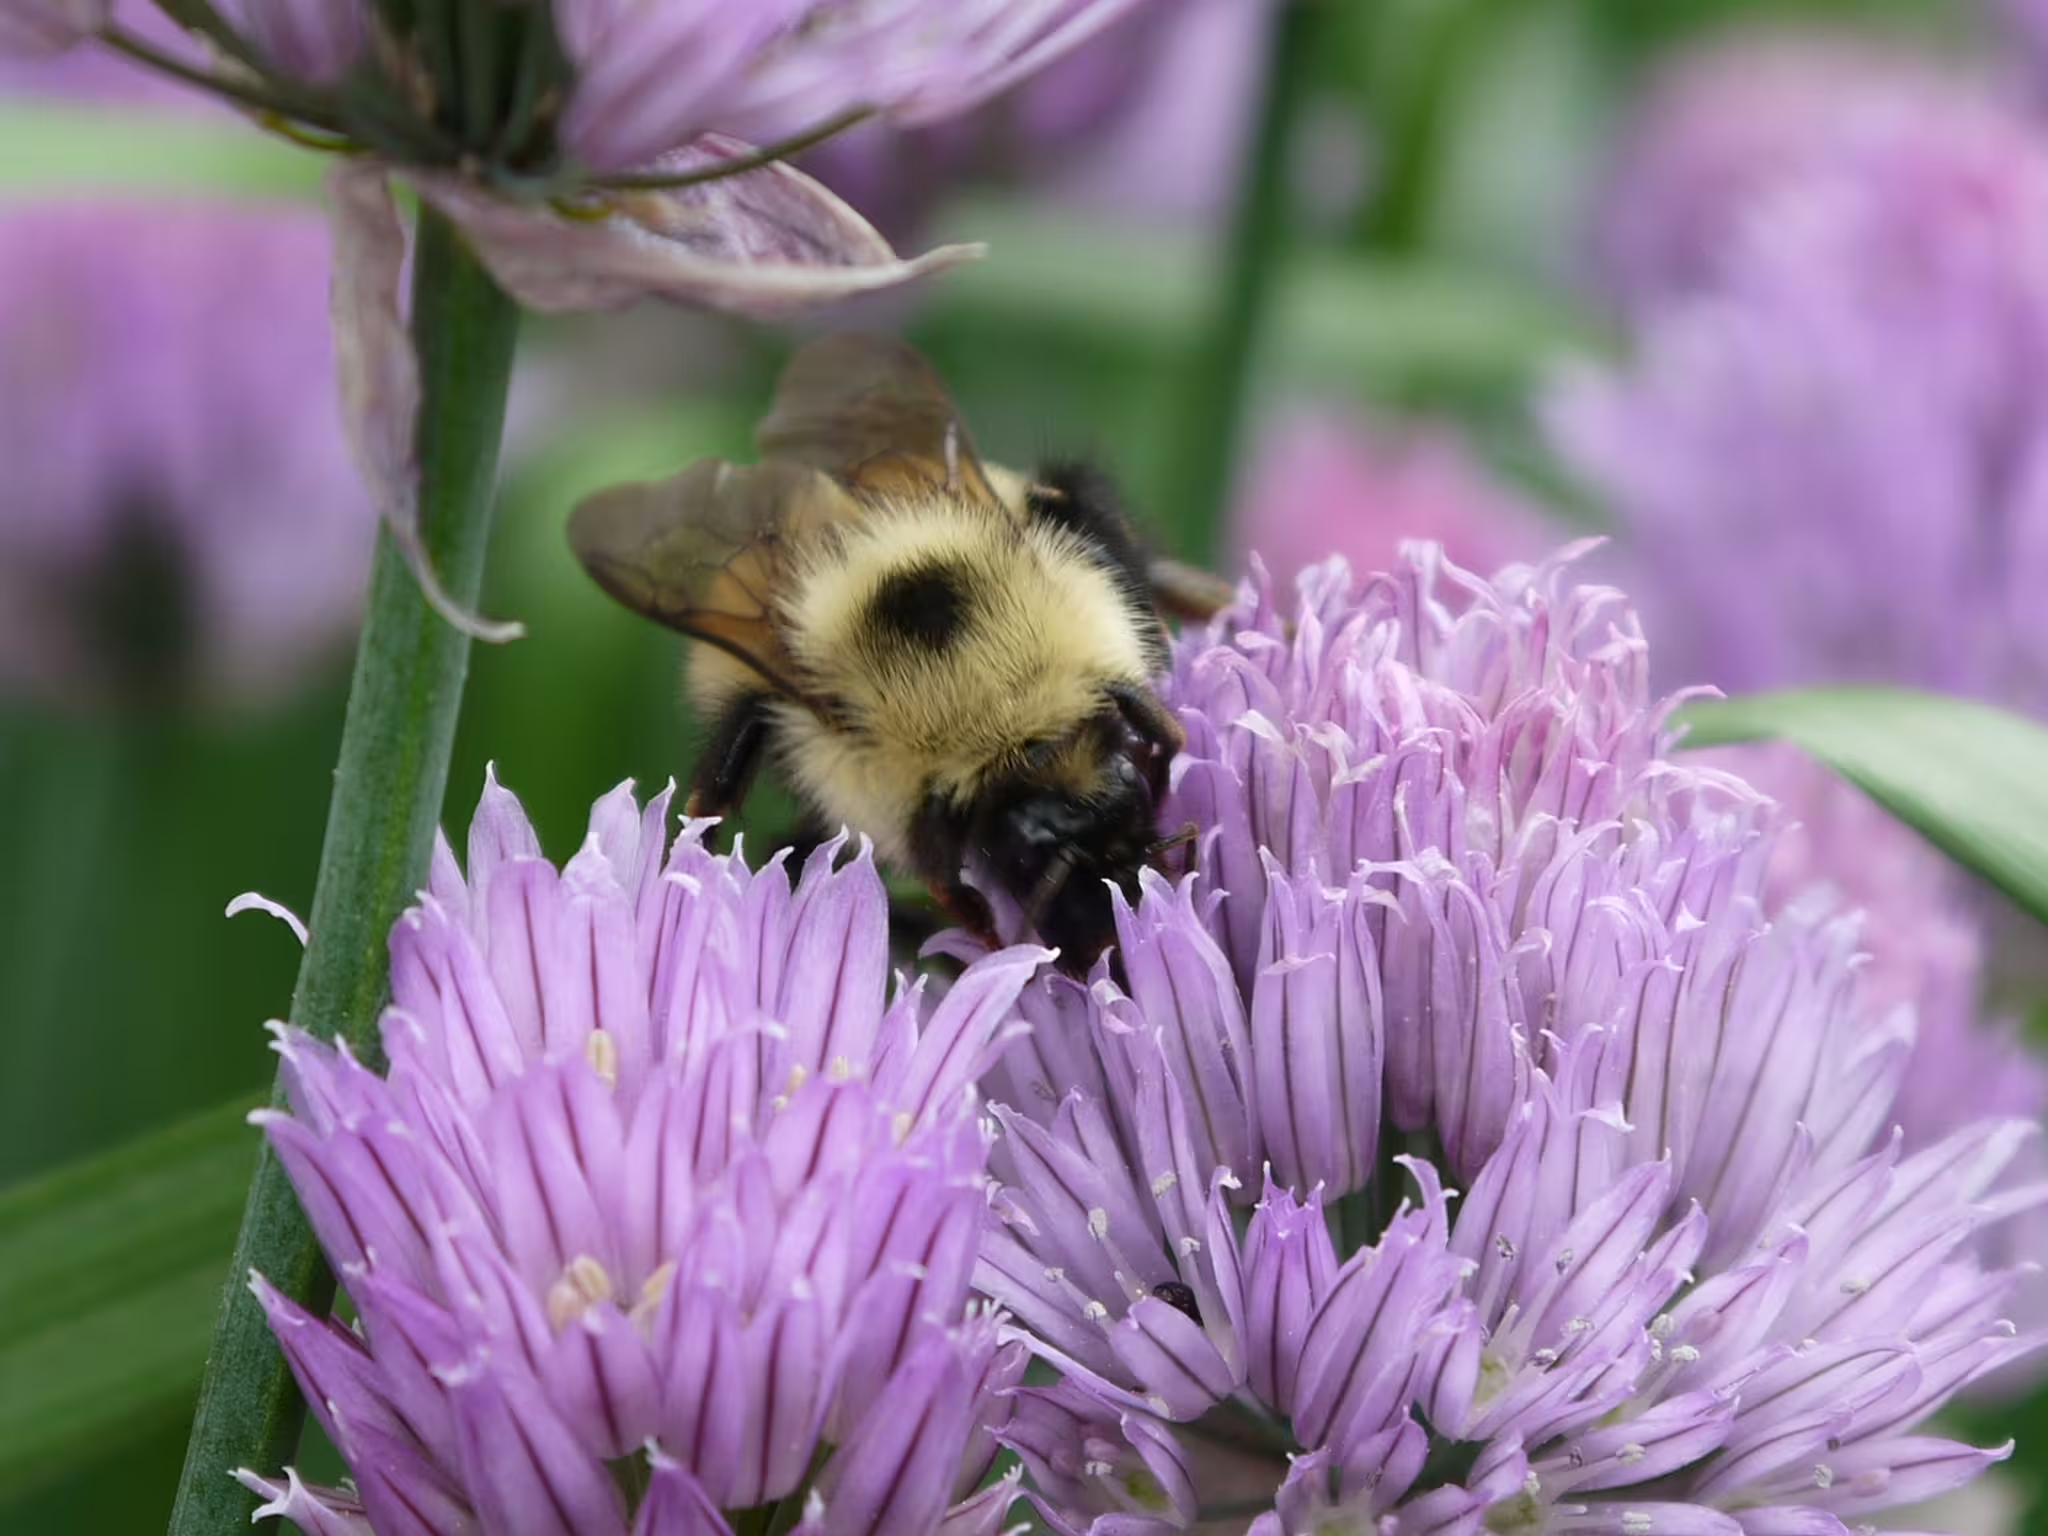
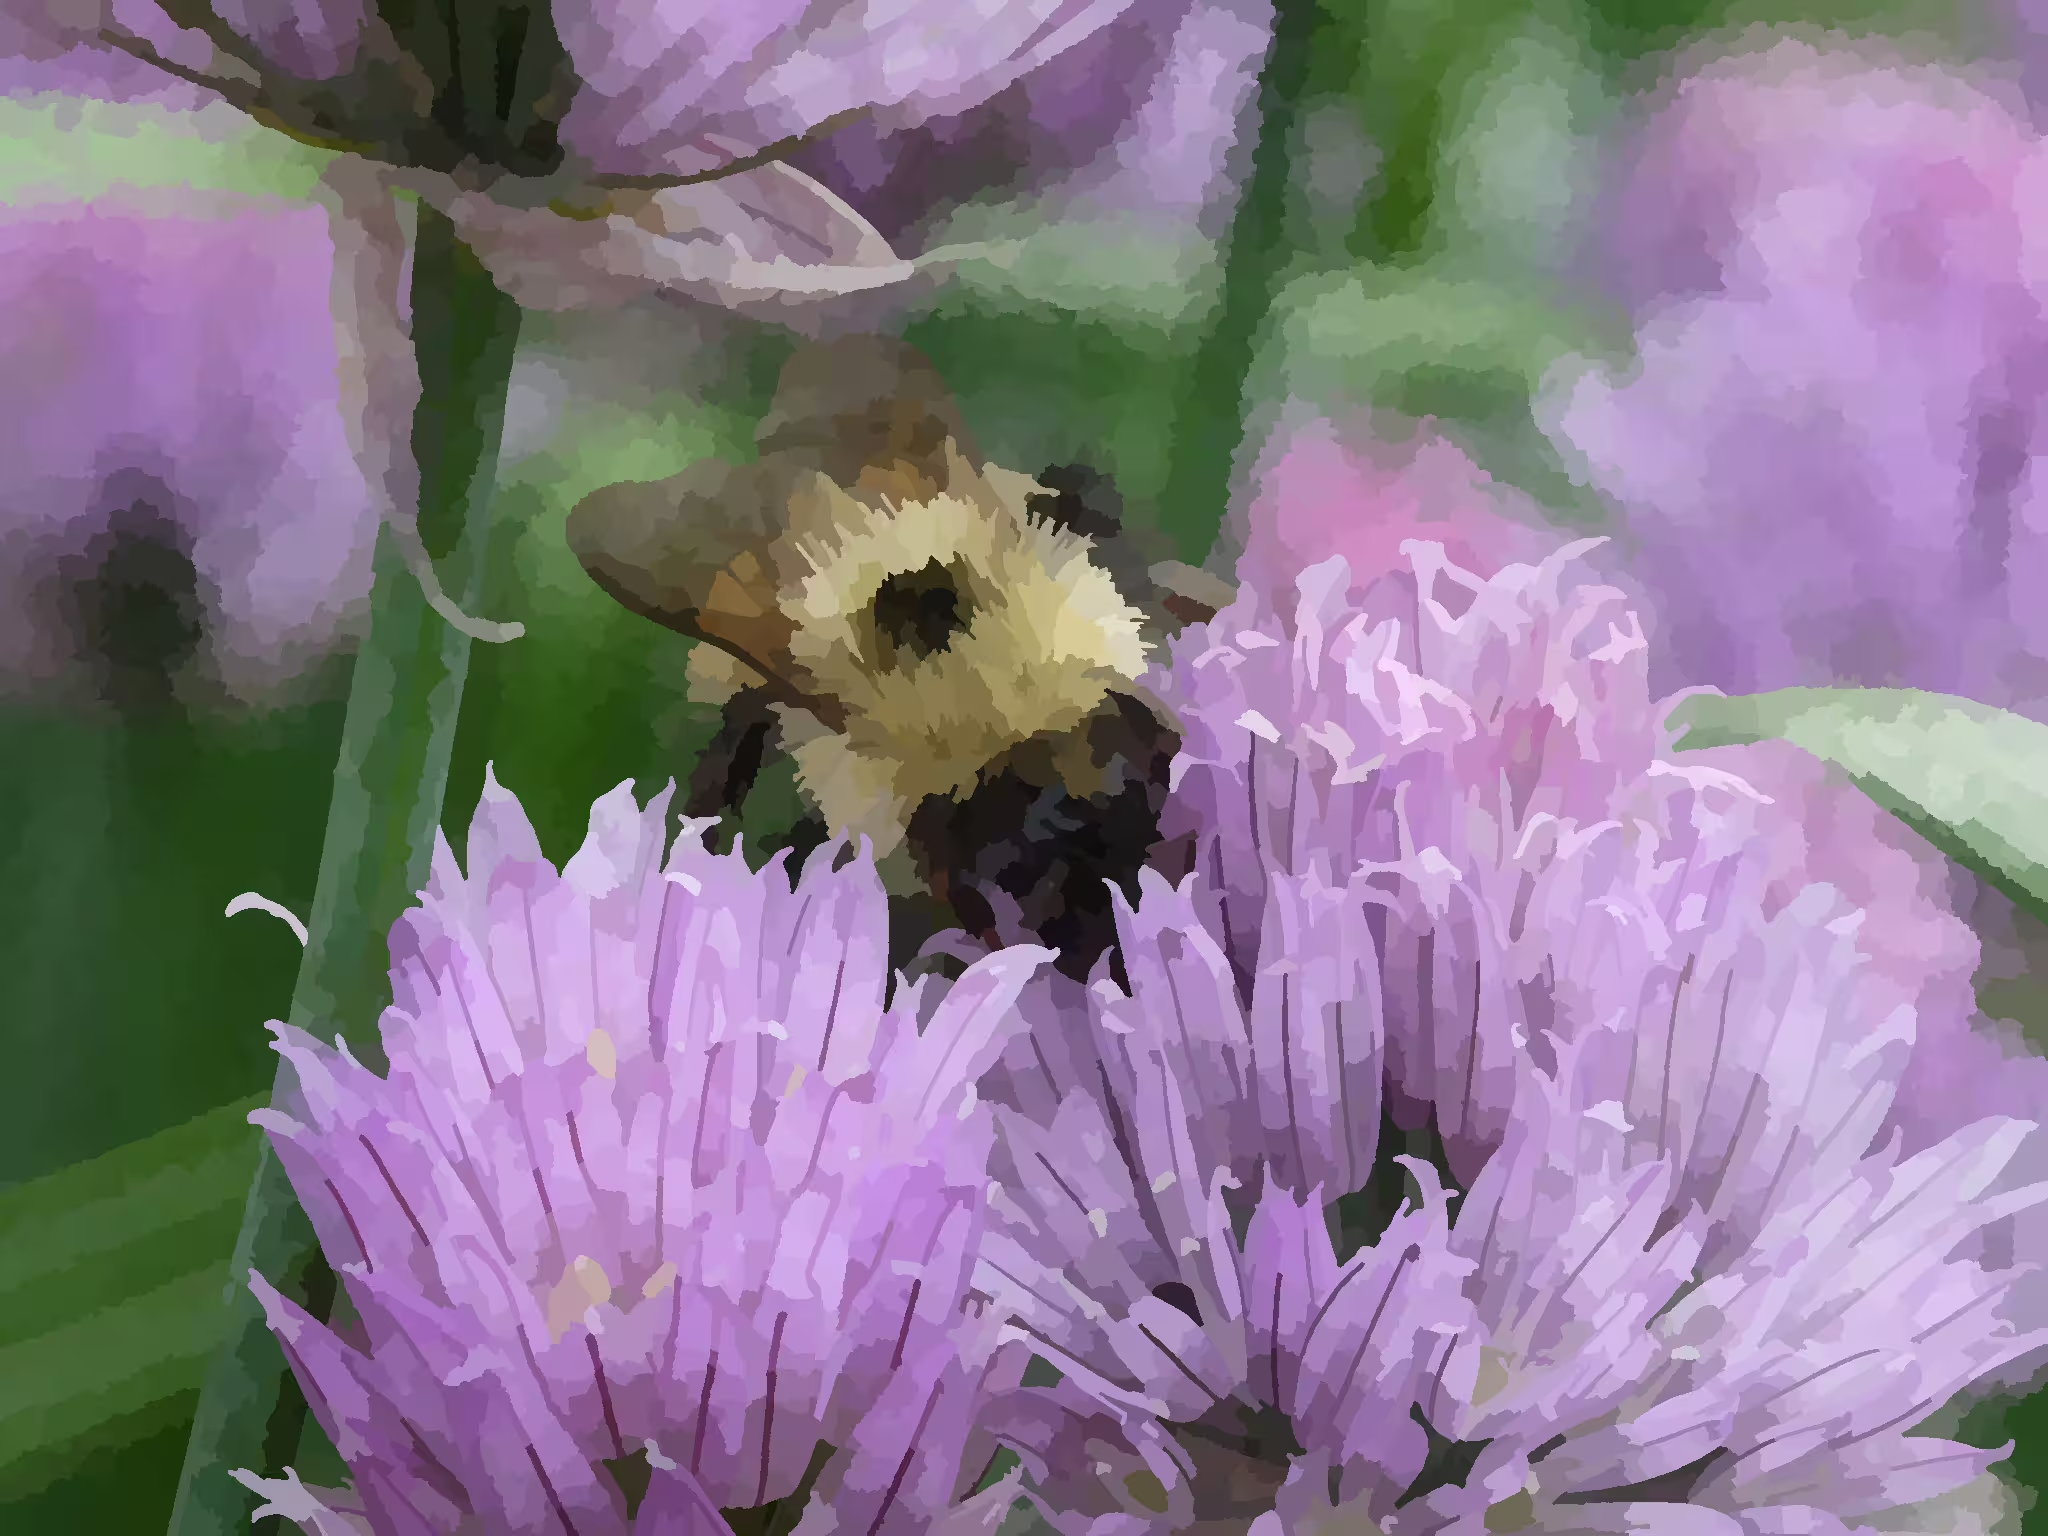
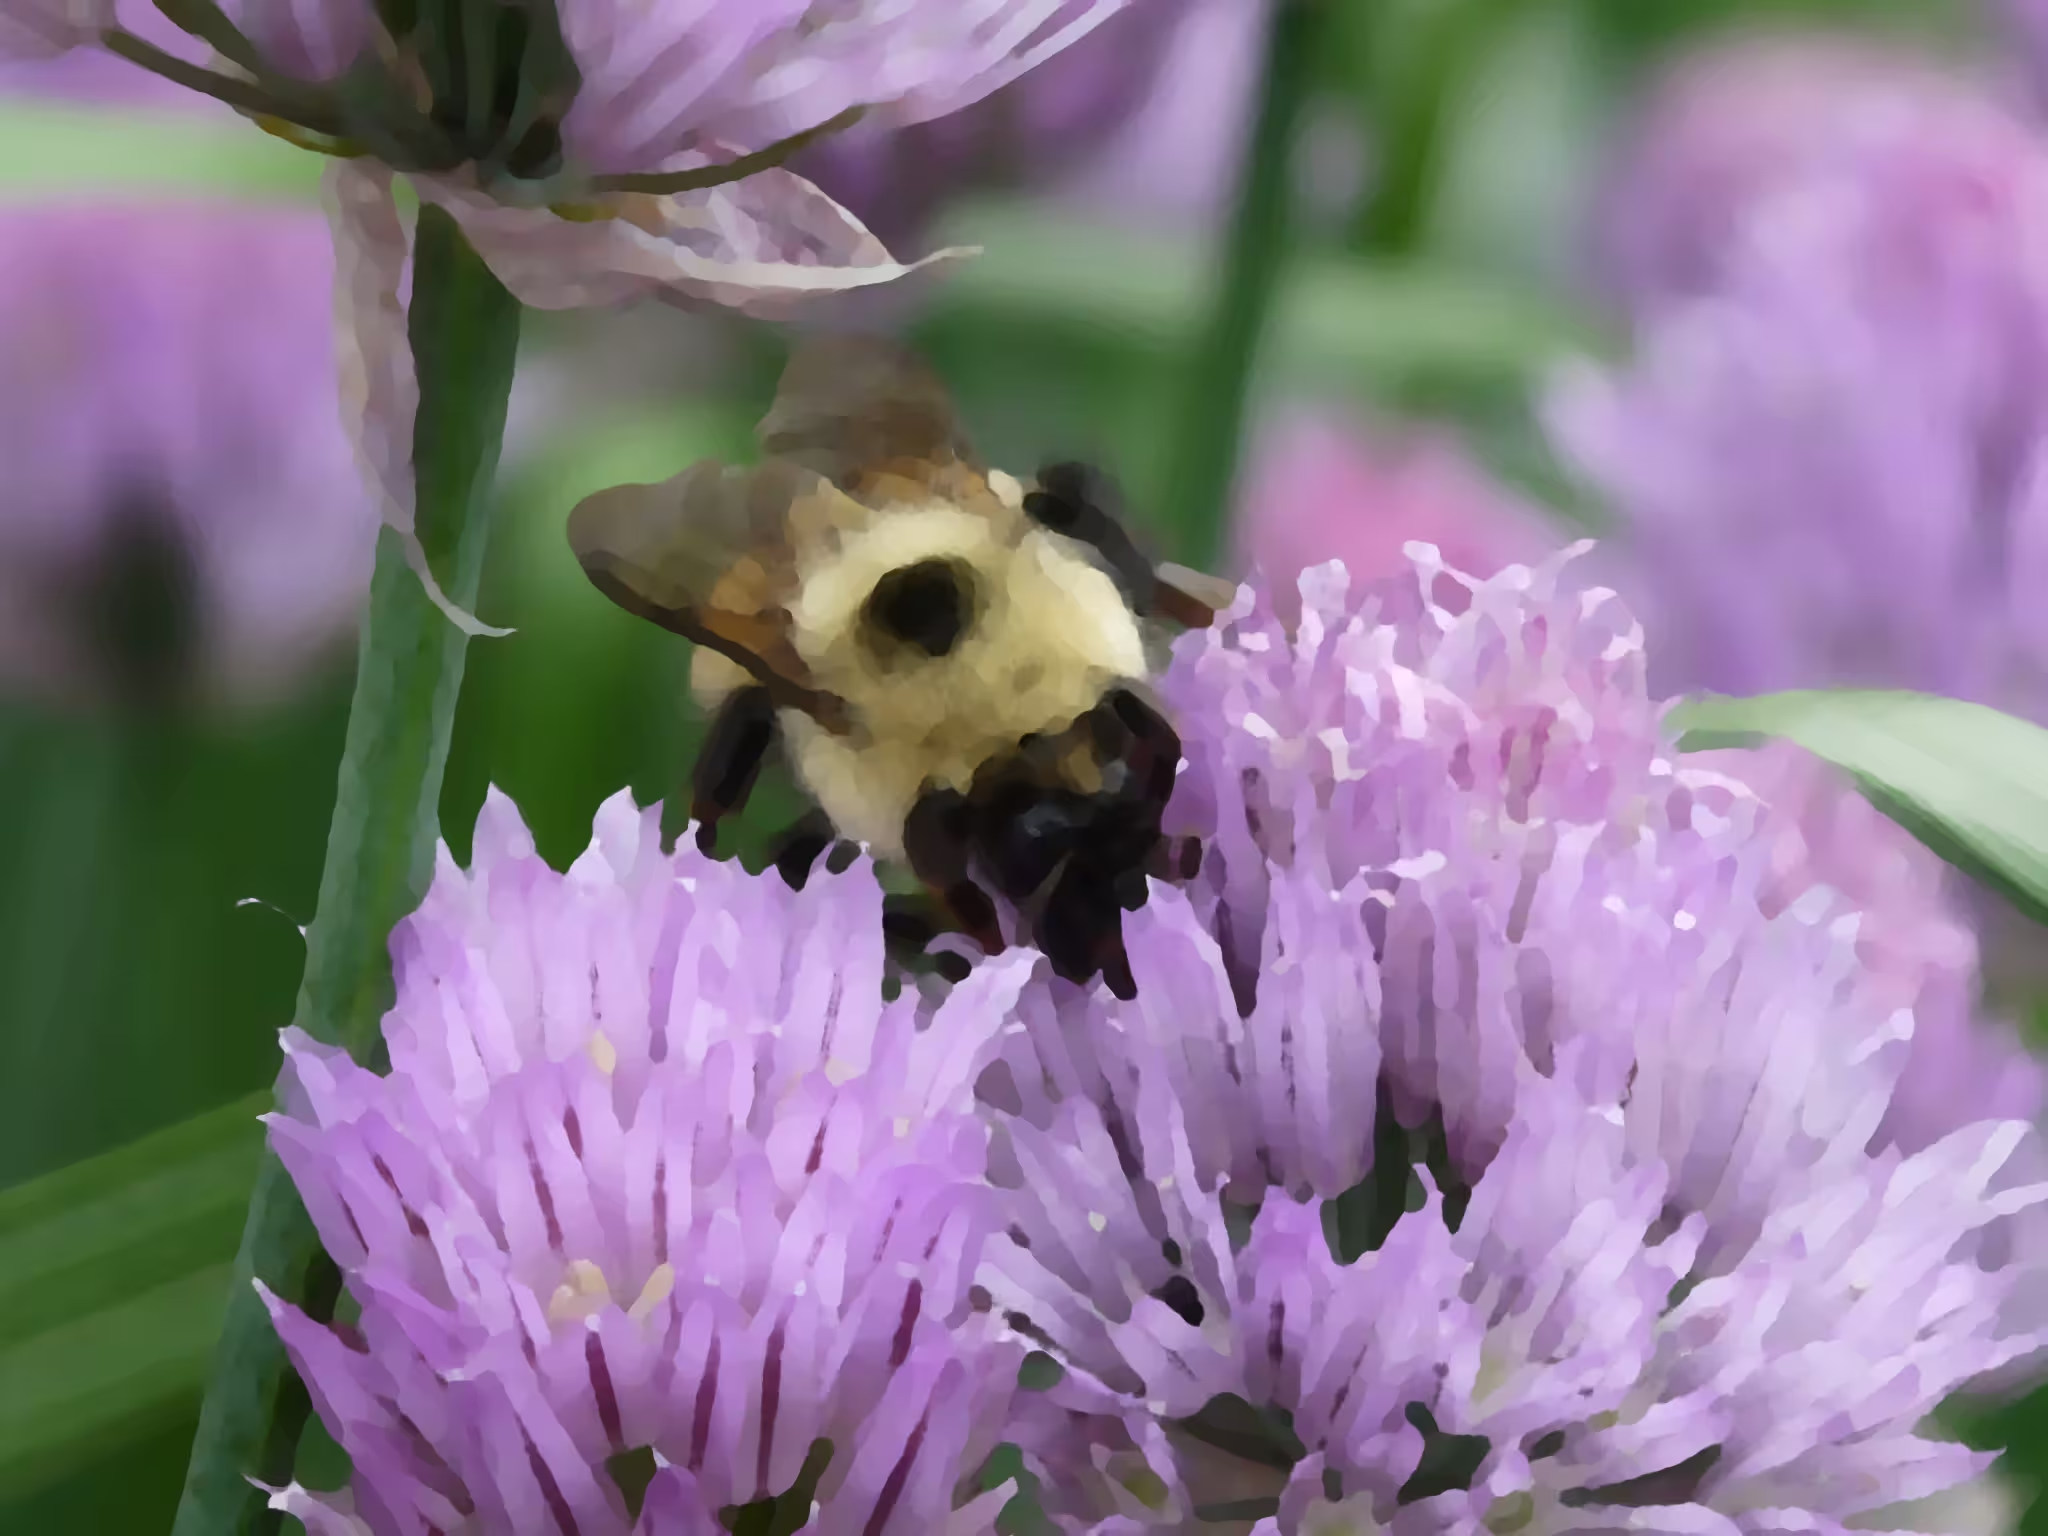
Images in order: Original, Waterpixels, Oilify
GIMP’s two different painting like effects that give slightly different results. I prefer Waterpixels over Oilify, at least for the images I’ve tried them on, but they both have cool effects when used on photos with less detail.
Mosaic
The one thing that painting effects lack is human creativity. You can apply Gaussian blur in small blobs to a pretty great effect, but without a human’s brush strokes, you can sometimes end up with uneven lines or a lack of emphasis in places where you’d want to have extra detail.
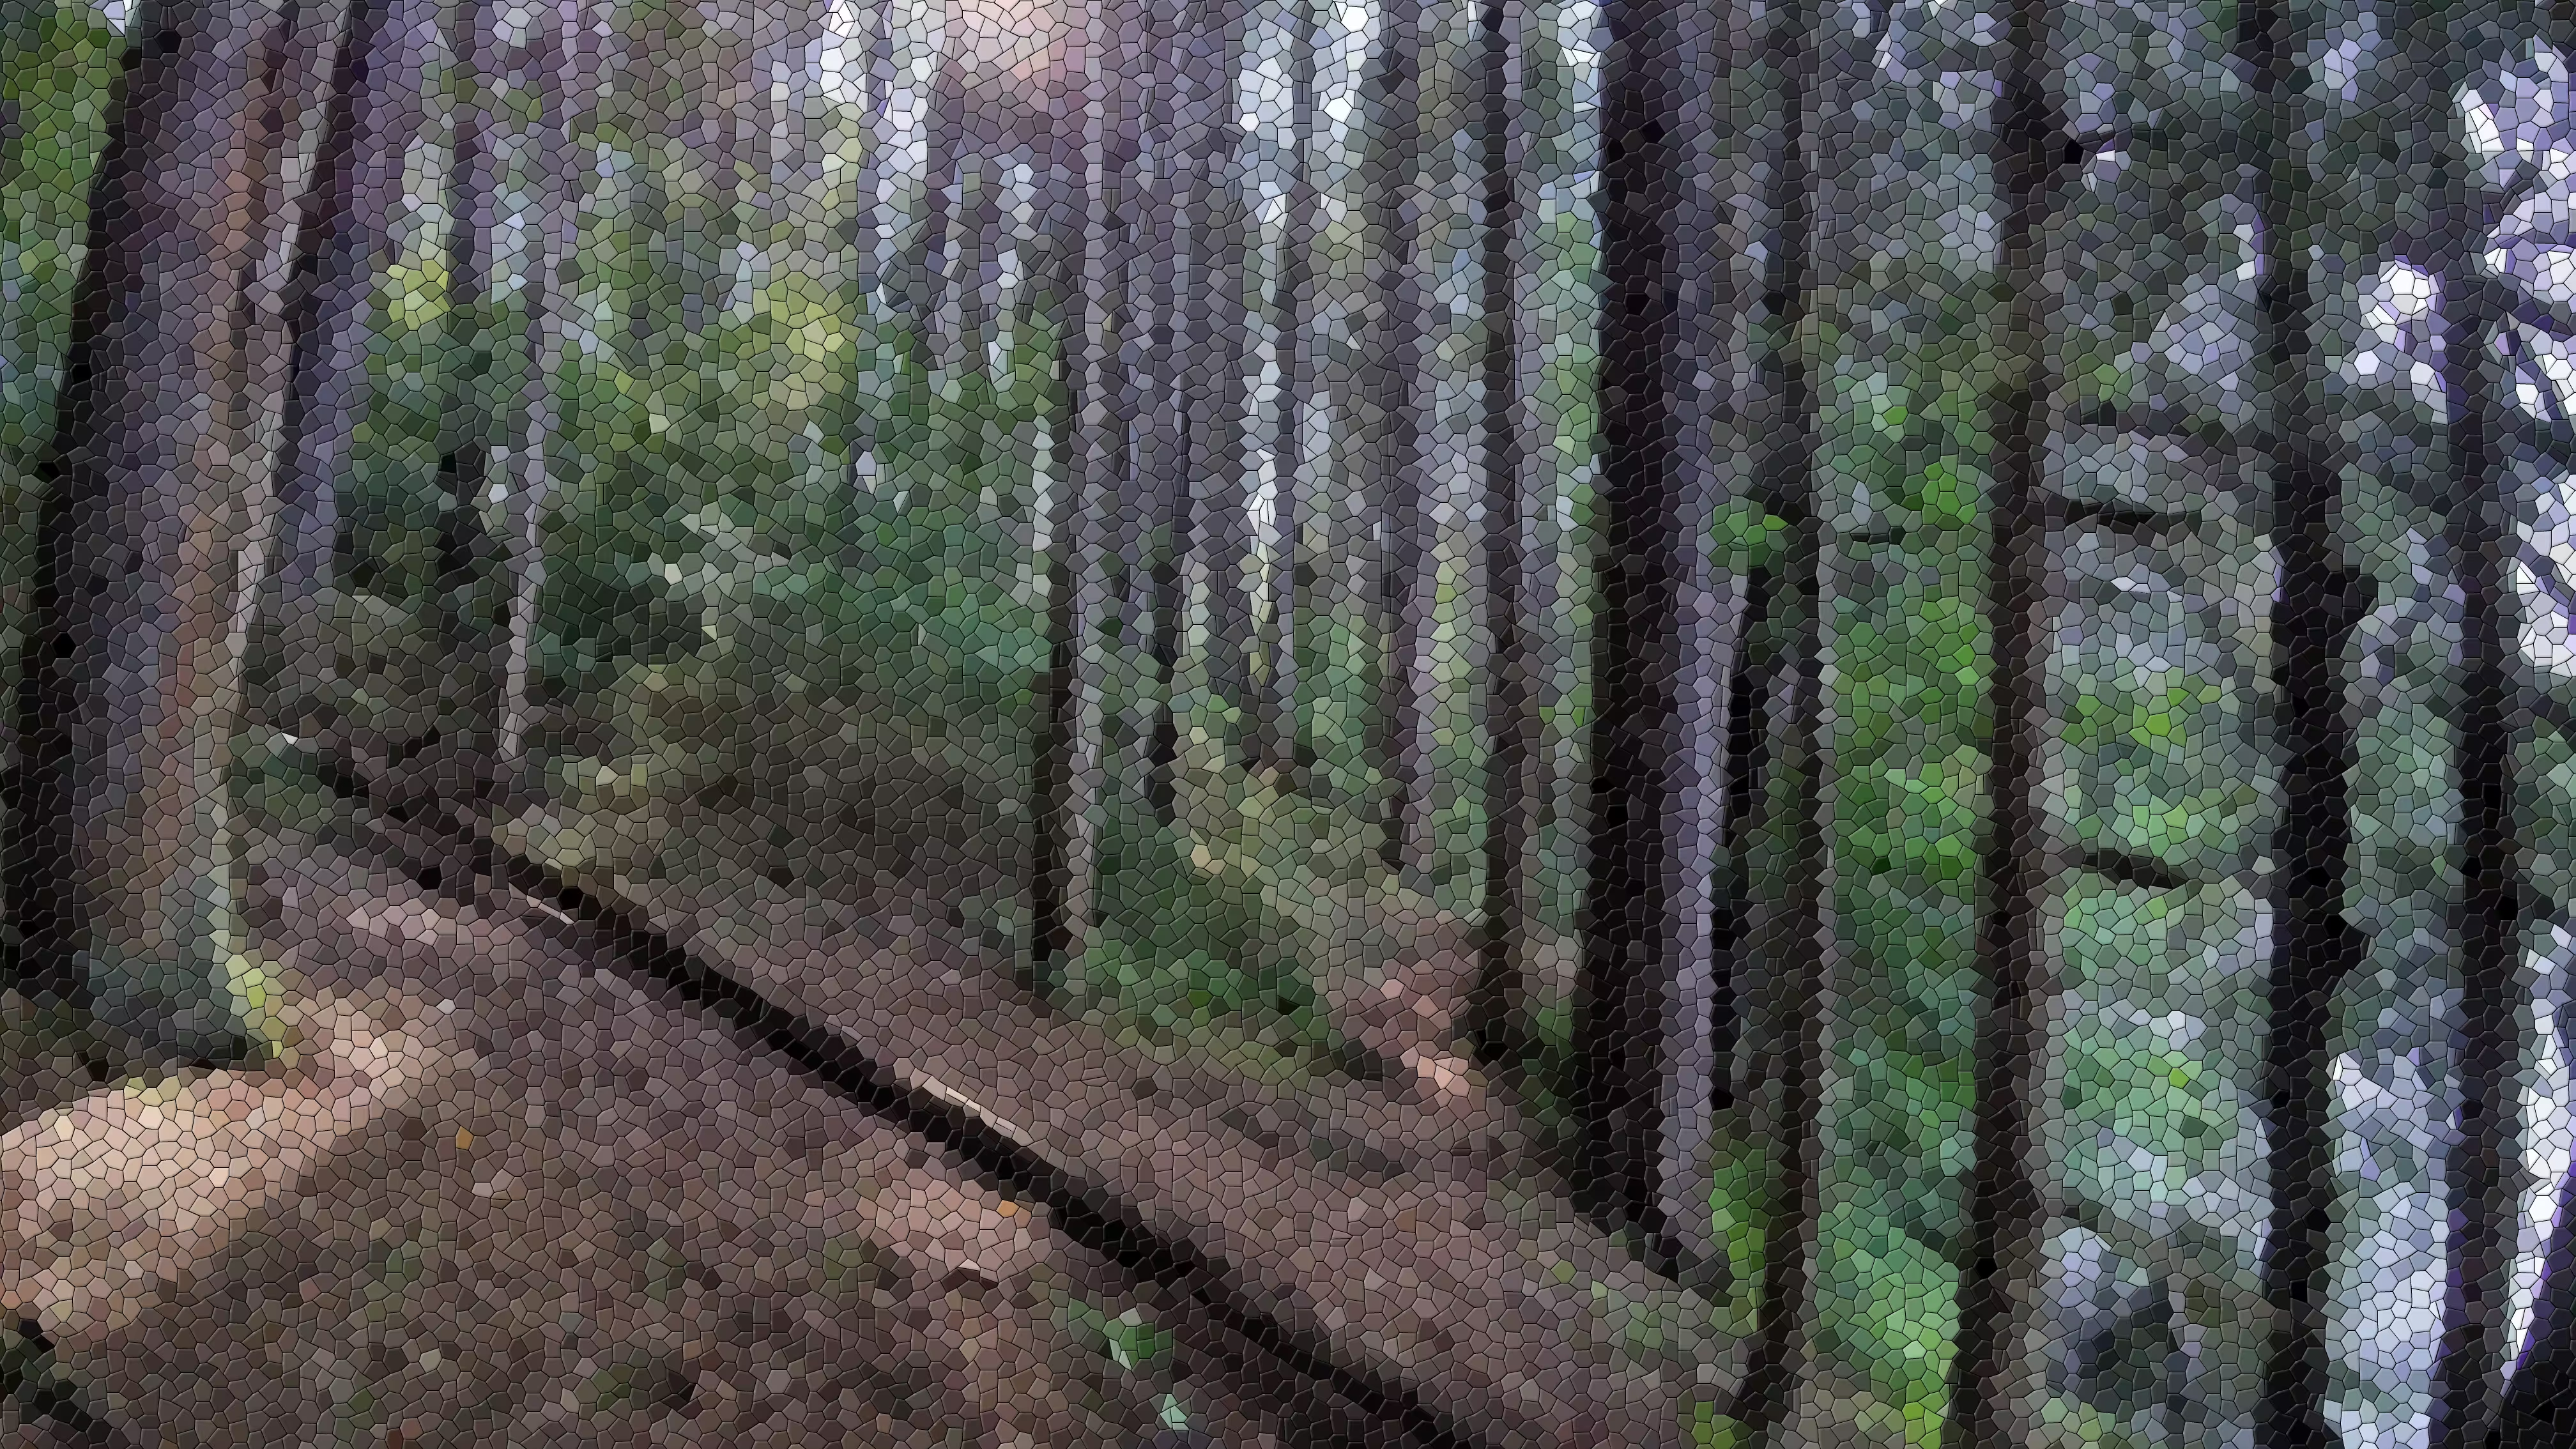
Mosaic, though, seems to be something that computers are pretty well suited to. It’s all composed of individual shapes (defaulting to hexagons in GIMP) of a specific color.
Technicolor & Old Photo Lighting
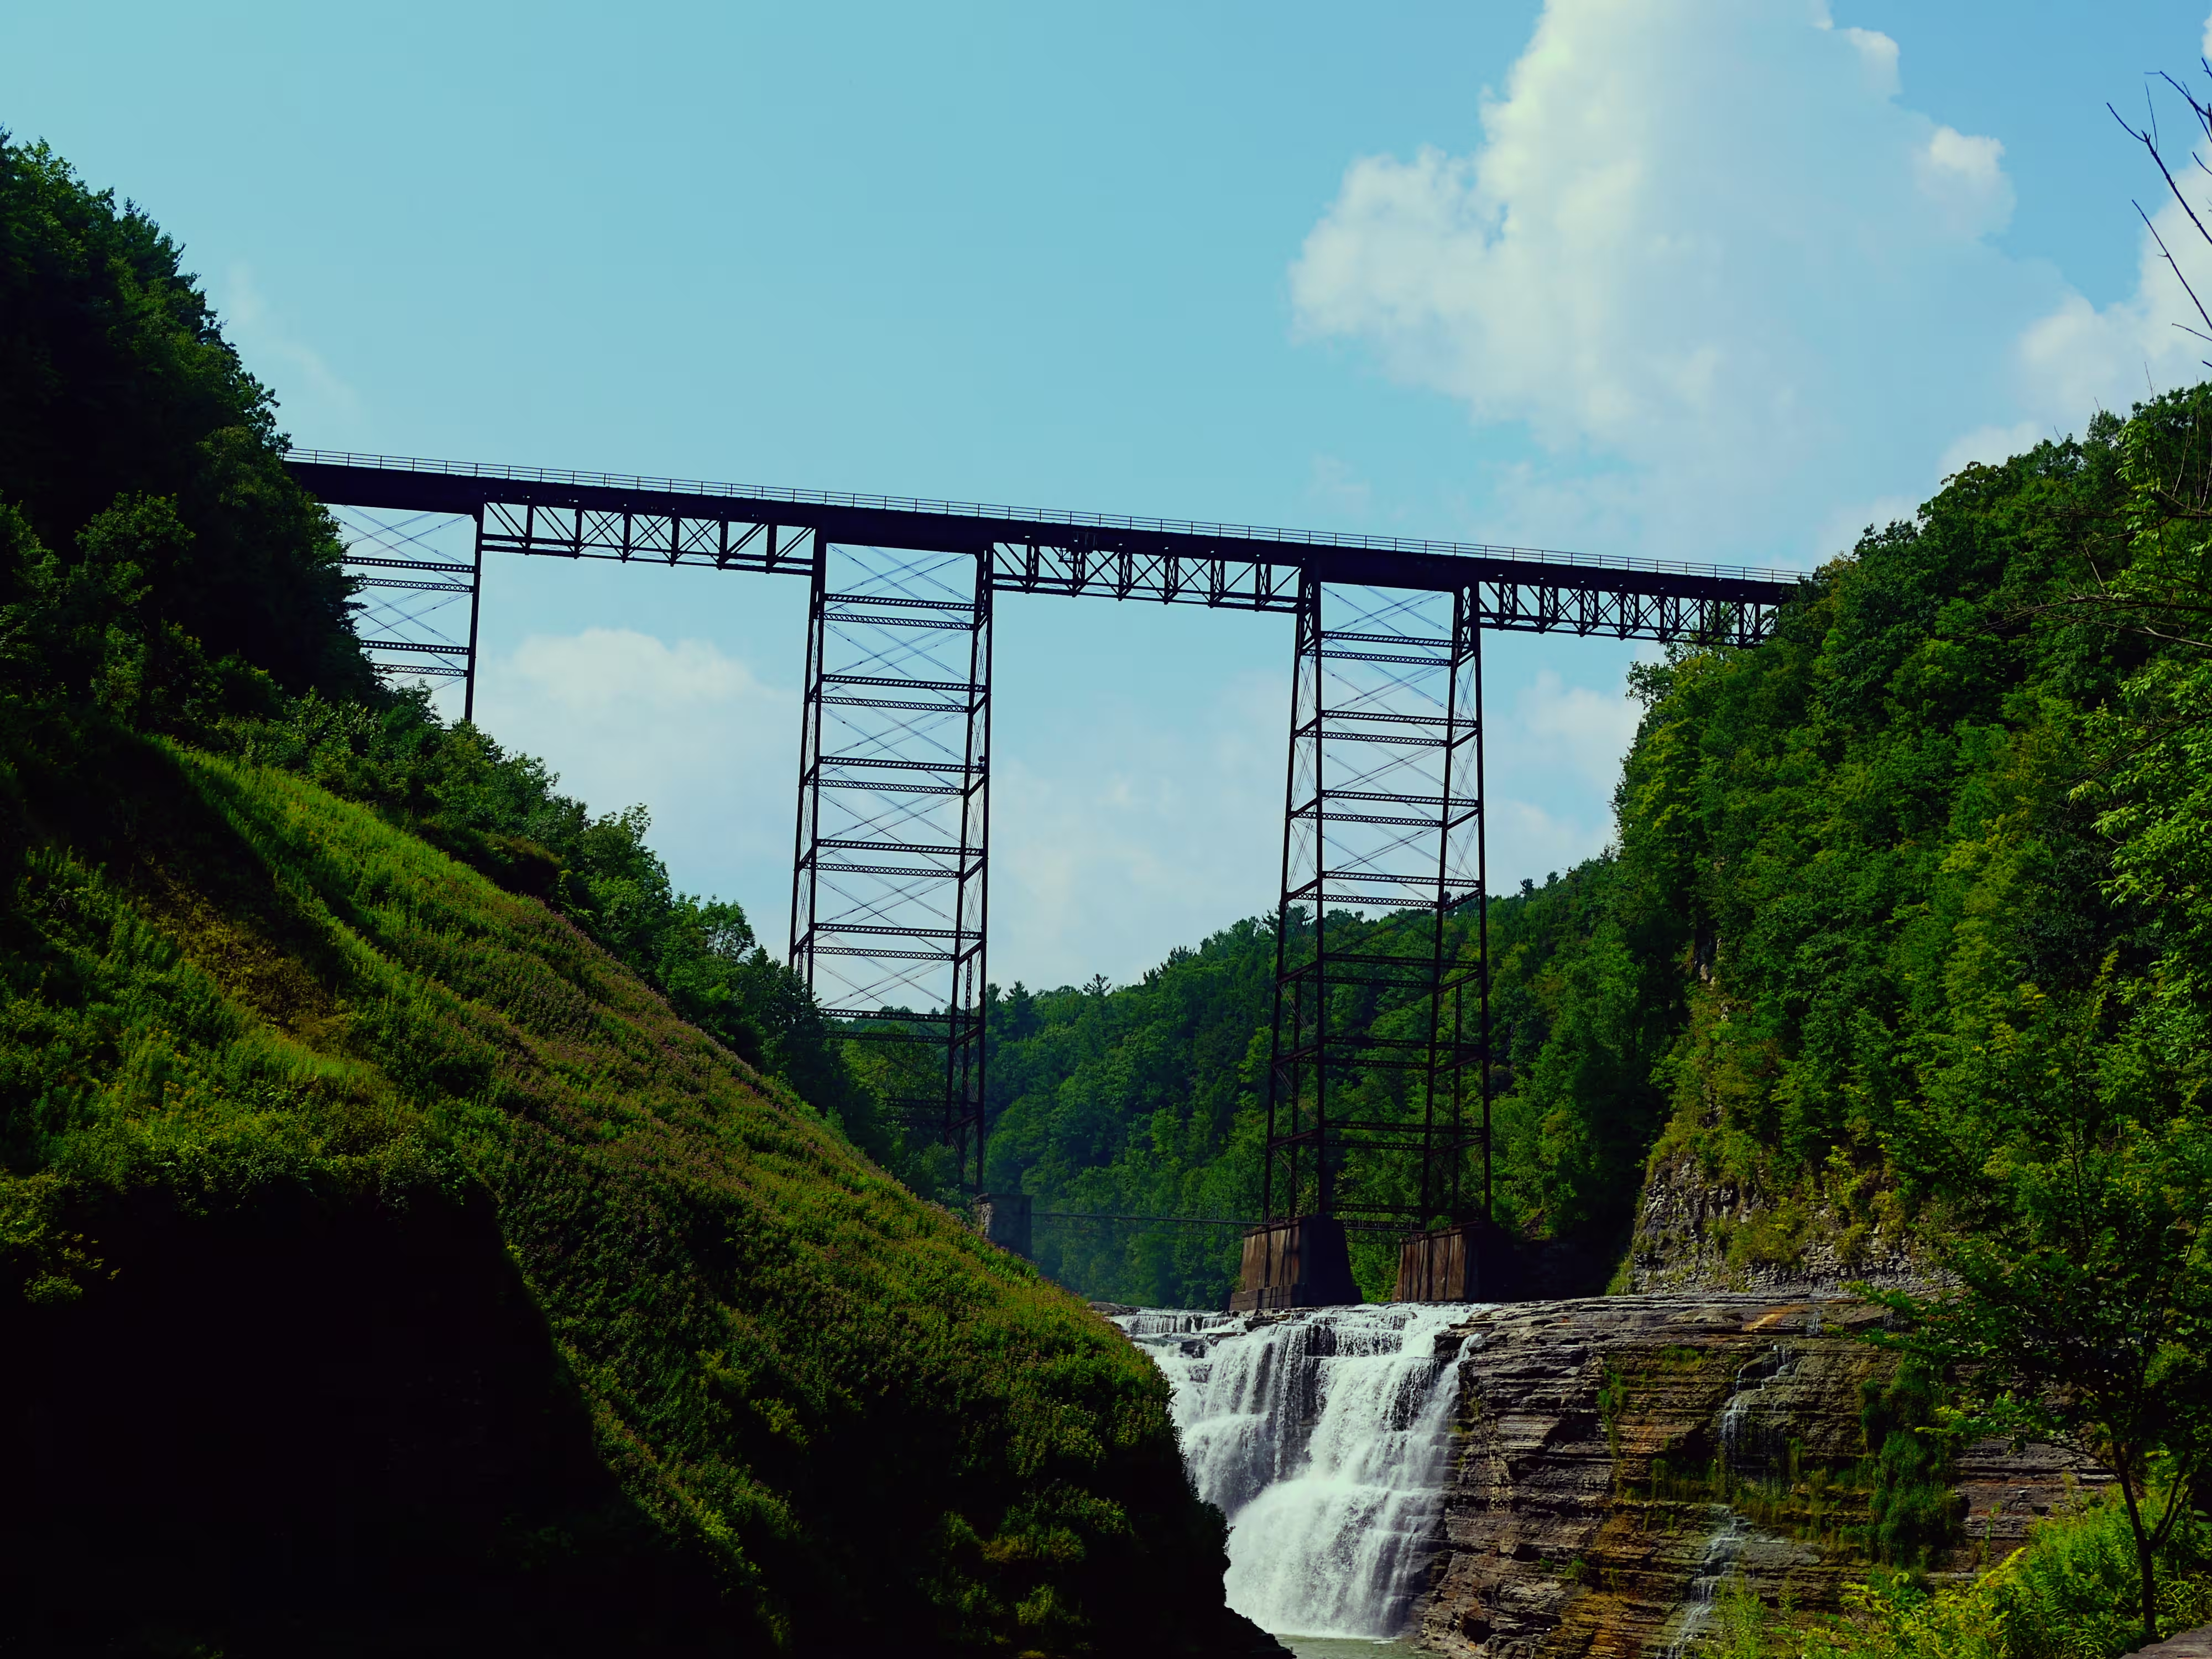
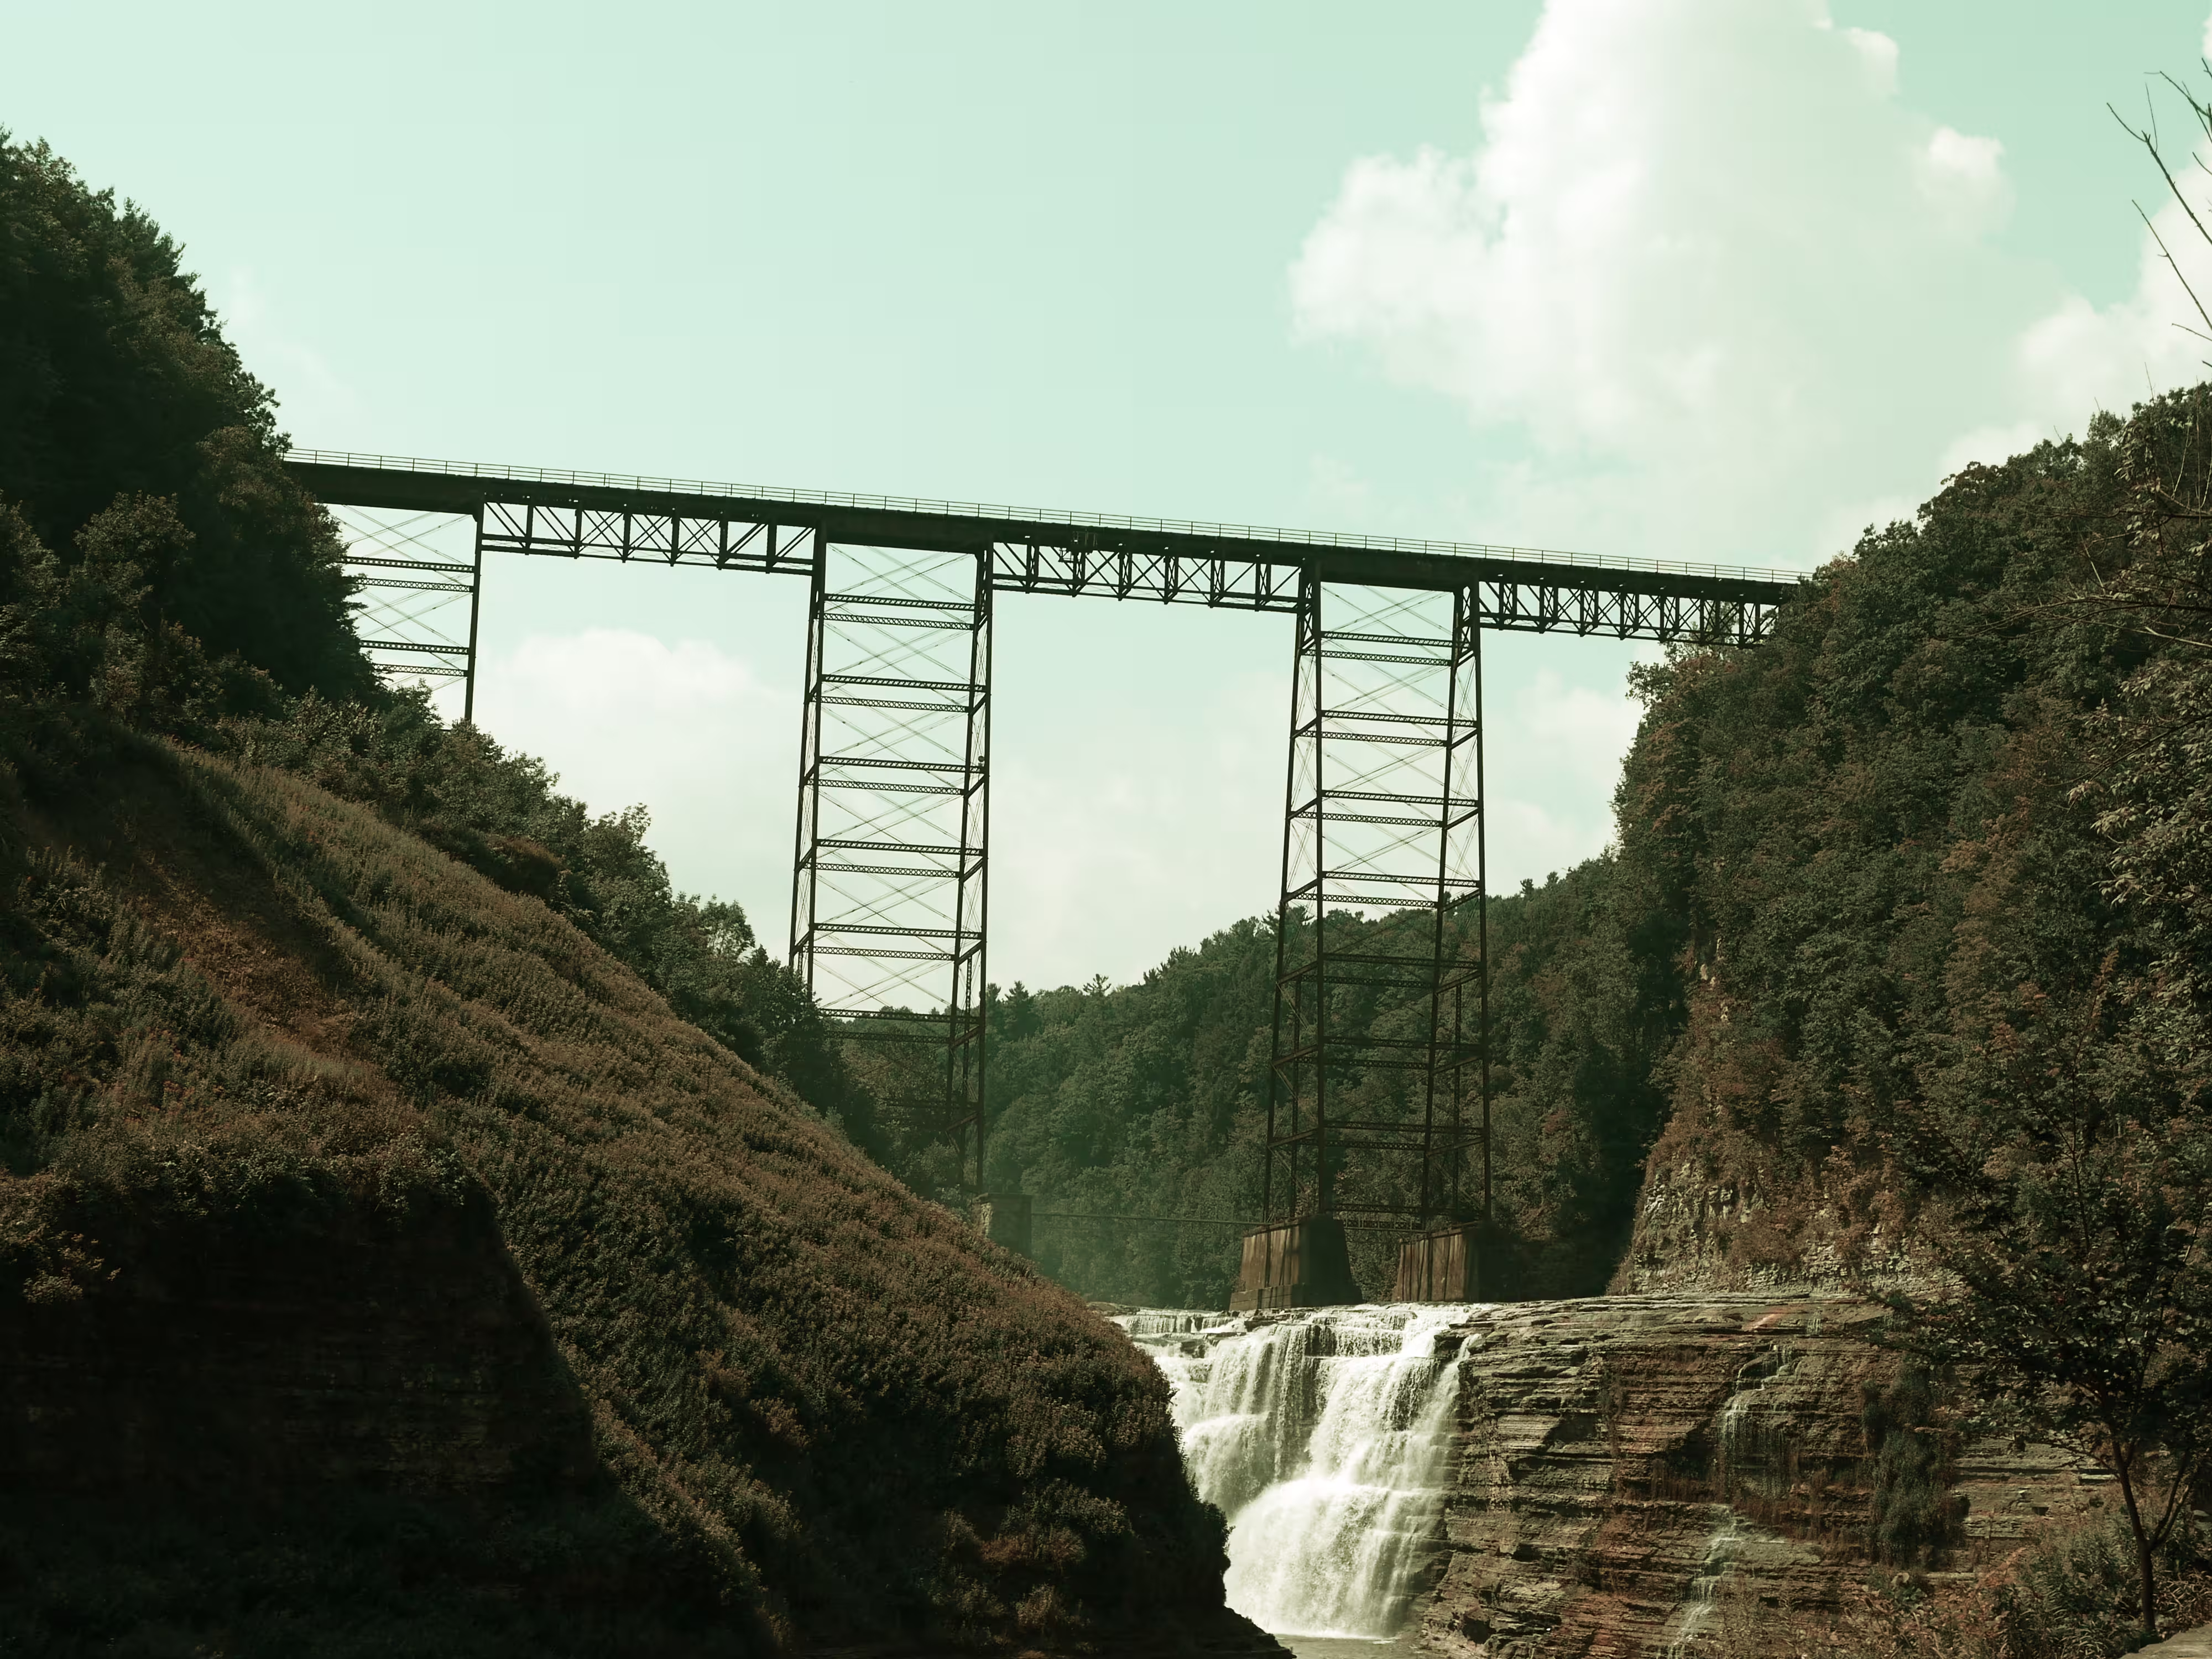
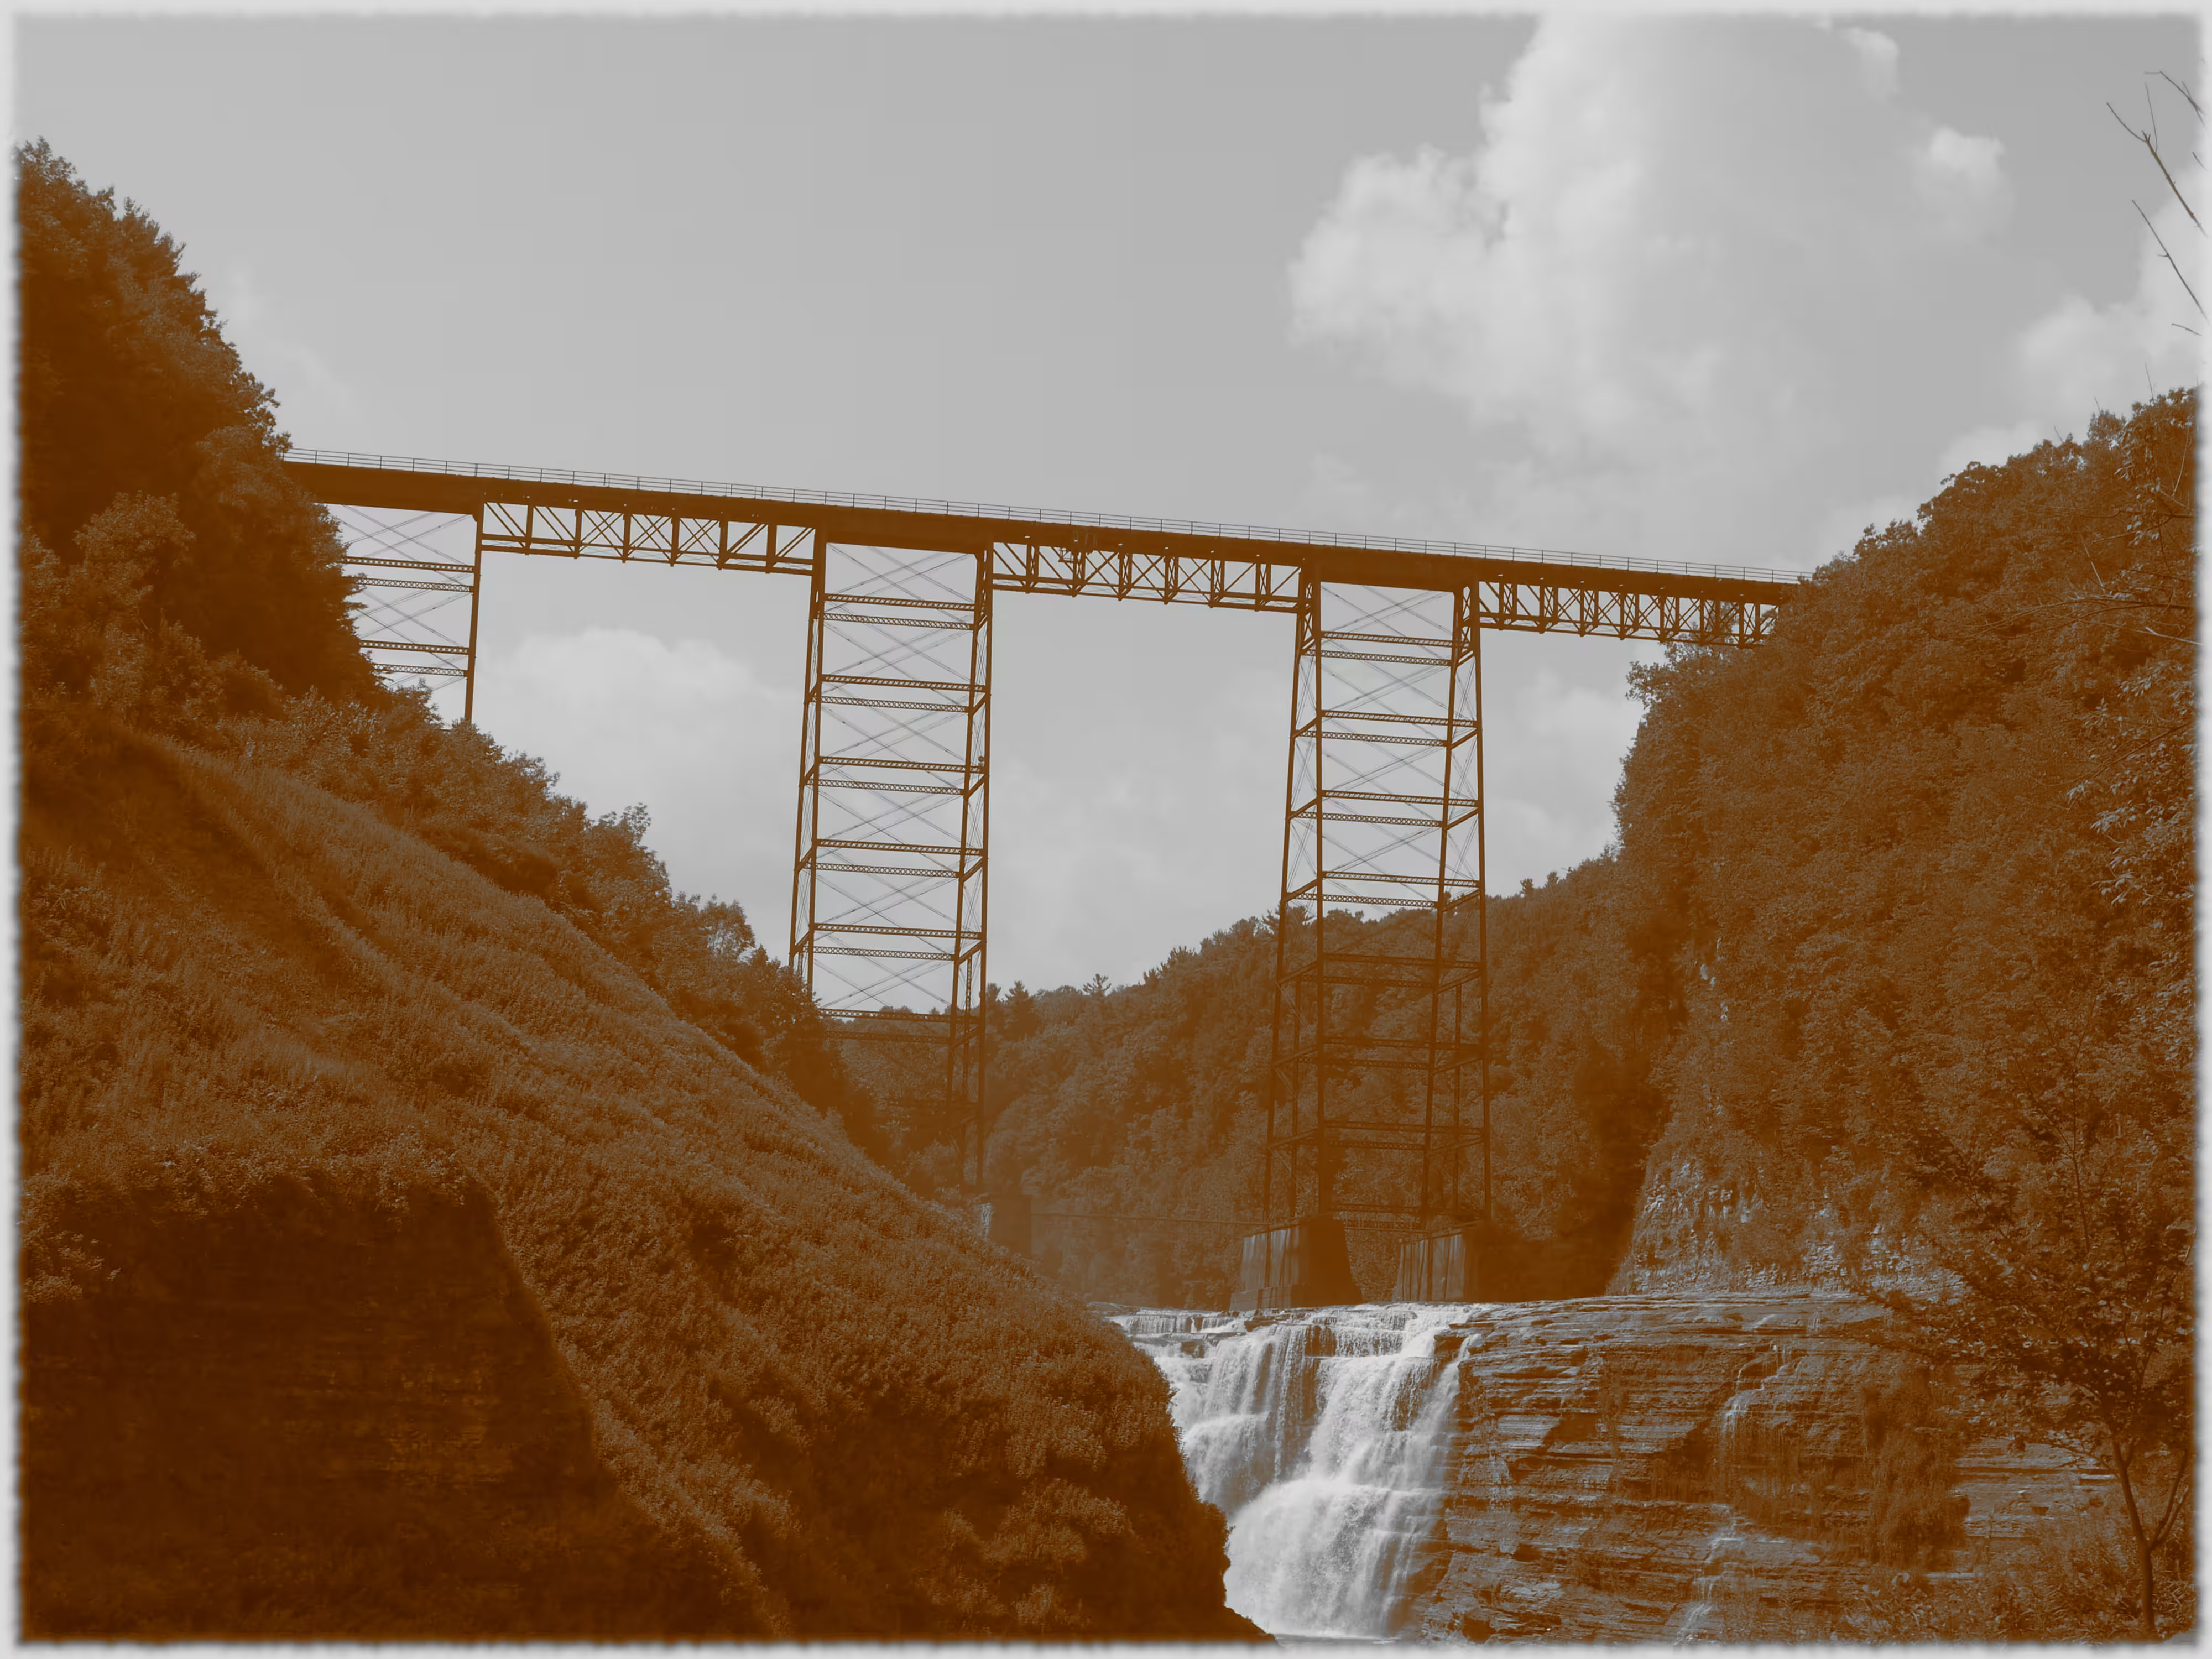
Images in order: Original, Technicolor 3, Technicolor 2, Old Photo
Old looking photo filters for if you’re looking for some nostalgia (or fake nostalgia if you’re Gen Z like me and never took photos using that technology to begin with). Still, they’ve got a unique look, and there’s something compelling about art made within limitations of a particular technology or other medium.
Cyanotype
Note: I think this was a plugin that was installed with the Gimp Plugins package from the Debian Repos. It may need to be installed manually.
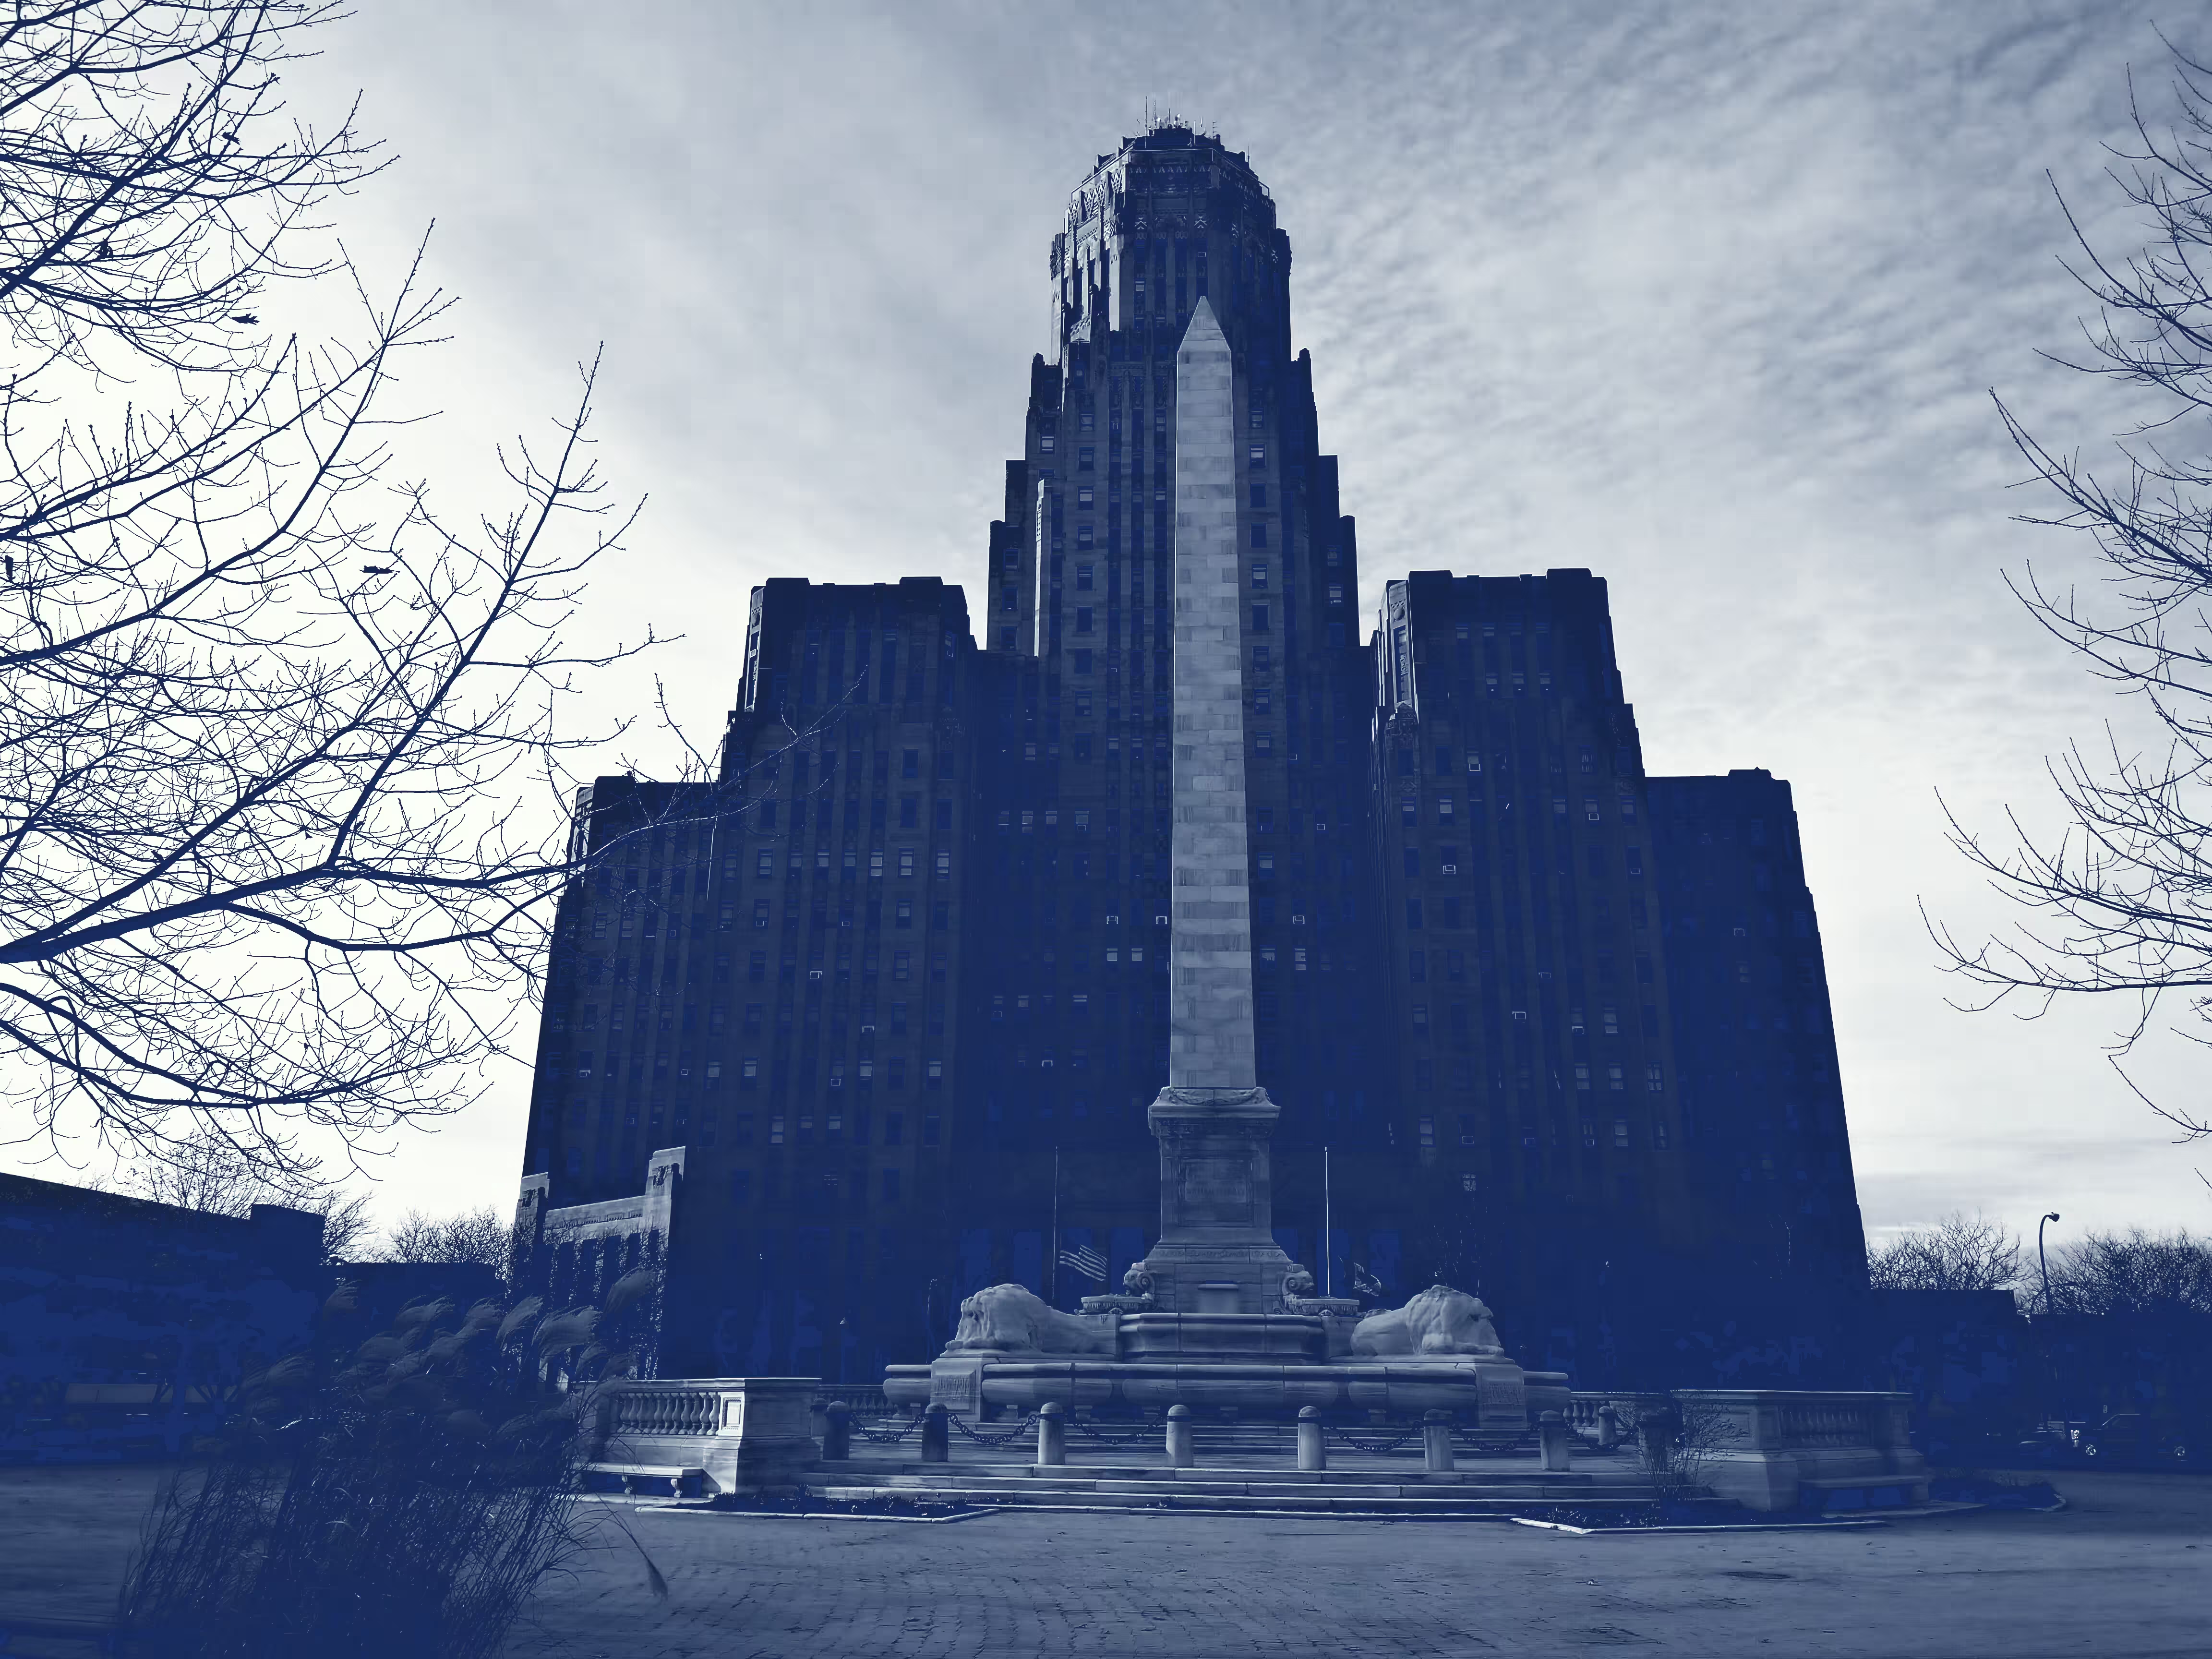
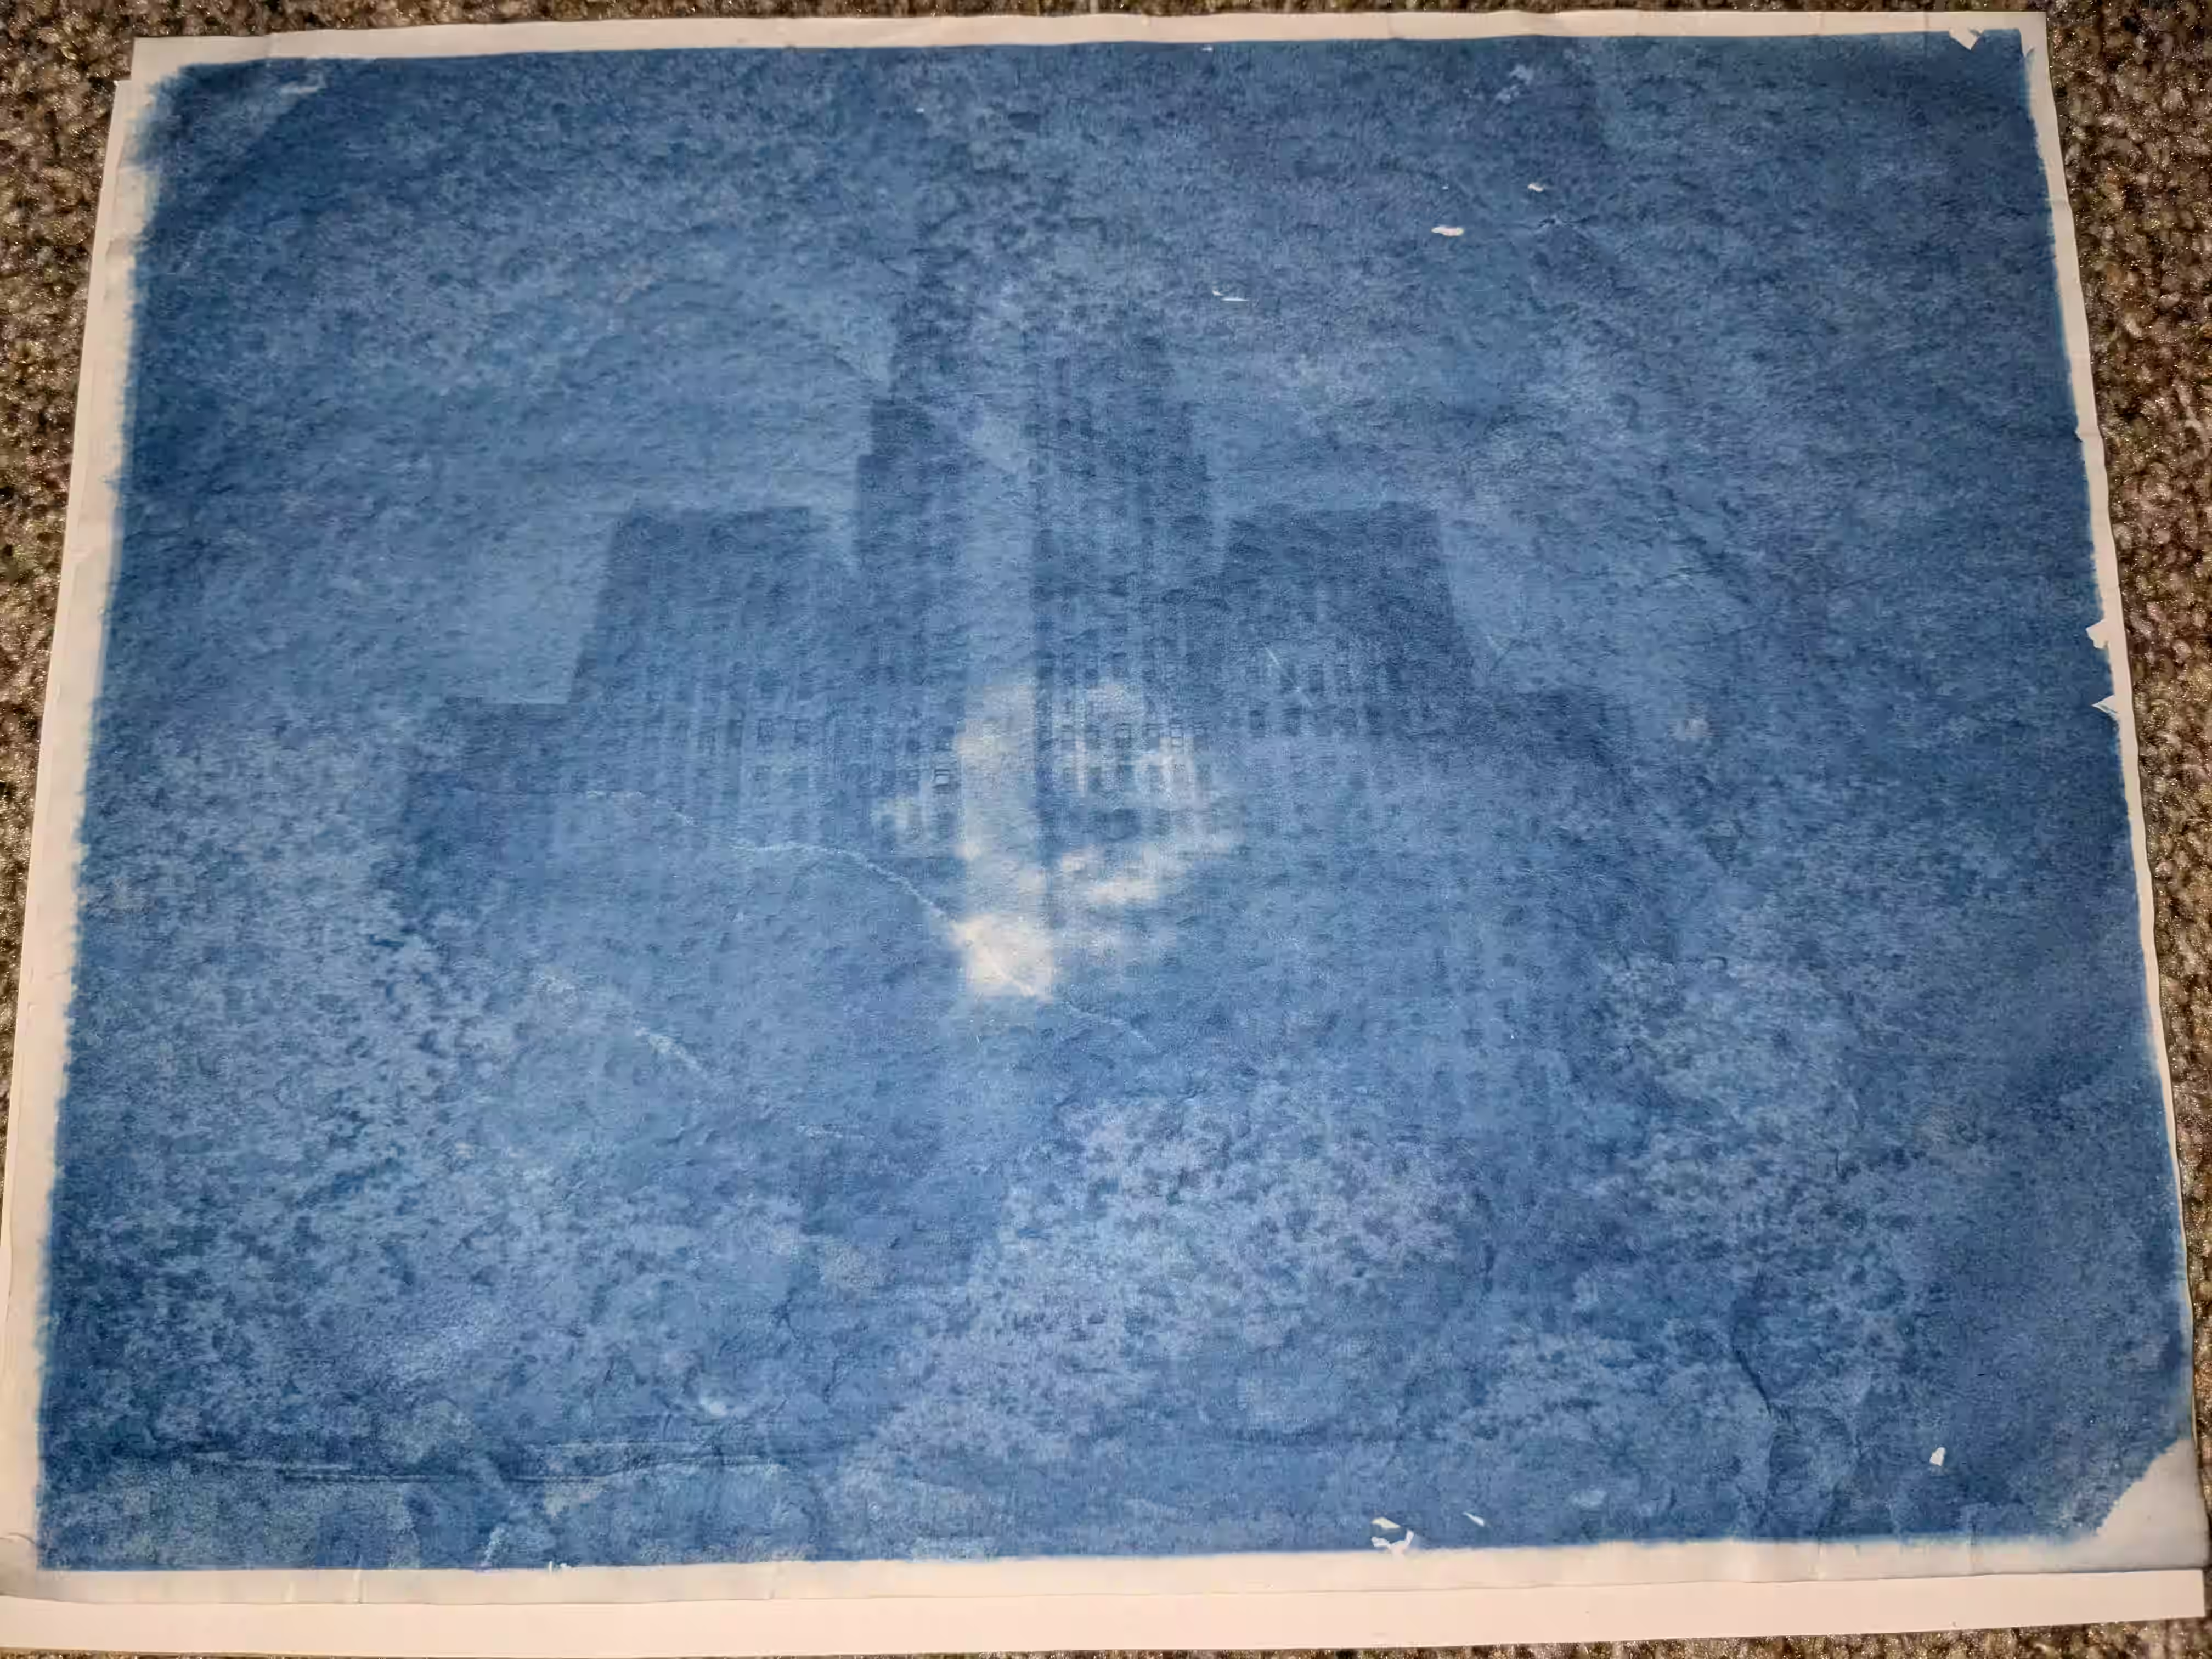
Images in order: Original, Cyanotype filter, IRL Cyanotype, Cyanotype filter that mimics an IRL Cyanotype
I’ve actually got a homemade cyanotype print hanging on my apartment wall. It’s a pretty easy process to do and probably costs ~15$ in supplies to get a setup to make them. The real one is a lot darker and lacks some of the details, although a lot of that can be blamed on both poor photo development and some age (it’s a couple years old and exposed to indirect sunlight, not sure how much that would do).
The last one that looks closer to the real one was the same Cyanotype filter, but with some cropping, Gaussian blur, and a partially opaque gray vignette that I added before the filter.
Pixelize
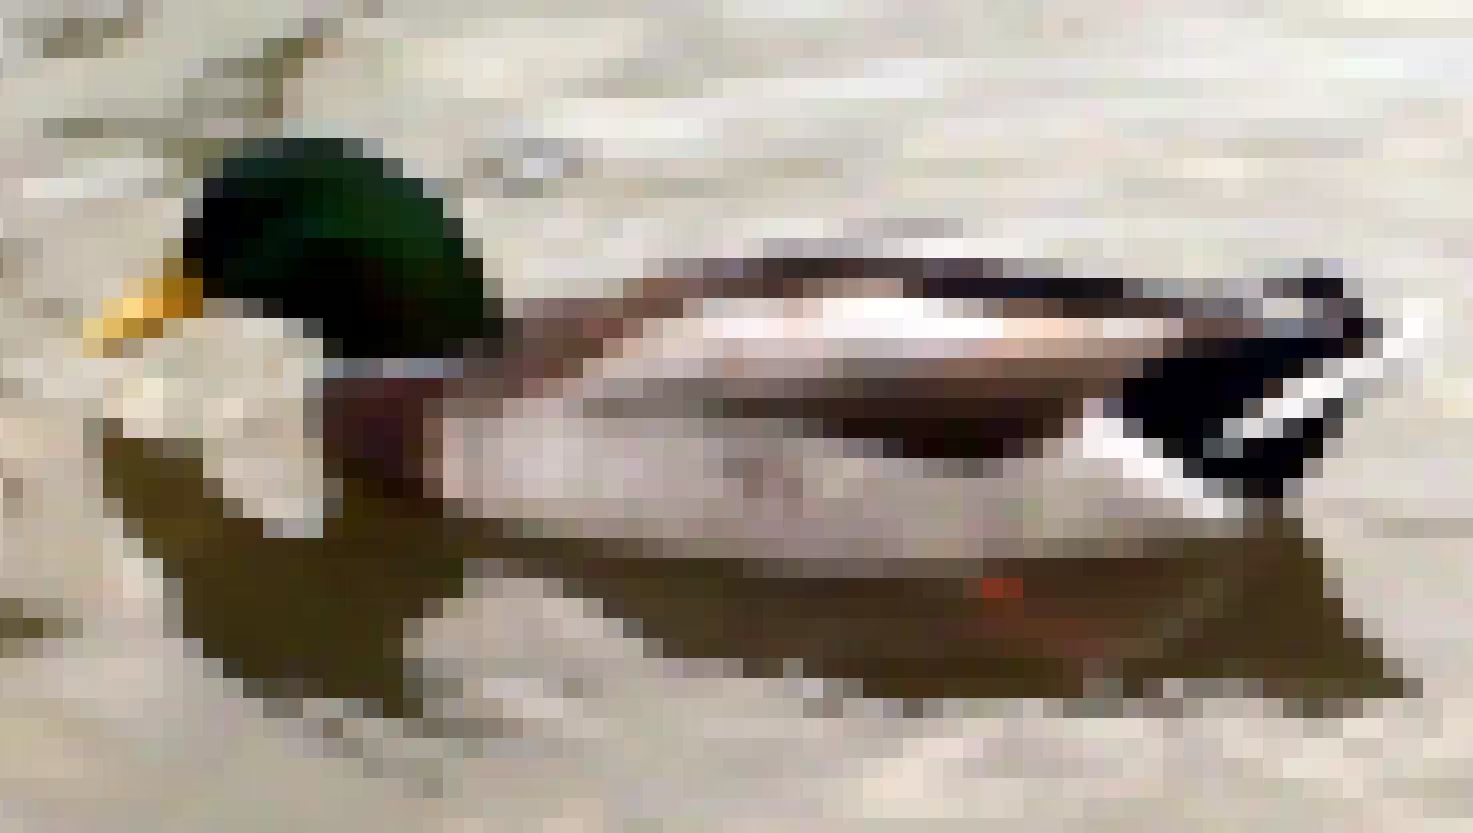
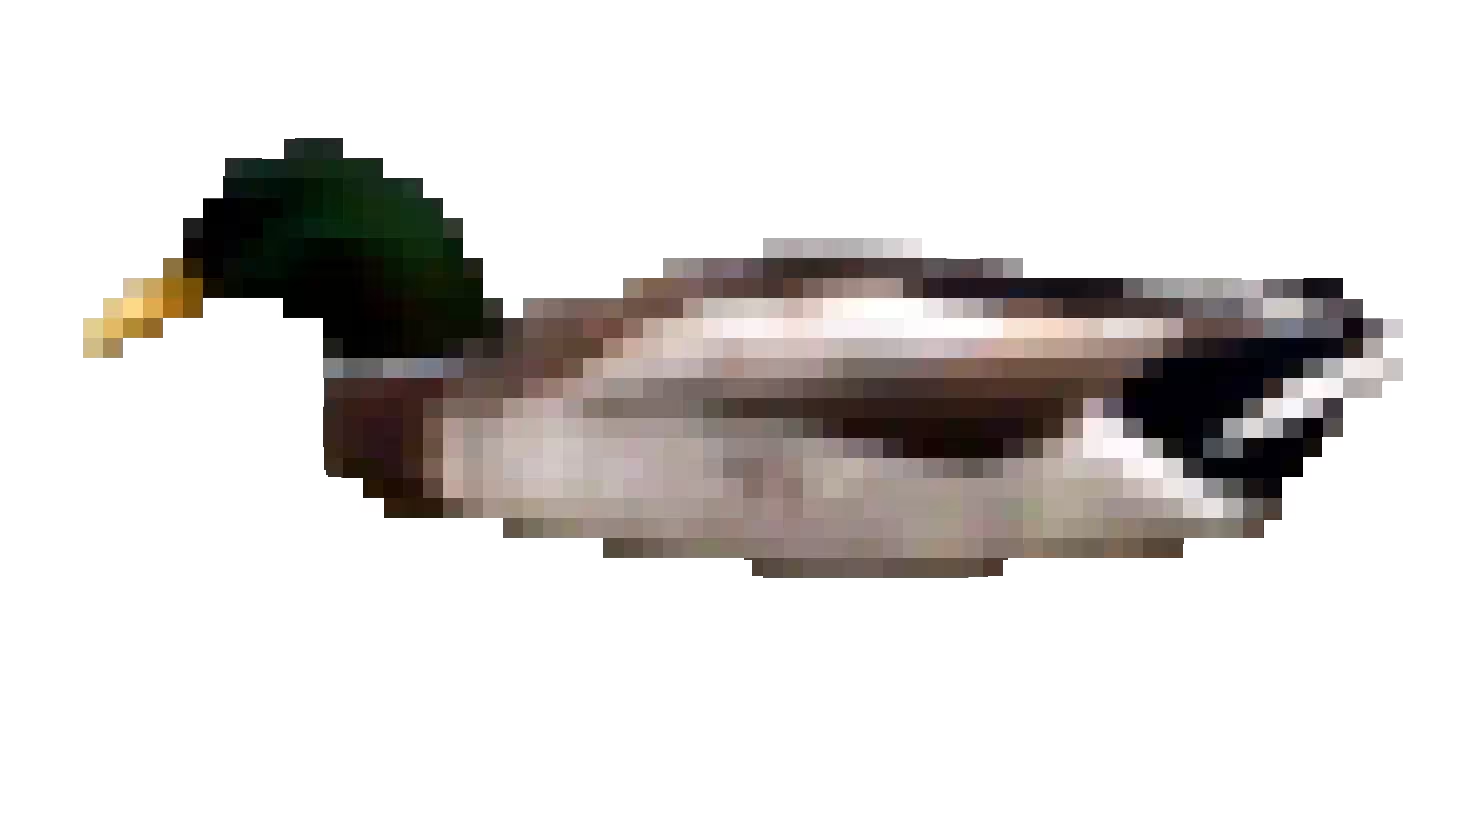
Images in order: Original, pixelized, pixelized and cropped.
Just like the paint effects, it lacks stylization, but it’s pretty close to pixel art without actually needing artistic talent. Especially with the duck cropped out, it certainly looks like a duck item you might pick up in a game or something.
Index and Threshold
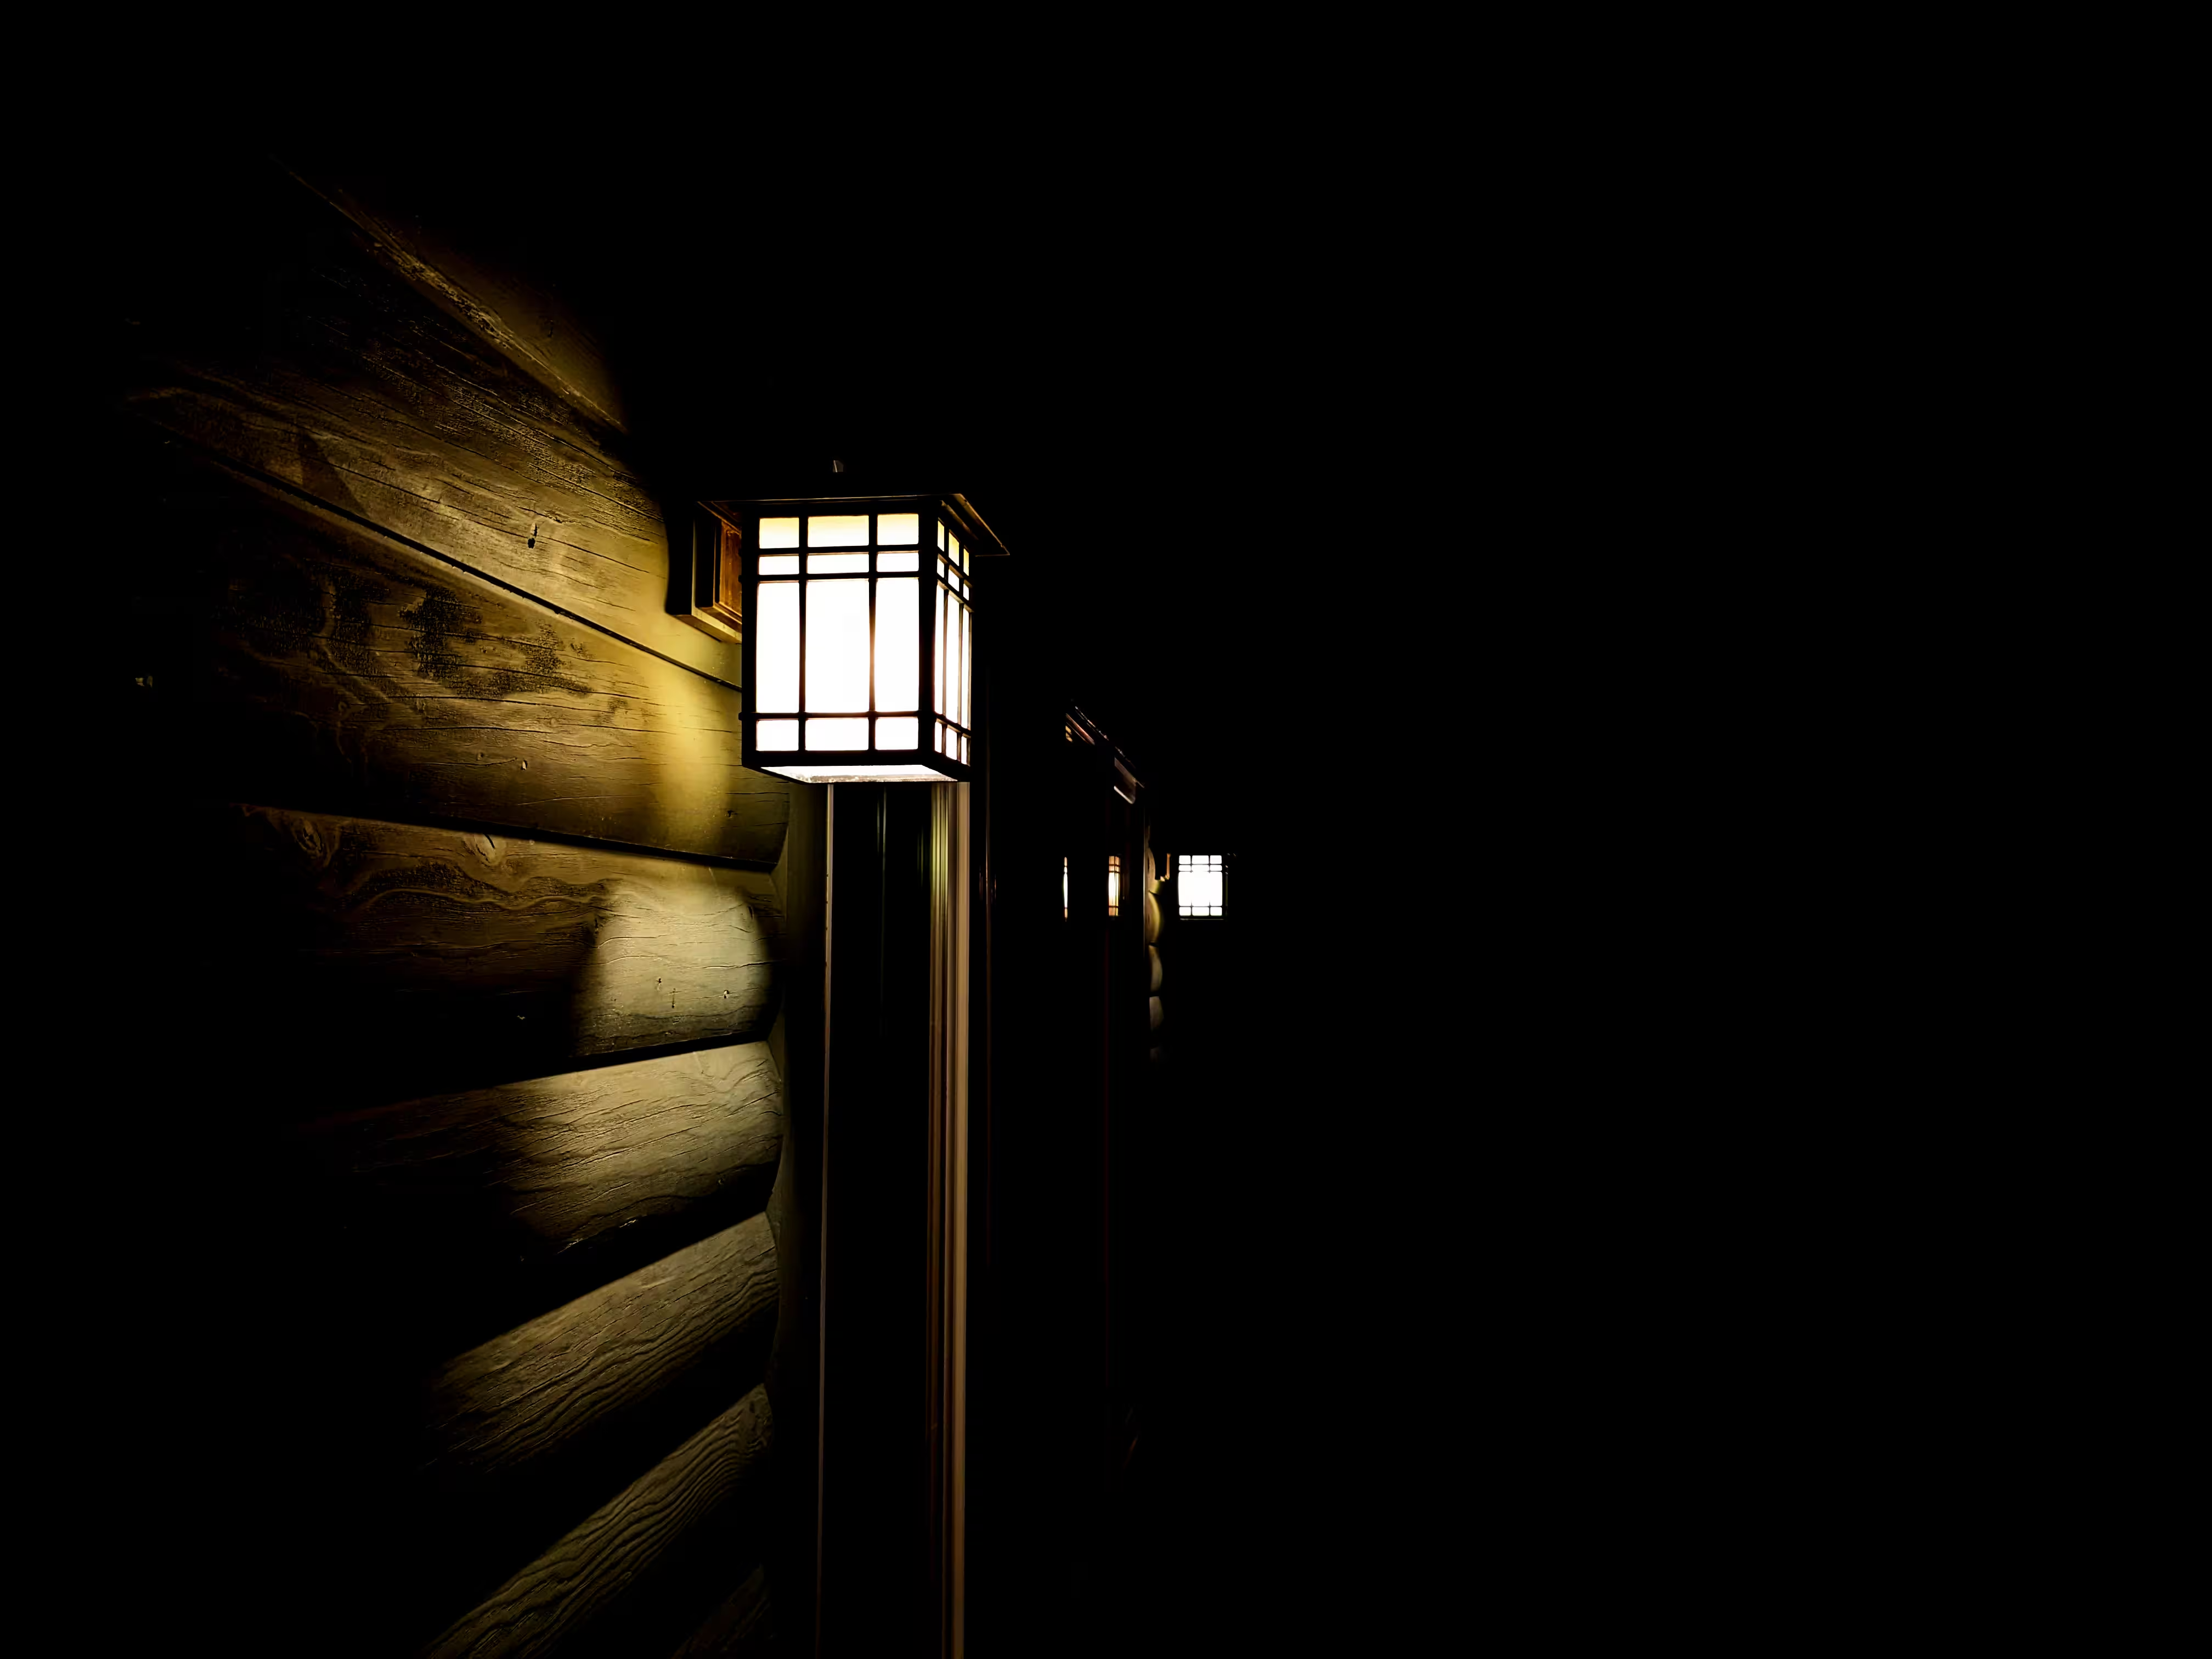
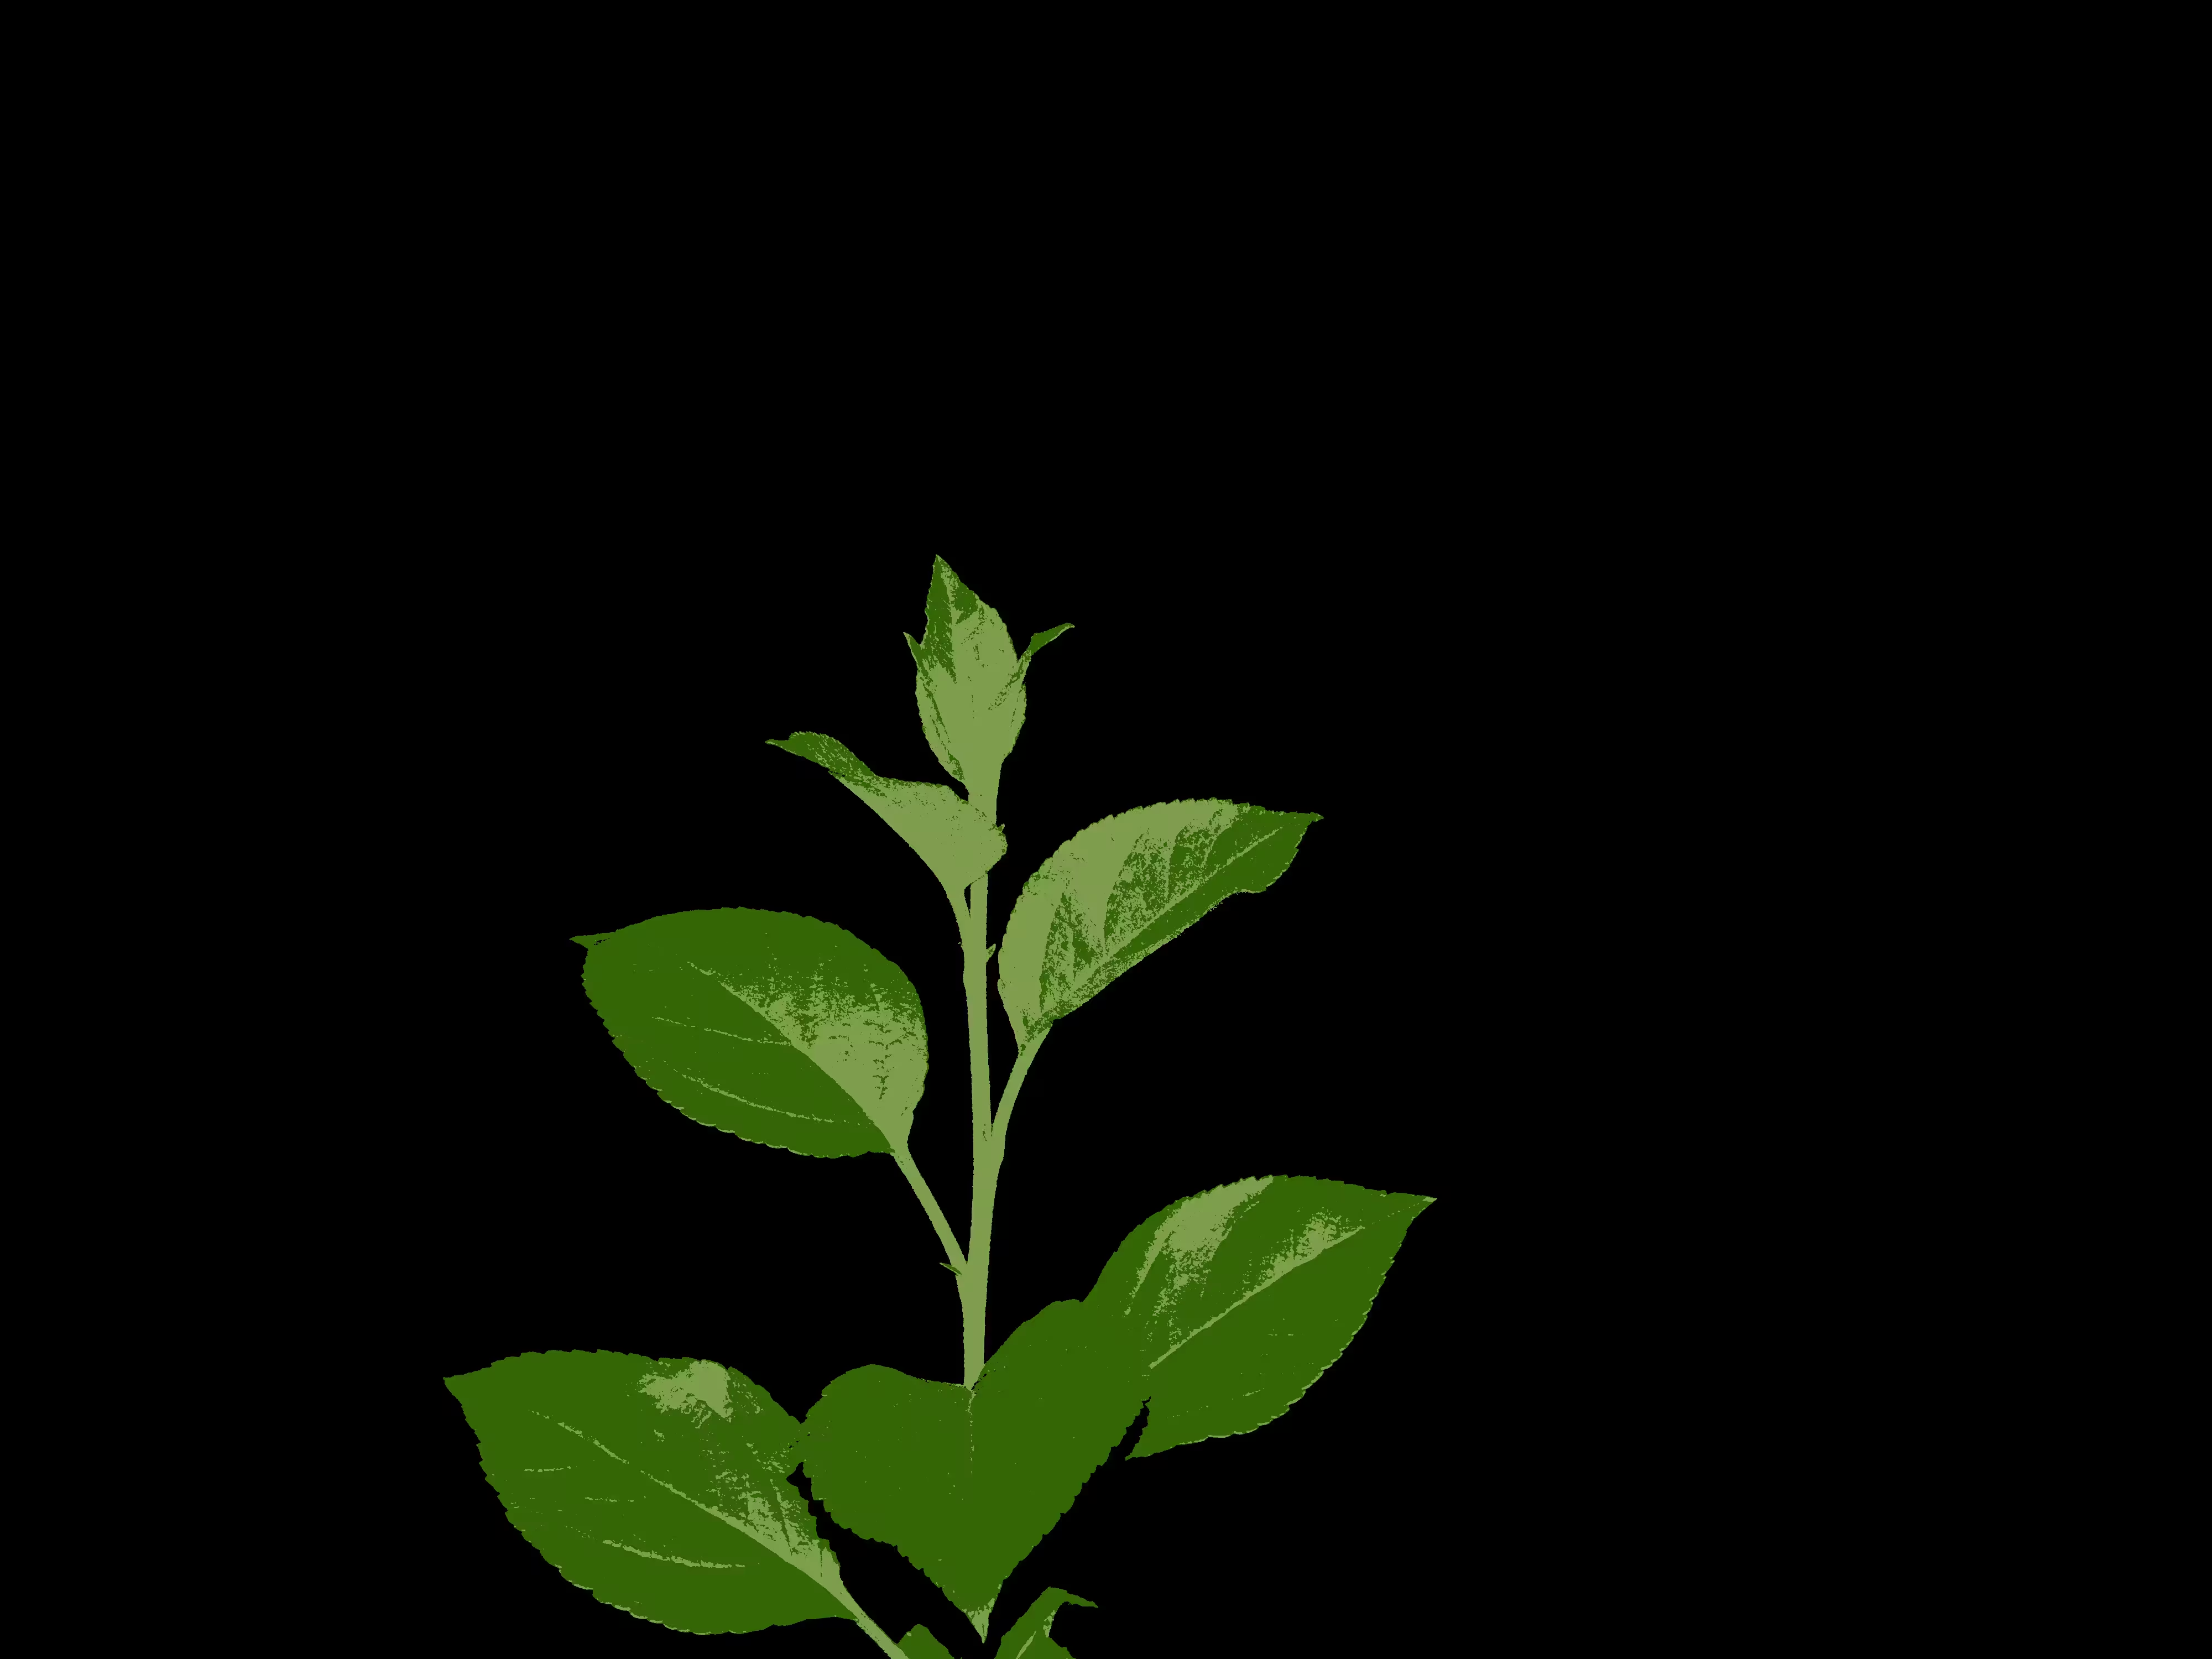
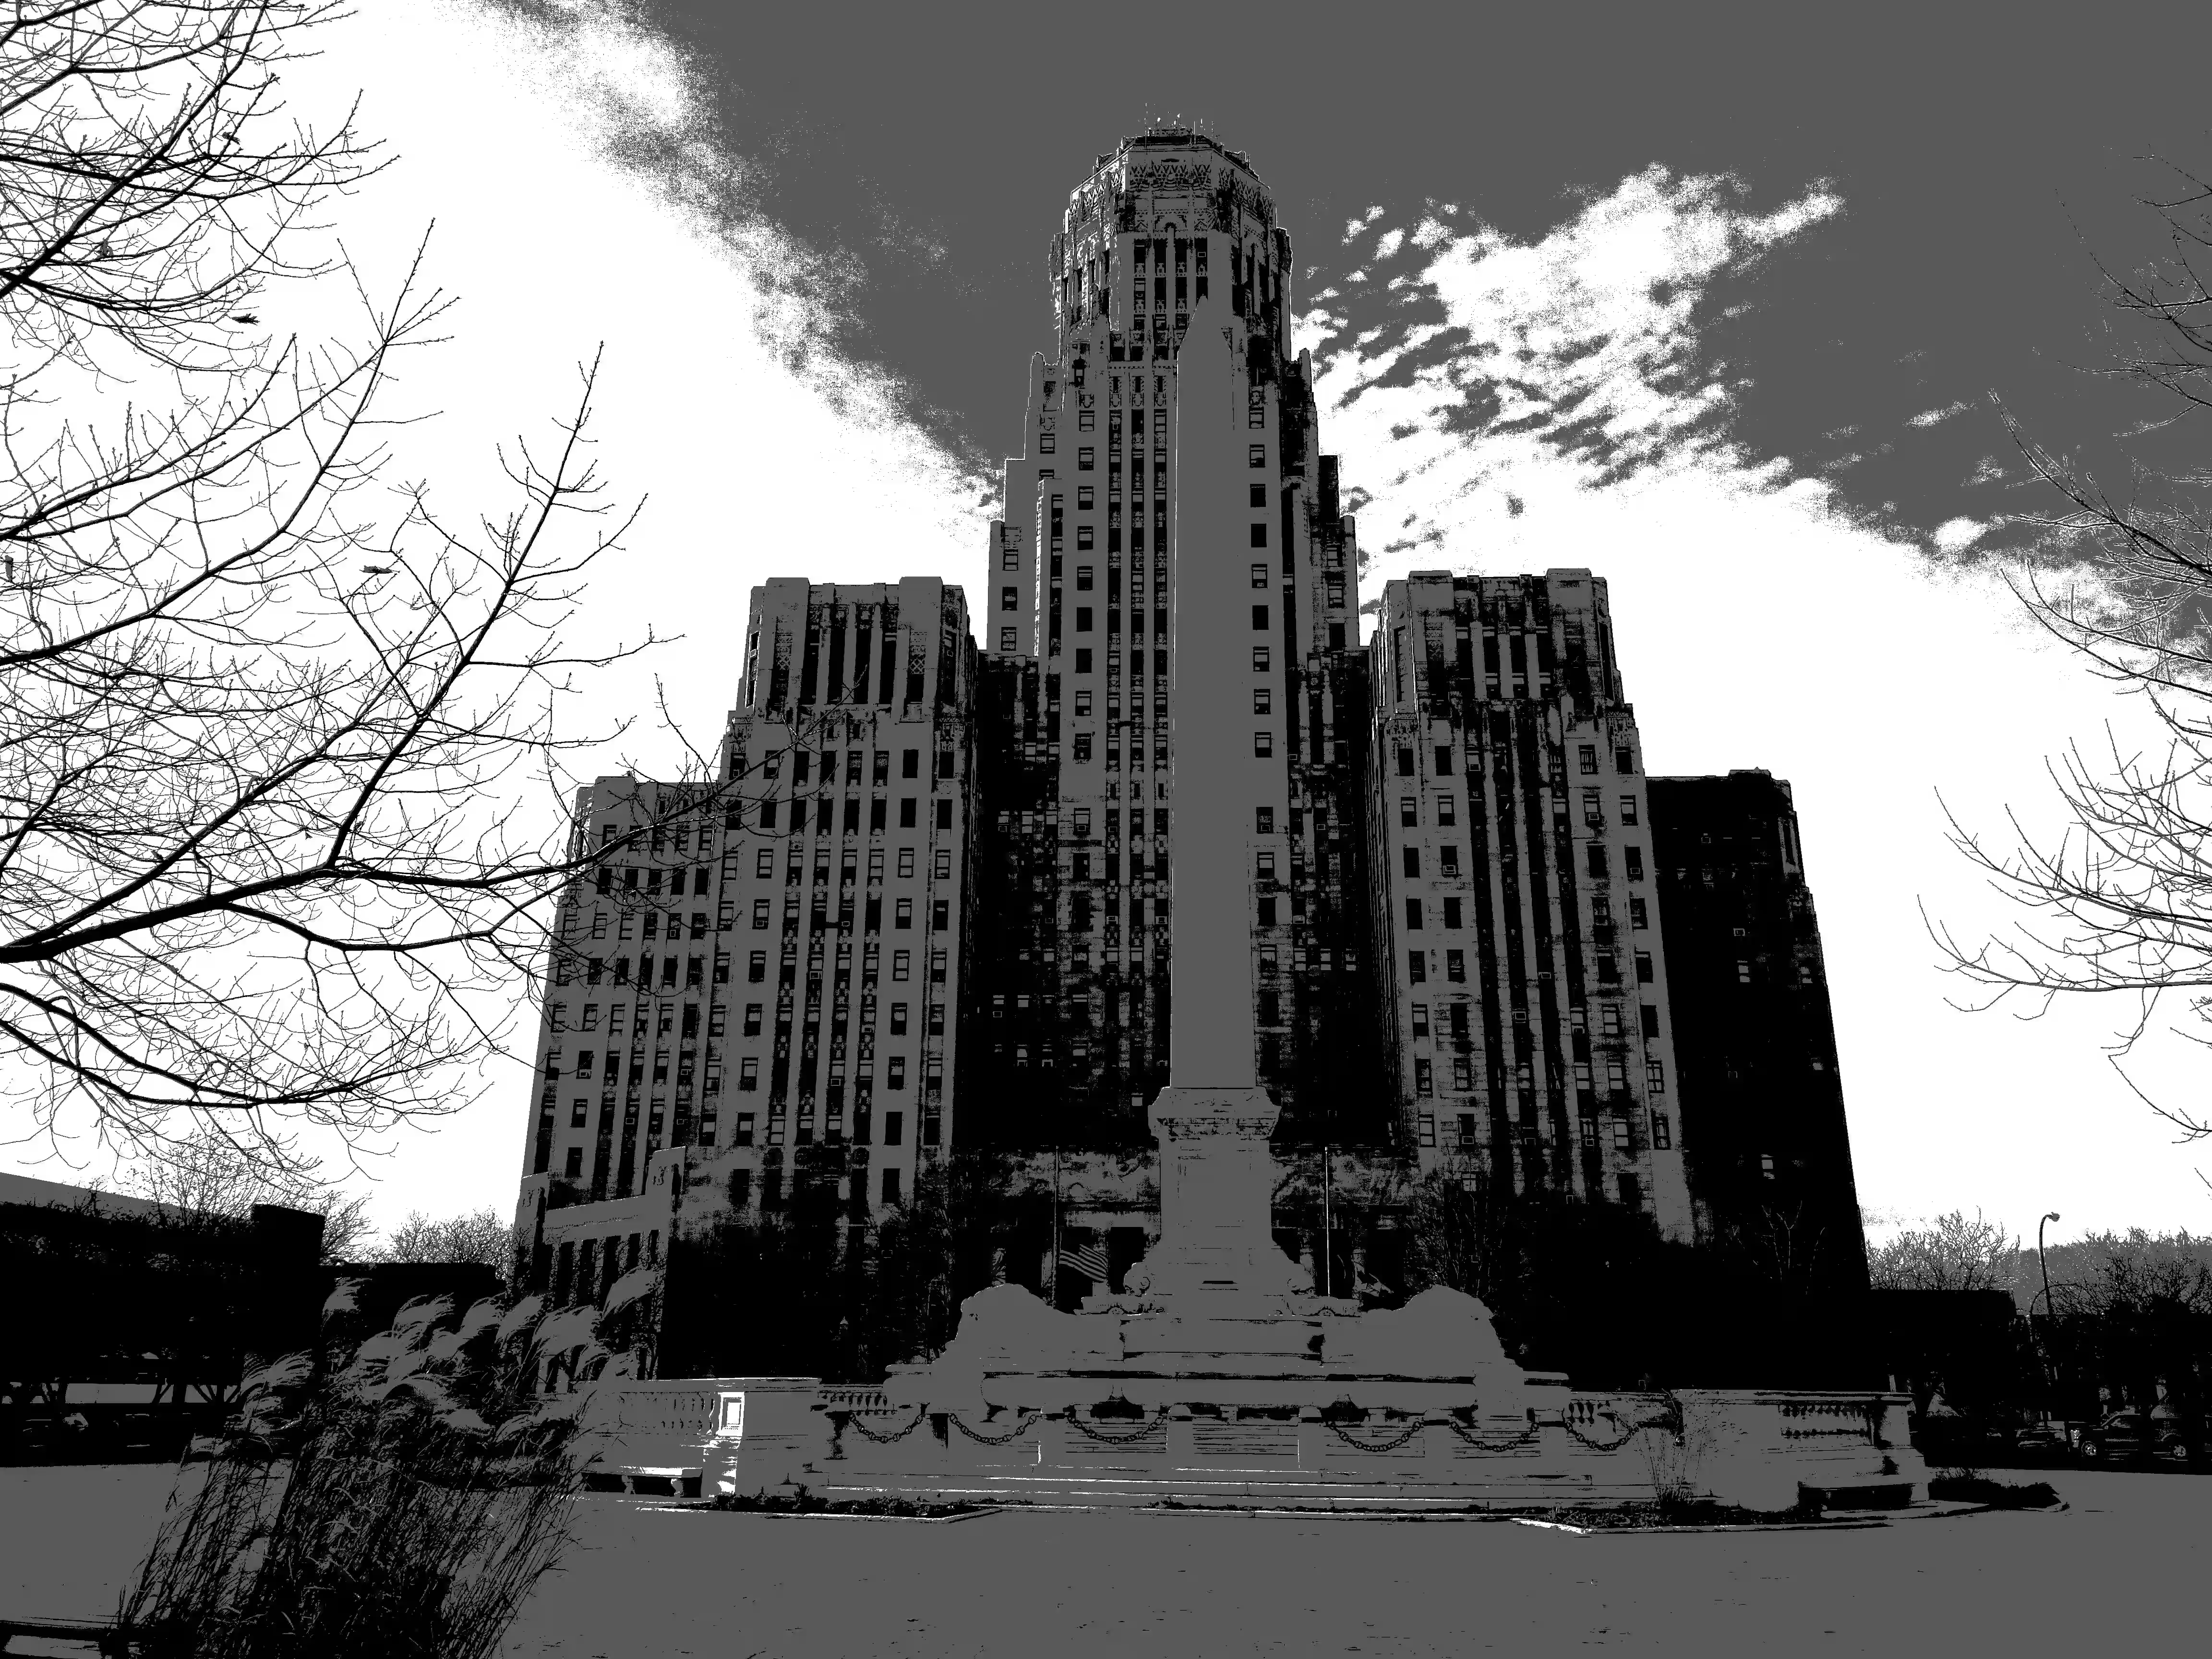
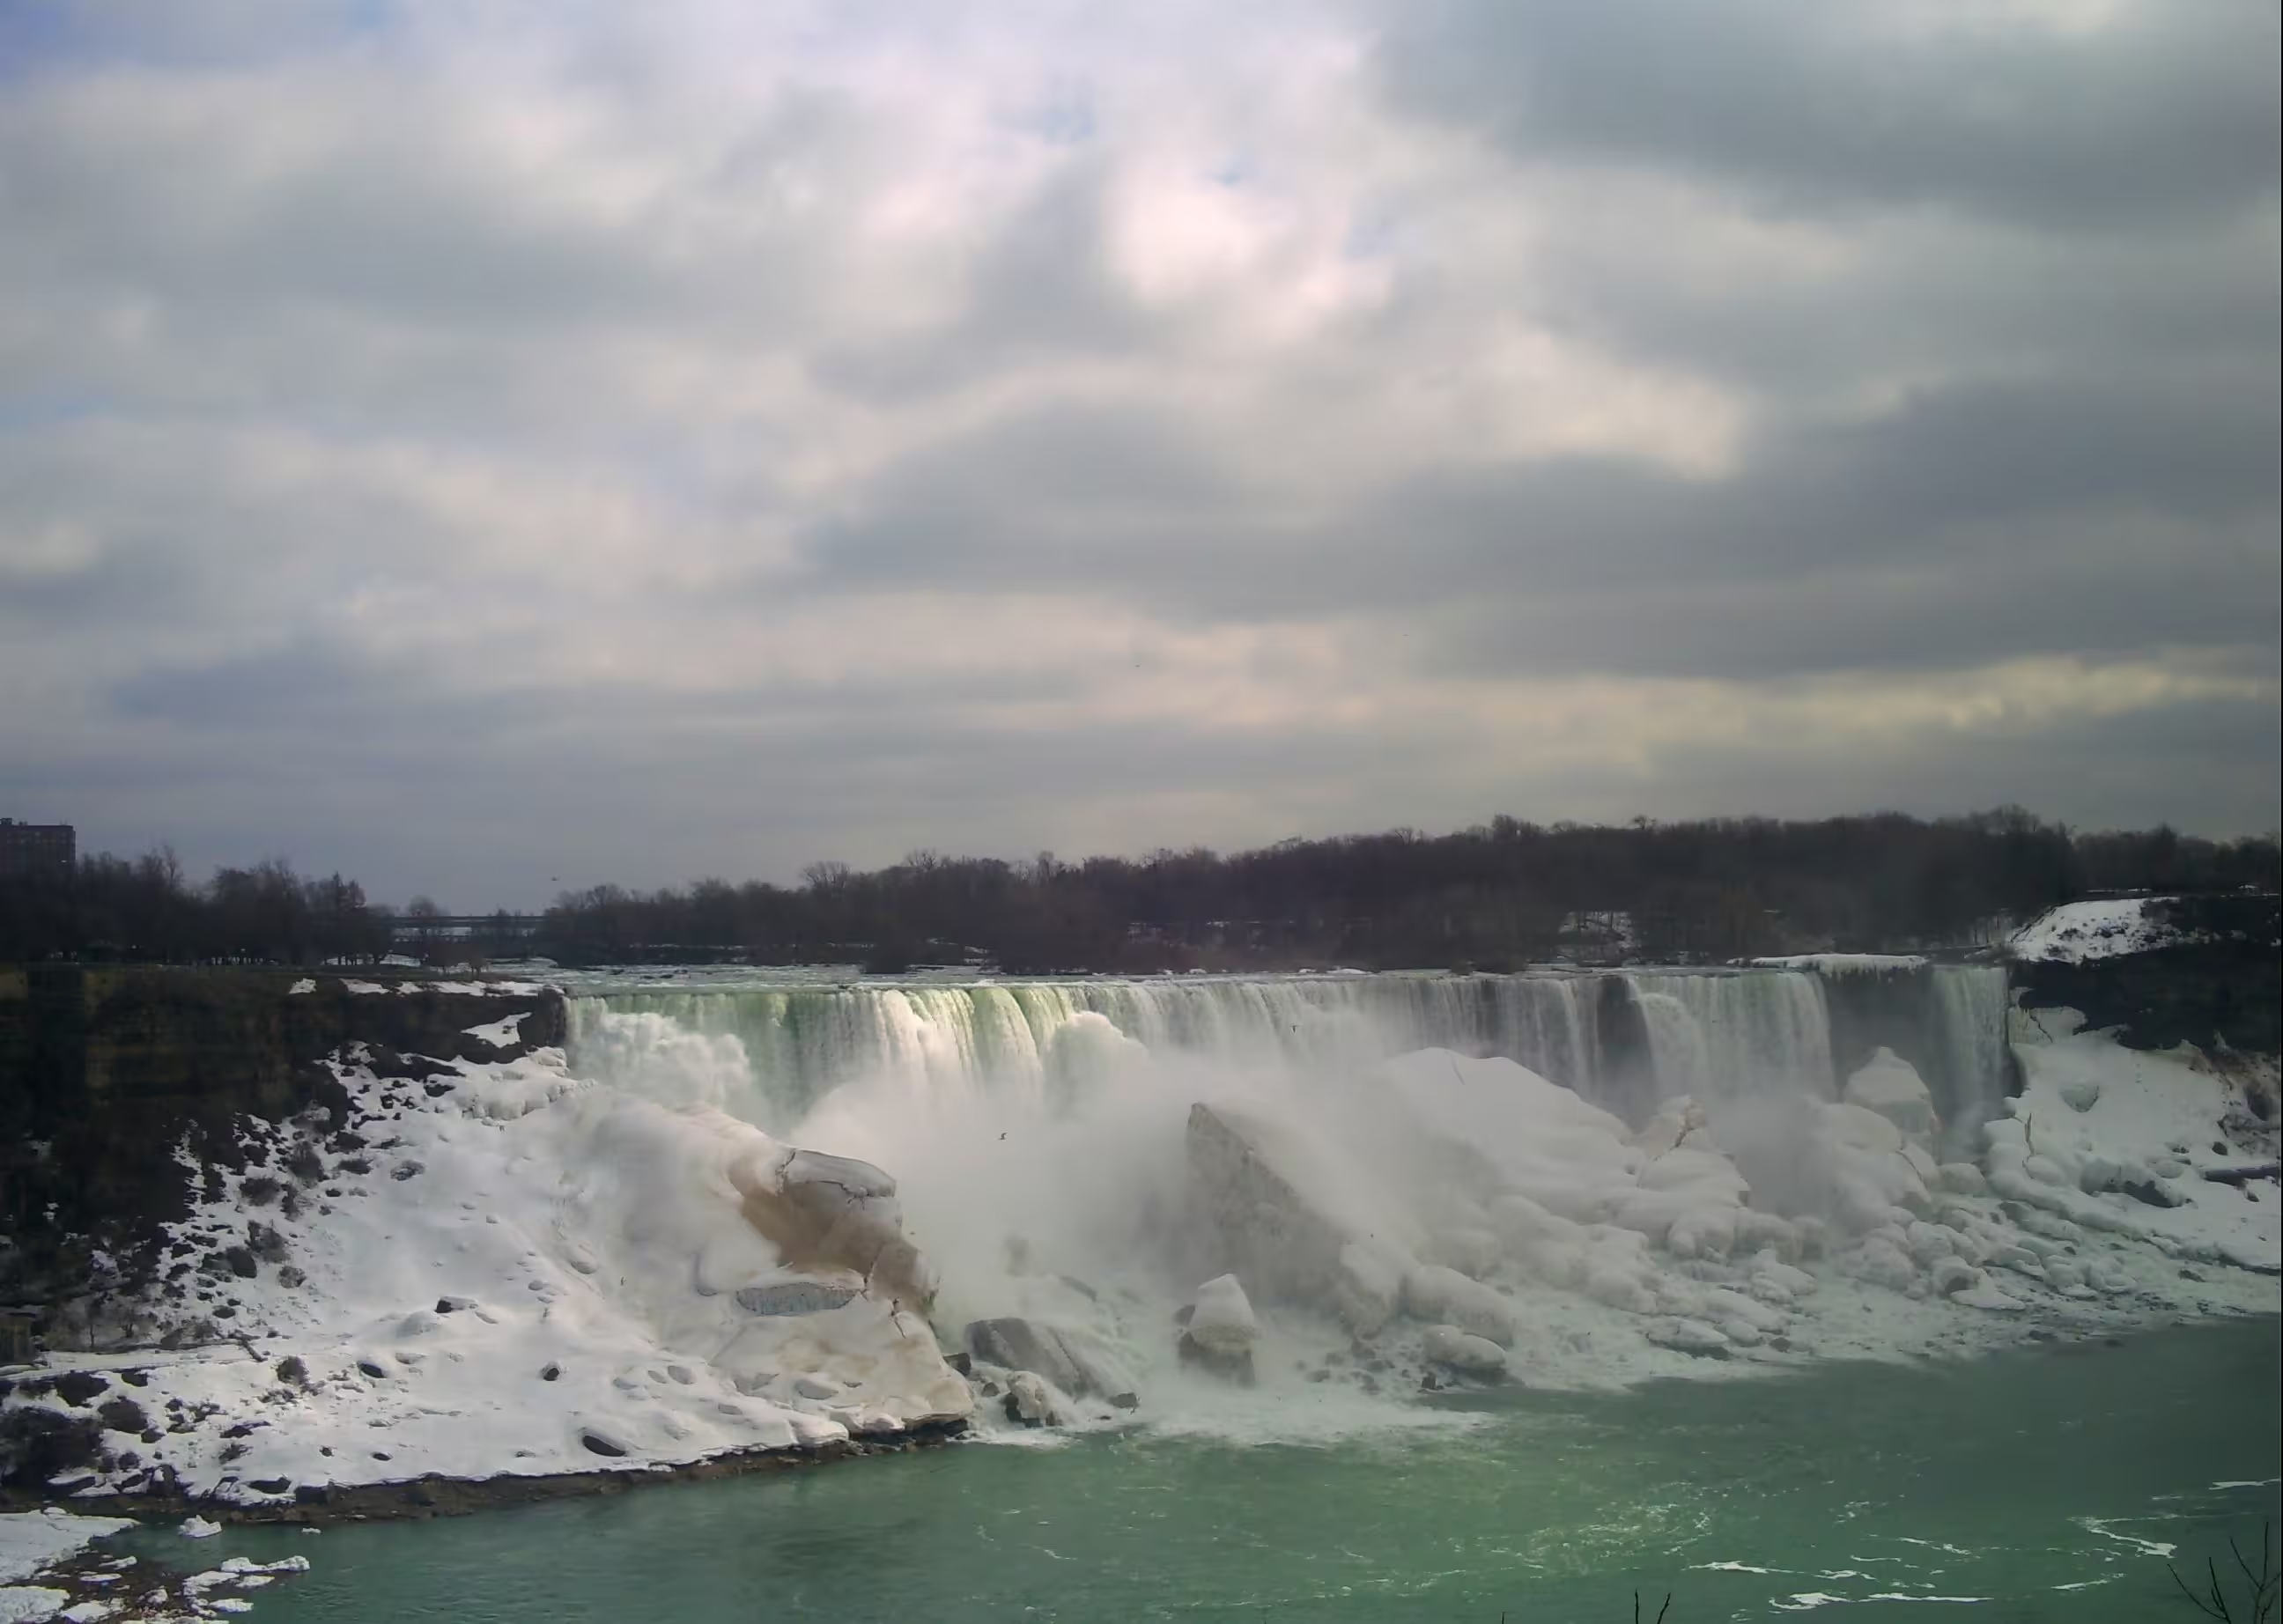
Images in order: Original (leaf), Original (Building), Original (lanterns), Index (leaf), Index (building), Threshold (Lanterns), Threshold (leaf)
Okay, so they’re not really filters, but still have a cool filter like effect. By playing around with the color pallets (Colors - Index) in GIMP you can get some cool effects by bringing the total amount of colors down (in both cases to three). Similarly, toying around with the Threshold setting (colors - threshold) you can turn every pixel into either a black or white pixel, also creating a neat effect.
ImageMagick
ImageMagick is a tool that can convert and modify images, although it’s command line so you will need to be somewhat familiar with how the command line works on your respective OS. Although being command line it can also be run on Android (via Termux) without any virtualization or display server hyjinks - unlike something like GIMP which only runs on desktop OSs. Also, speaking of commands, yours might be a bit different. I’m running ImageMagick 6.9.11-60 on Debian so I’m using the “convert” command, but newer versions (including the ones in the Alpine repos that Termux uses) will use “magick” instead.
Alright, maybe that sounded like some gobbly gook but you’re still interested in giving it a try. Your best bet would be to install it like any other piece of software and then navigate to the folder that you have an image you want to process. Now open a terminal in that location: shift + right click then “open command prompt/powershell in this location” on Windows or right click and “open terminal in this folder” on most Linux Desktops. Mac users, you’re on your own here. Then run the commands I shared, but replace “convert” with “magick” if needed and replace the input and output file names with your preferred ones (first file name and second file name respectively).
Polaroid
convert pic7.JPG -polaroid 3 pic7-polaroid.png
A super simple Polaroid/printed photo effect. The number (in this case 3) will effect rotation; 0 being no rotation, positive numbers being rotation to the right, and negative numbers being rotation to the left. The photo will have transparency if you have a rotation, so make sure to save as a format that supports transparency (such as PNG).
It’s not too artistic as far as enjoying the photo itself, but using it on a photo embedded in a blog post or otherwise used as part of something larger might give it a nice feel.
Edge & Charcoal
Commands run (in the order they appear):
excavator.jpg -charcoal 1 excavator-char.jgp
excavator.jpg -edge 1 excavator-edge.jgp
excavator.jpg -edge 4 -negate excavator-edge4.jpg
So, let’s take a small detour talking about commands again. First is the number that follows the effect (1 & 4 respectively). Unlike the Polaroid effect, for all other effects that number will refer to how strong the effect should be applied. In this case, the stonger the effect the more lines from the original photo are used in the newer version. There’s also the -negate added after the effect on the fourth one. That’s a little note to tell ImageMagick to invert the colors after the effect. You can also use something like -set colorspace Gray to make the image black and white. You can use both or neither of those little notes on the end on any image you run through ImageMagick.
The edge and charcoal effects are both fairly similar effects that detect edges/lines and display those. By default edge is black with white lines and charcoal is white with black lines, although charcoal also seems a bit tweaked to make it look more like a drawing then edge does. Edge also has hints of color, where charcoal does not.
The first two are fairly standard, although as you can see on the last one I’ve cranked up the filter to detect more lines & color, and used -negate to make the black with white lines into white with black lines.
Canny
convert pic19.jpg -canny 0x1+10%+30% pic19-canny.jpg
Canny is another edge detection algorithm, although I’ve gathered it’s a bit more of an advanced one. It’s got a lot of settings like sigma1, lower radius, and upper radius that I don’t fully understand - but you can read about them here. It seems to take more processing power, especially when I ran it on my phone, but has a unique look to it.
Paint
convert fog.png -paint 6 fog-paint.jpg
convert mg.JPG -paint 24 mg-paint.jpg
ImageMagick’s paint effect which, just like the GIMP effect(s), seems to work well with simpler photos. The morning glory flower is a good example of a simpler subject, although the photo with the fog is another example of something like scenery that is more complicated but still works well with fewer details.
Snapseed
Snapseed is a photo editor for Android that, despite being made by Google, is completely free and works entirely offline - even working flawlessly without G Services installed or the internet permission granted2. It’s mostly geared towards standard editing, but has some filters in there as well.
Looks
Images in order: Original, Fine Art, Push, Structure
You can apply a lot of looks to images in Snapseed, although most are just tweaks to color and such. There’s three here though, and while GIMP, ImageMagick, and Snapseed can all do black and white or Sepia images, these all add a bit of stylization in addition to just changing the color tones.
Grainy Film
Images in order: Original, B2, L1
Unlike the other two effects that make an image look older, these aren’t quite so overpowering. I feel like film color sets and grain have a neat effect. Who knows though, maybe in thirty years (assuming we don’t all nuke each other) I’ll be talking about how digital noise and old lossy compression algorithms have a certain charm to them.
Vintage
The vintage effect is similar to Grainy film, although instead of adding grain it seems more focused on just changing colors and white balance to mimic older photo styles.
Grunge and Retrolux
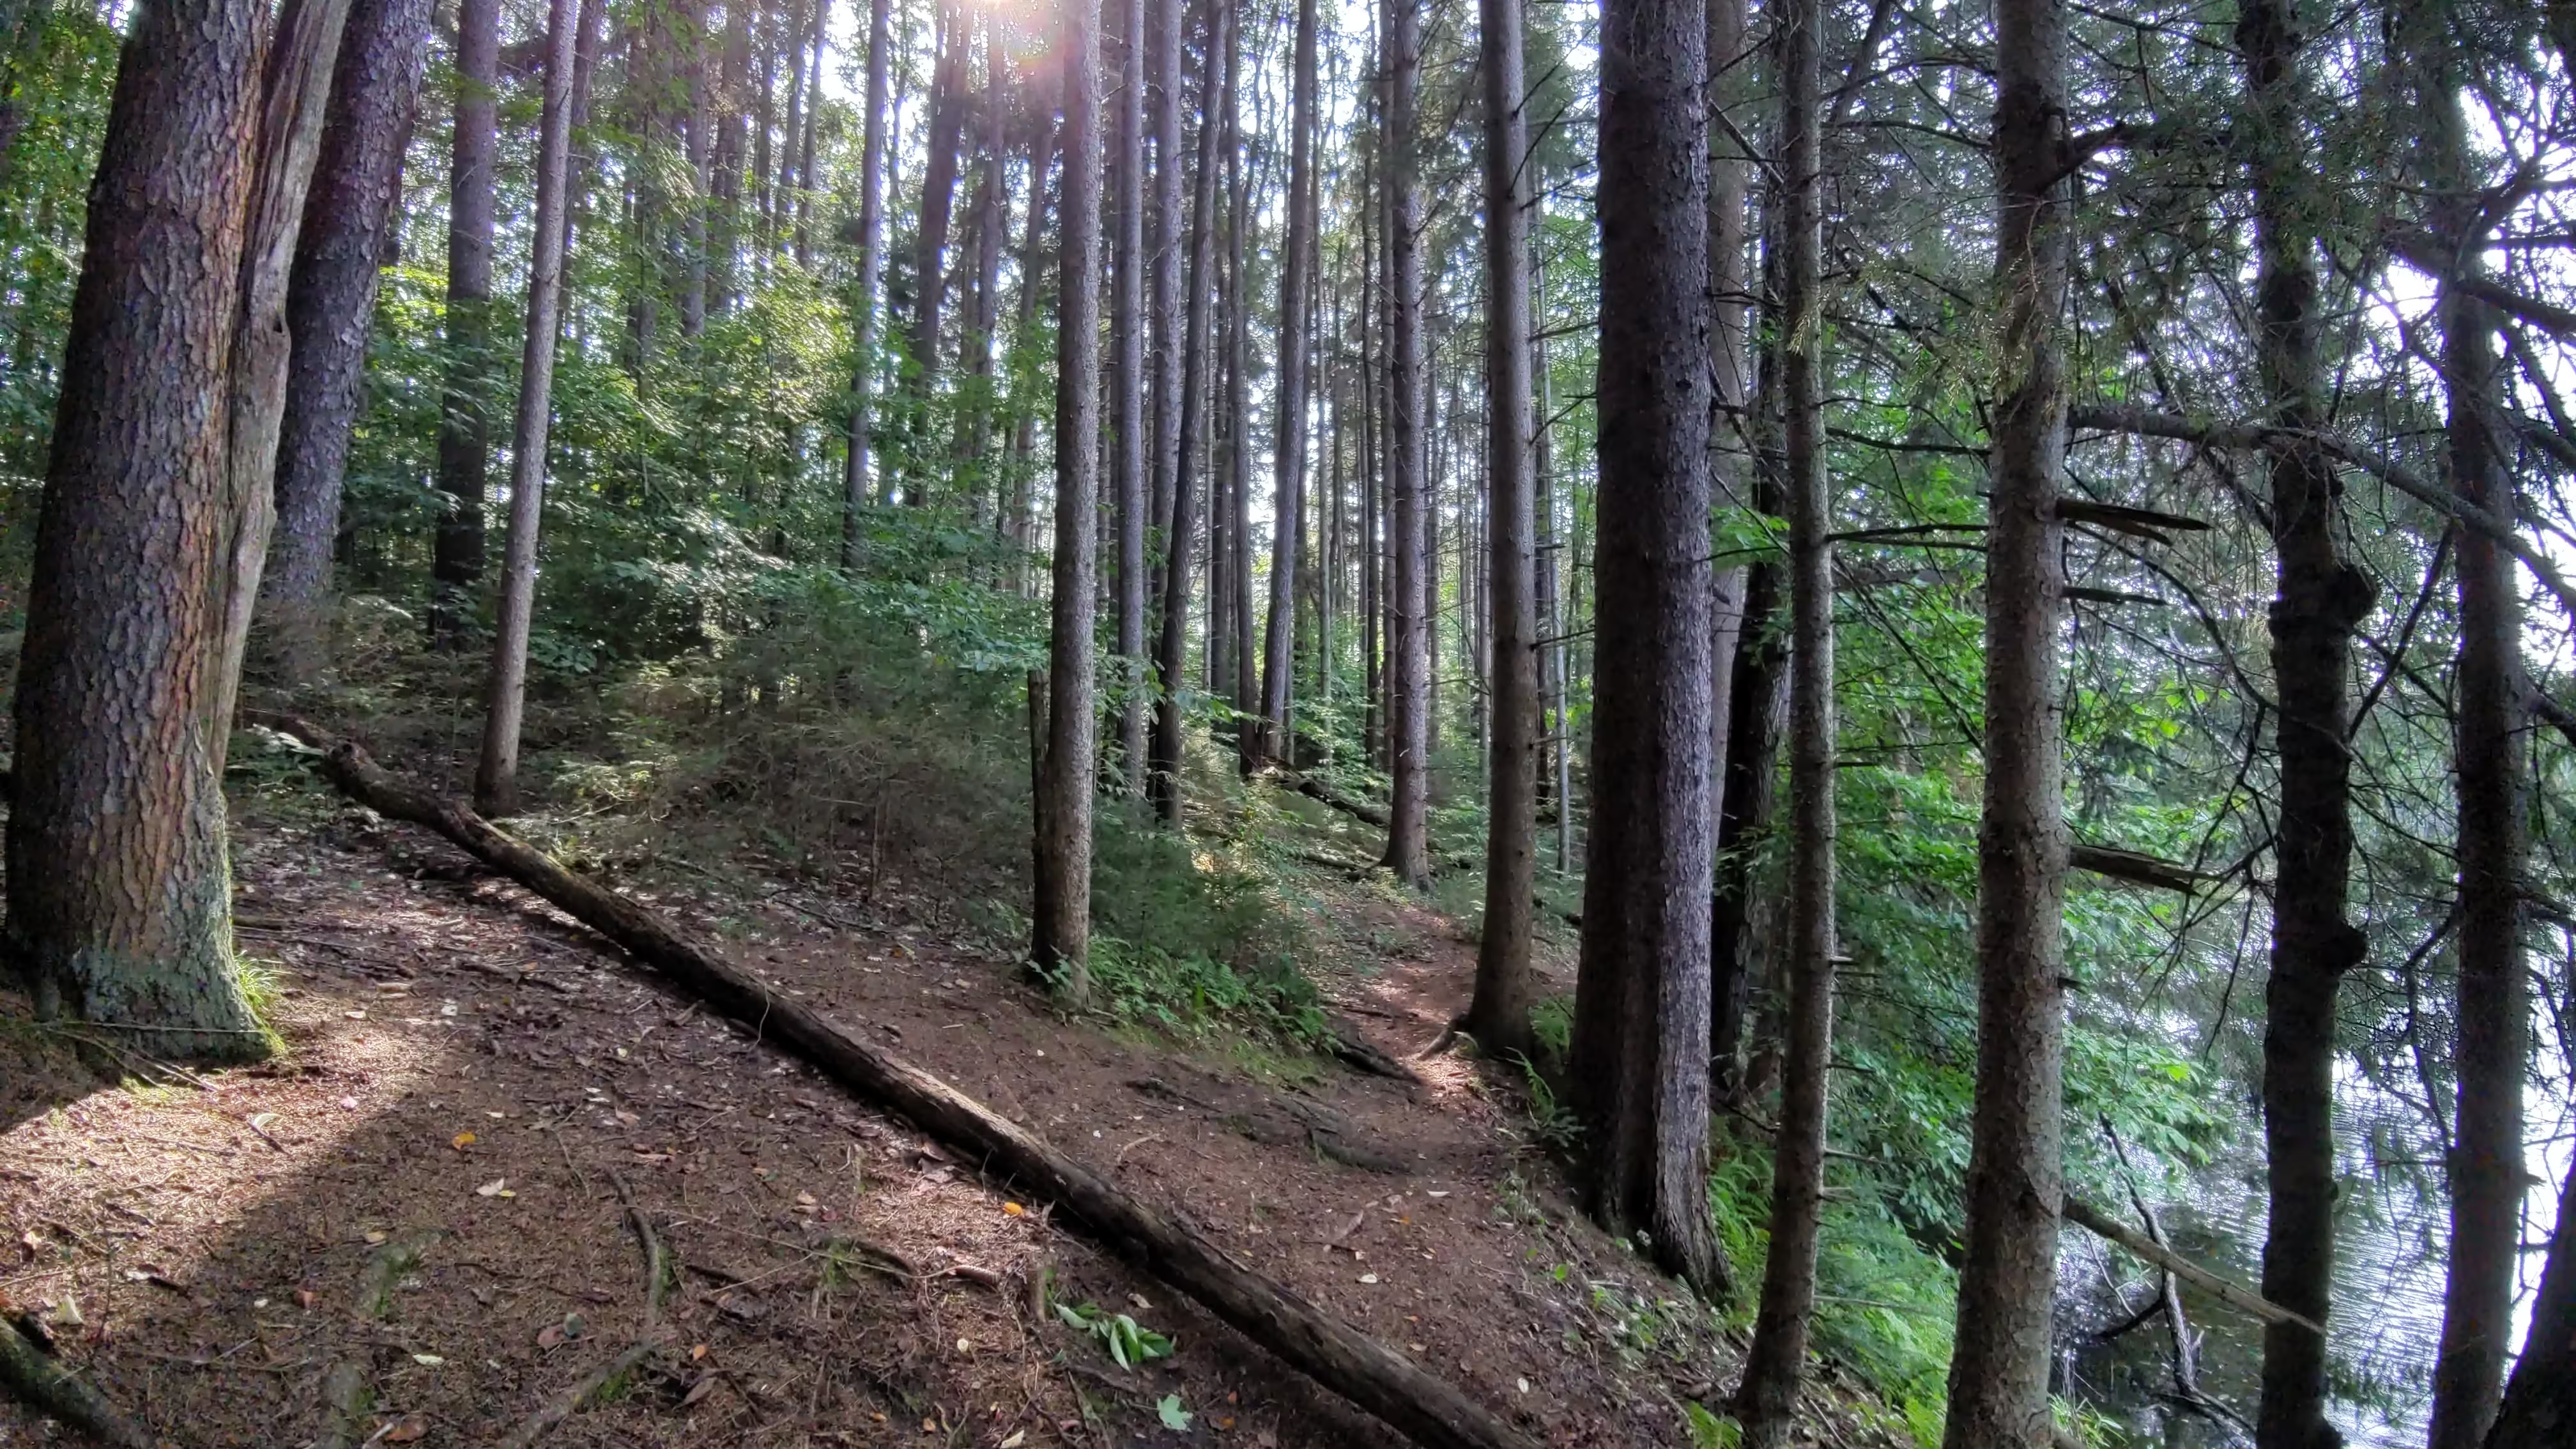
Images in order Original (trees), Grunge (trees) x2, Original (beach), Retrolux (beach) x2
Both the Retrolux and Grunge filters change the color and white balance like the vintage filters, although the Retrolux and Grunge filters also add a worn photo paper effect as well. Both of them have a very large amount of tweaking and styles you can apply, of which you can randomize.
